Prepare to embark on a culinary adventure with this umami-infused brisket recipe, where savory goodness takes center stage. This exceptional dish showcases a symphony of flavors, masterfully combining the rich, meaty notes of brisket with an umami-laden barbecue sauce that will tantalize your taste buds and leave you craving for more.
The Essence of Umami
Umami, the fifth basic taste, often described as savory or meaty, is the key to unlocking the irresistible flavor of this brisket recipe. It arises from glutamate, an amino acid found in various foods, including meats, fish, mushrooms, and tomatoes. When glutamate interacts with taste receptors on our tongues, it creates a unique sensation that is both satisfying and addictive.
Umami’s Role in Barbecue Sauce
Umami acts as a powerful flavor enhancer, amplifying the impact of other ingredients. In the context of barbecue sauce, umami harmonizes with sweetness and acidity,
Umami Barbecue – Brisket
Equipment
Ingredients
Ingredients
- 8 – 15 pound Brisket
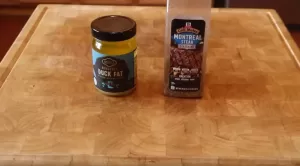
- 1.5 cups Montreal Steak Seasoning
- 1 cup Ketchup
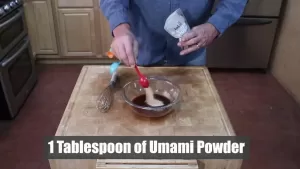
- 1 Tbsp Umami Powder
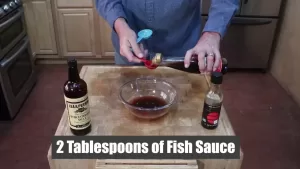
- 2 Tbsp Fish Sauce
- 2 Tbsp Tamari Sauce
- 2 Tbsp Worcestershire Sauce
Instructions
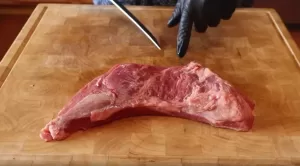
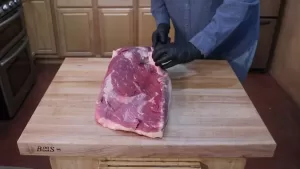
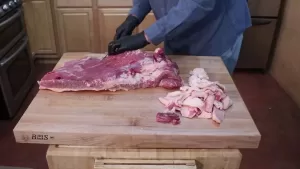
- On large cutting board put the whole packer brisket. Now start by removing all the hard fat.
- Now flip the brisket over to the fat cap side and trip fat so it is 1/4 inch thick across the fat cap.
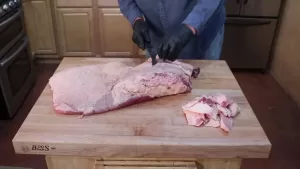
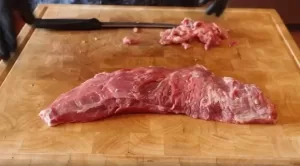
- Now remove the silver skin.
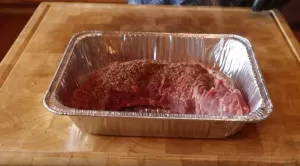
- After trimming the brisket now we add the rub. The rub is very simple. Montreal Steak Seasoning.
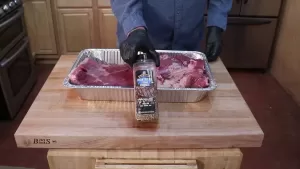
- In a large foil pan apply two coats of rub. First coat so the salt can penetrate the meat and a second coat so we have a layer of rub to make that crust or bark that any good BBQ brisket should have.
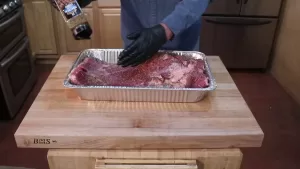
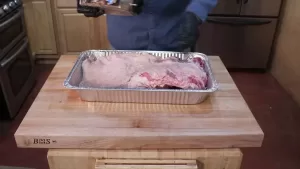
- Make sure you season both sides of the brisket including the fat cap.
- In mixing bowl add 1 cup of ketchup.

- Add 1/2 cup of water.

- 2 Tablespoons of Tamari sauce.
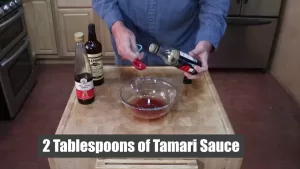
- 2 Tablespoons of Worcestershire sauce.

- 2 Tablespoons of Fish sauce.
- 1 Tablespoon of Umami Powder.
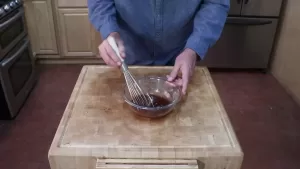
- Now mix everything thoroughly and let sit in the refrigerator for about 30 minutes. Set aside about a 1/4 cup of sauce to be used later.
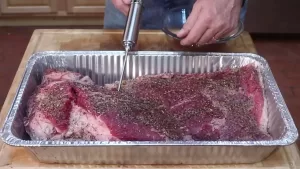
- With injector inject umami sauce into the brisket making an injection every 2 inches. Think of a 2 inch by 2 inch grid.
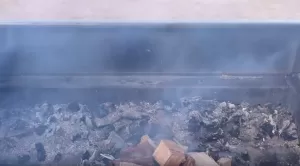
- Preheat pellet grill or charcoal grill to 300F.
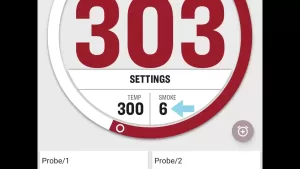
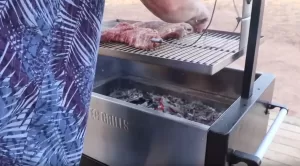
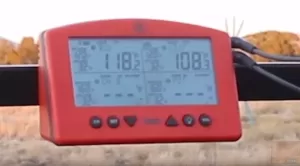
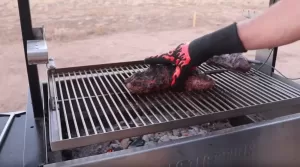
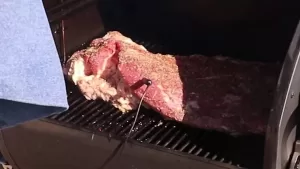
- Put brisket on grill and insert temperature probe into thickest part of the brisket.
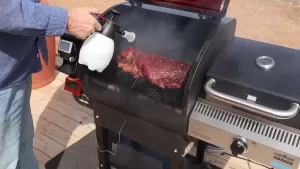
- Check brisket every hour and spritz with water if needed.
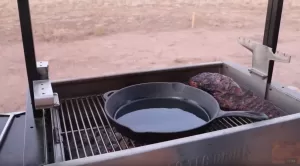
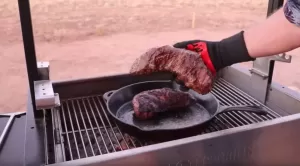
- At 160F pull brisket from grill and foil in a foil pan.
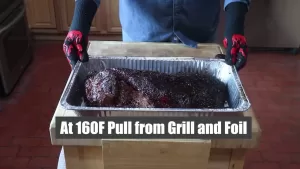
- Add the 1/4 cup of injection sauce to the brisket to give it an extra umami boost.
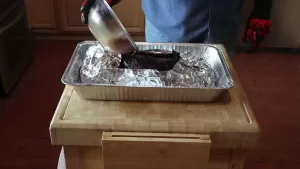
- Now seal up the brisket with another sheet of foil. Remove as much air as you can and make sure it is fully sealed.

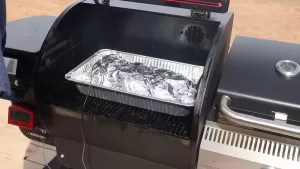
- Put sealed brisket back into grill and reinsert the temperature probe.
- When brisket reaches 205F pull brisket from grill,

- If you have a Cambro let brisket rest for at least an hour. No Cambro? Then use a cooler with towels.

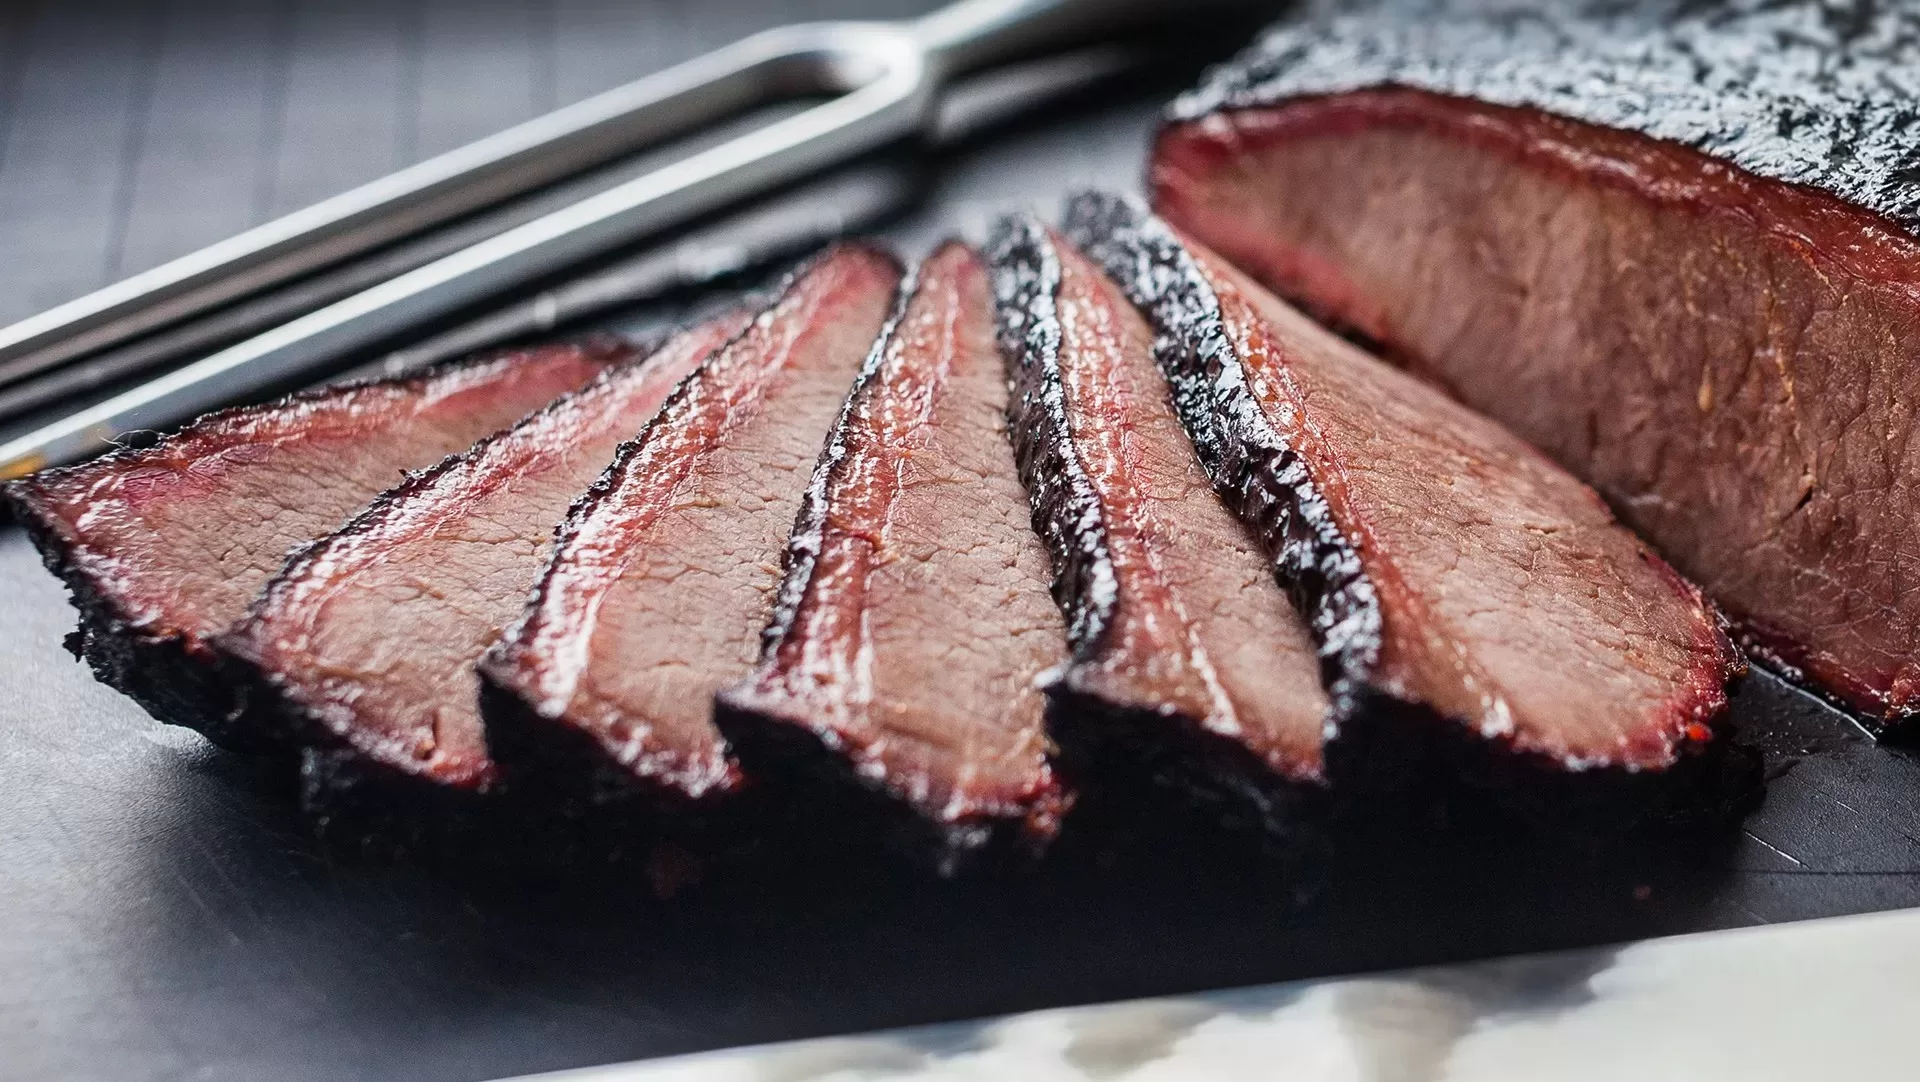
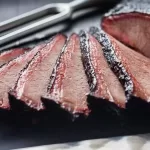
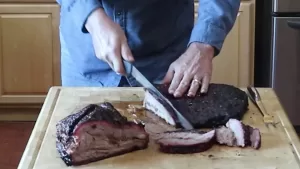
- After resting separate the point from the flat and then slice the flat against the grain.
- Here is the flat sliced and put on a platter. Please note the great smoke ring and how moist the brisket is.
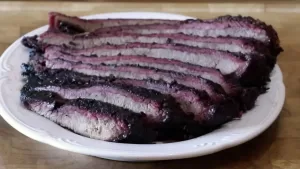
- Complete 15 pound brisket prepared and cooked in less than 8 hours. Might be my best brisket recipe to date.
Video
Nutrition