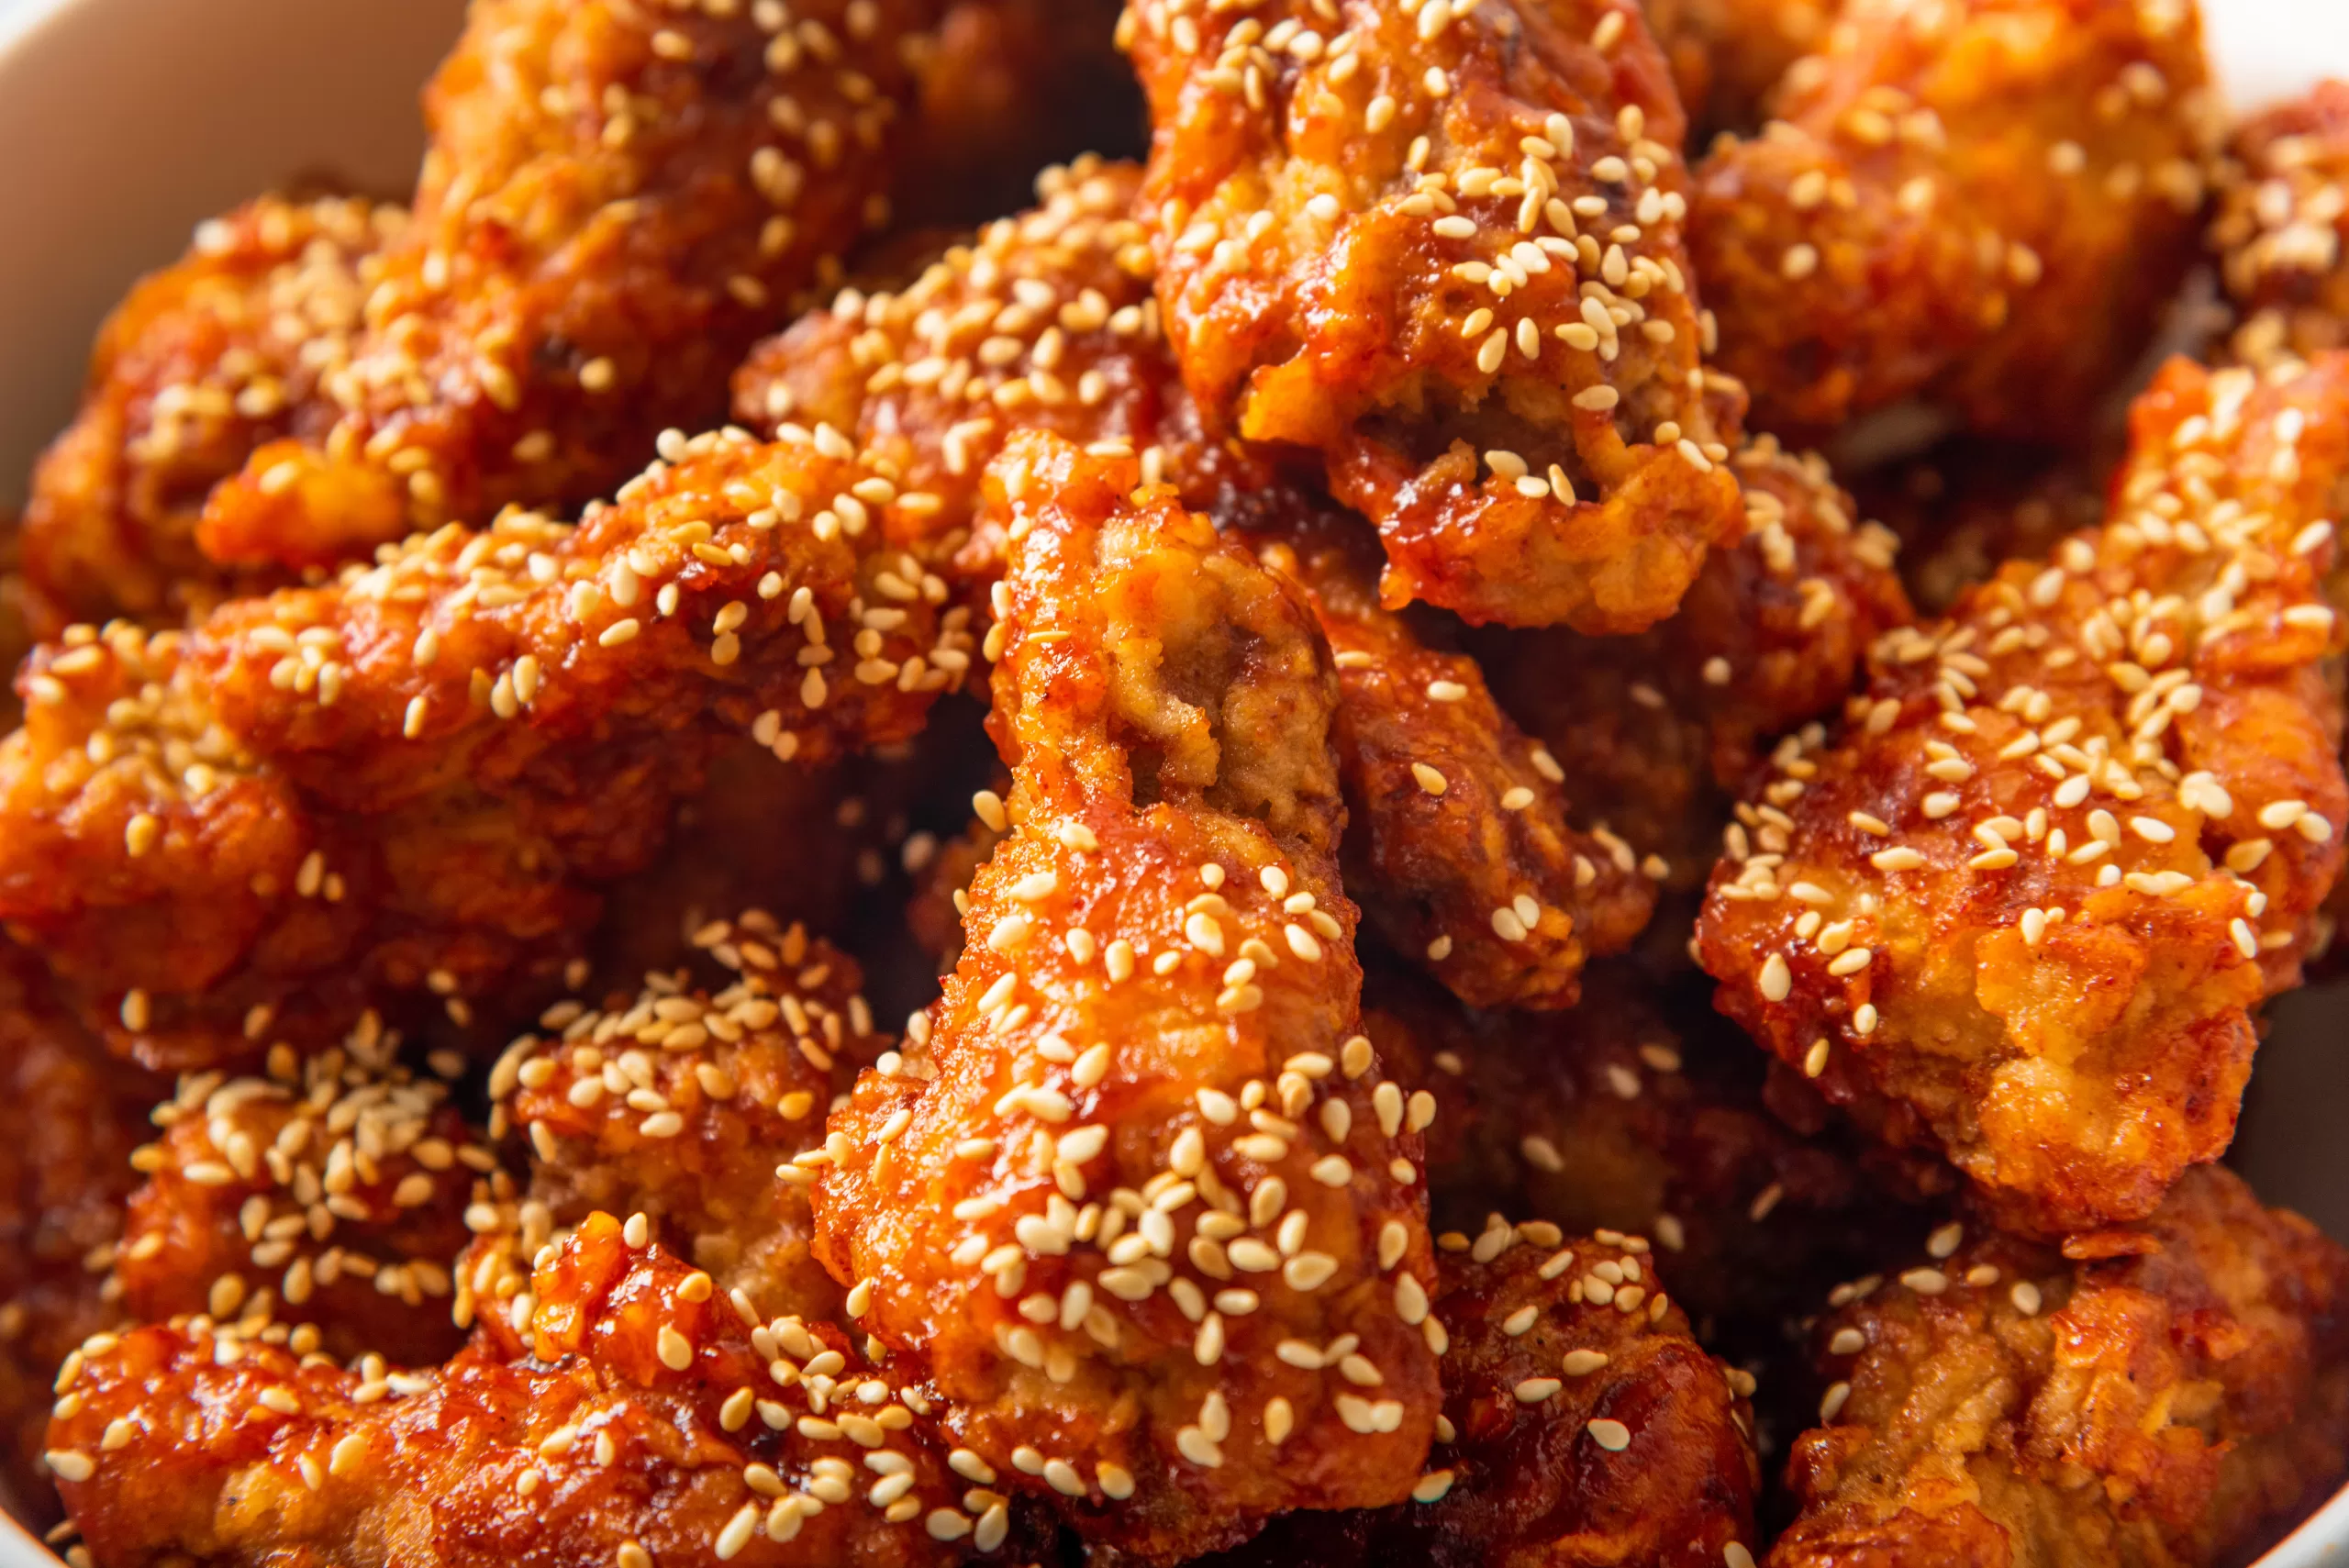
Craving that crispy, juicy Korean Fried Chicken magic? Ditch the deep fryer and embrace the griddle for a healthier, creative twist on this beloved dish! This recipe is all about flavor, texture, and fun, so grab your apron and let’s get cooking!

Griddle-tastic Korean Fried Chicken: A Crispy, Flavorful Adventure!
Craving that crispy, juicy Korean Fried Chicken magic? Ditch the deep fryer and embrace the griddle for a healthier, creative twist on this beloved dish! This recipe is all about flavor, texture, and fun, so grab your apron and let’s get cooking!
Print Recipe
Equipment
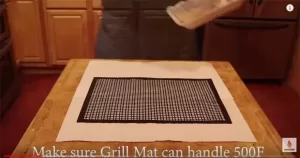
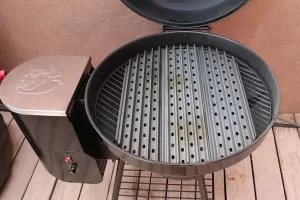
- 1 Griddle
Ingredients
For the Marination:
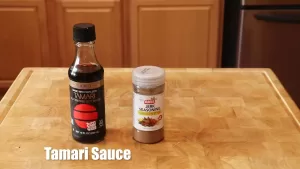
- 1/4 cup soy sauce
- 2 tablespoons grated ginger
- 2 tablespoons minced garlic
- 1 tablespoon gochugaru Korean chili flakes
- 1 tablespoon honey
- 1/2 teaspoon black pepper
For the Double-Coating:
- 1/2 cup cornstarch
- 1 cup all-purpose flour
- 1 egg beaten
- 1/2 cup water
- 1/2 teaspoon baking powder
- 1/4 teaspoon salt
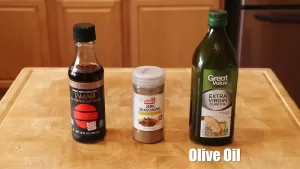
- Vegetable oil for frying
For the Gochujang Glaze:
- 1/4 cup gochujang
- 2 tablespoons soy sauce
- 1 tablespoon honey
- 1 tablespoon sesame oil
Instructions
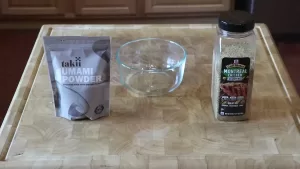
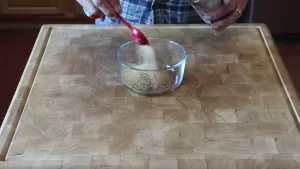
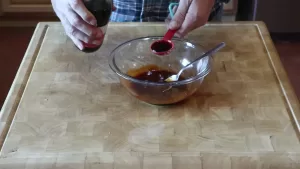
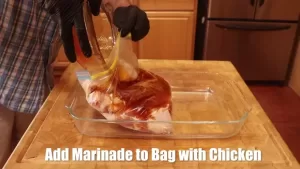
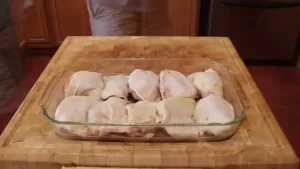
- Marinate to Mellow: Combine all marinade ingredients in a bowl and toss in your chicken pieces. Let them soak in this flavorful bath for at least 4 hours, or overnight for maximum yum factor.
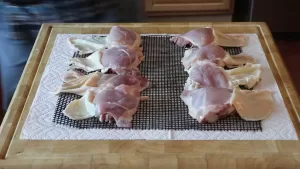
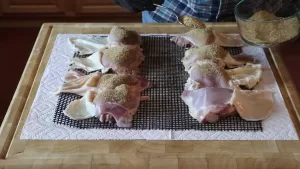
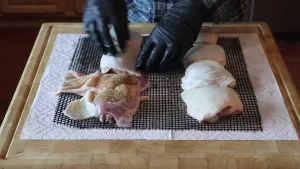
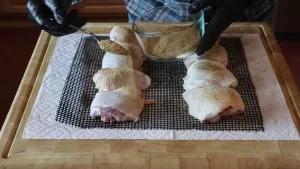
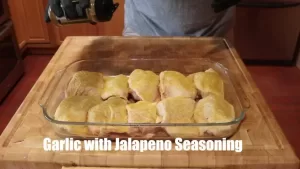
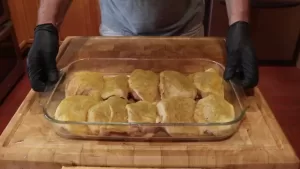
- Double Coat for Crunch: Dust your marinated chicken in cornstarch. Then, whisk together the flour, egg, water, baking powder, and salt in a separate bowl. Dip each piece in the batter, letting the excess drip off, then coat again in the cornstarch. Repeat this double-coat magic for a guaranteed crispy bite.
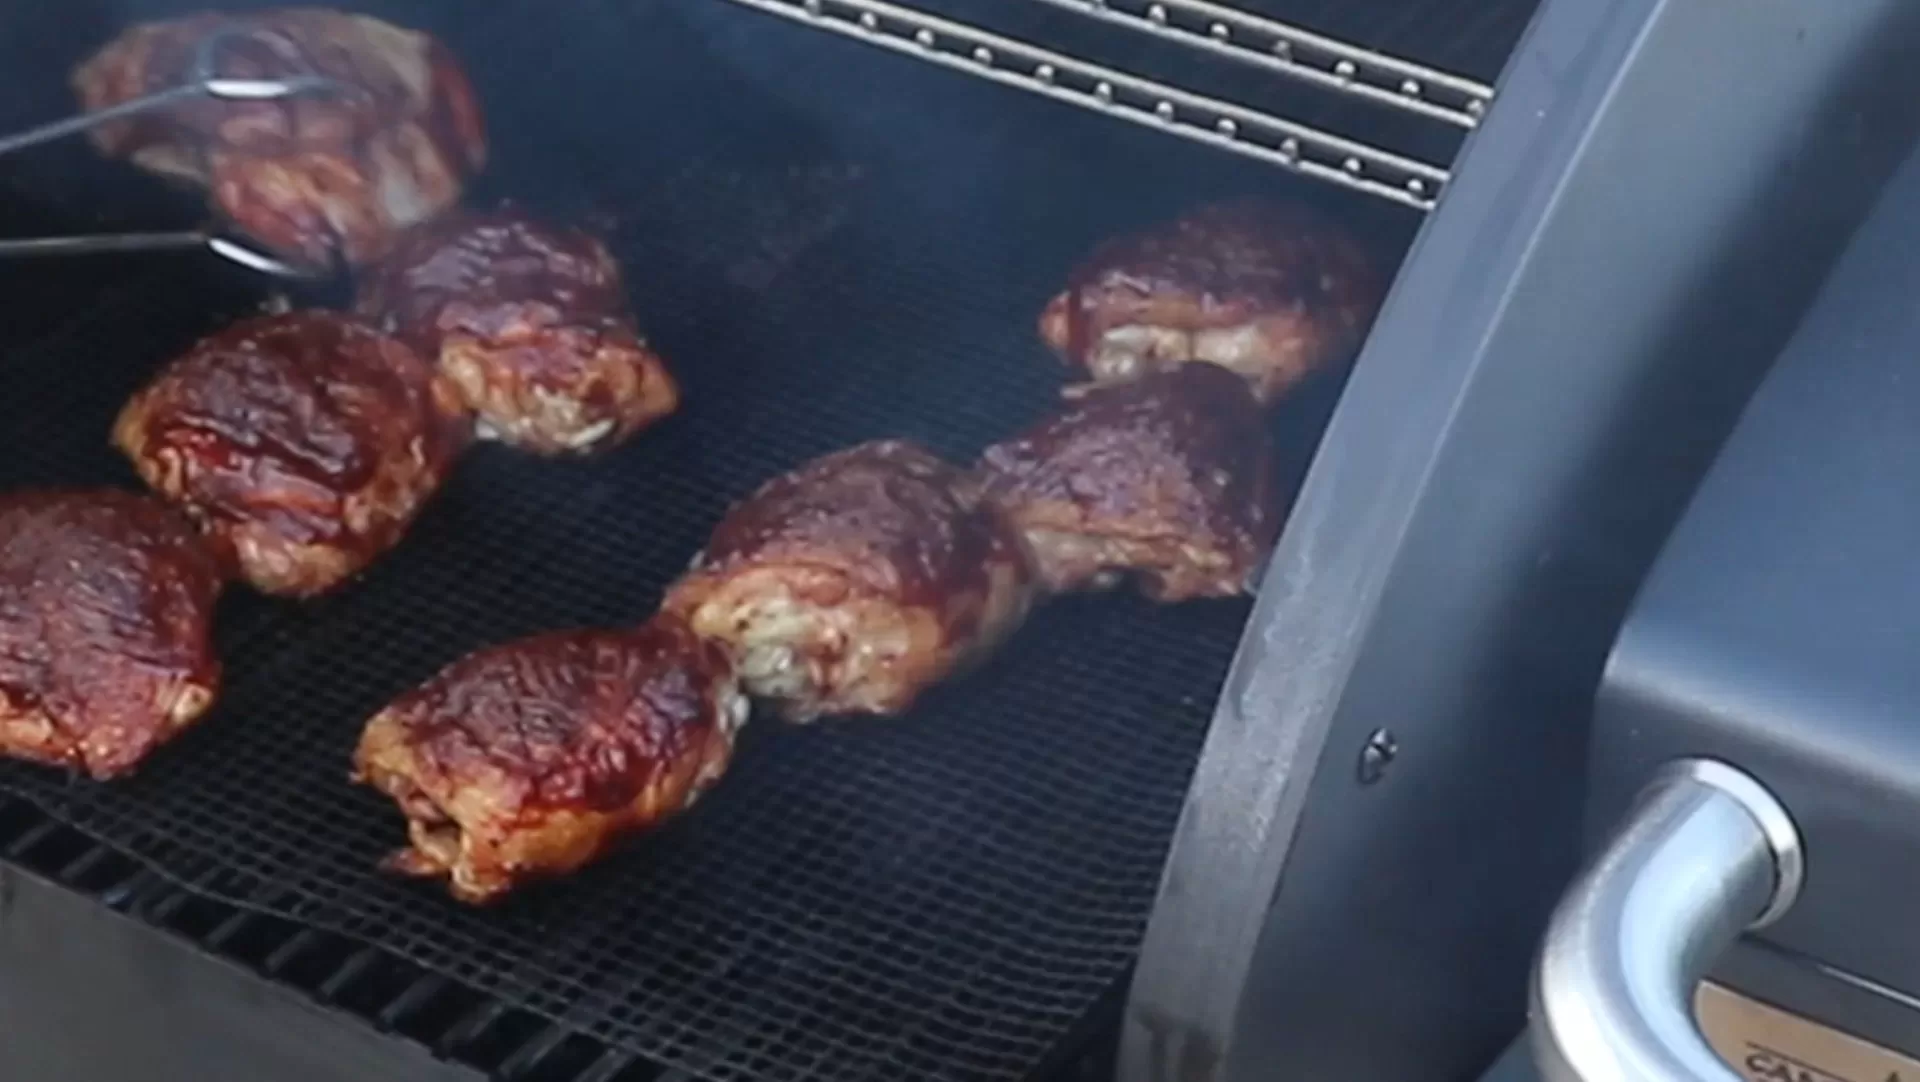
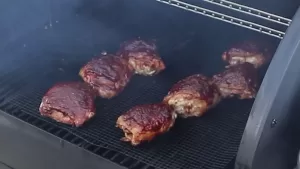
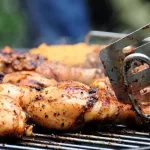
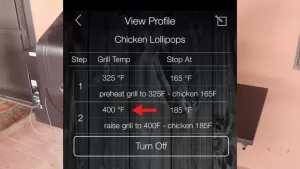
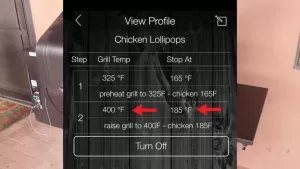
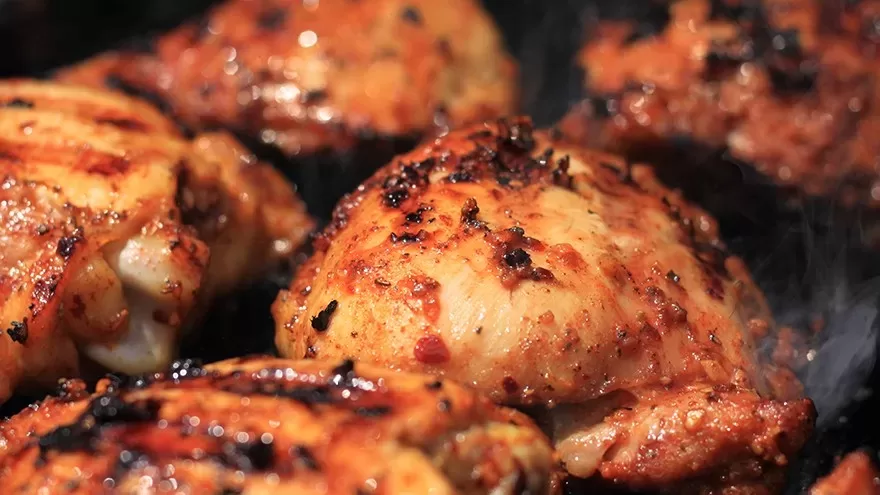
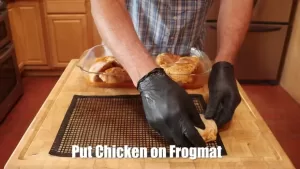
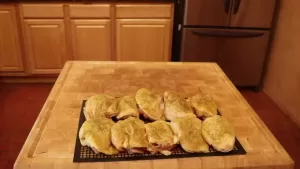
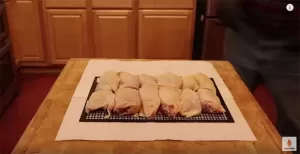
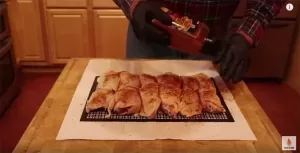
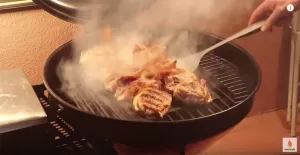
- Griddle Groove: Heat your griddle to medium-high with a thin layer of oil. Gently lay your coated chicken down, leaving space for even cooking. Cook for 5-7 minutes per side, adjusting heat if needed, until golden brown and sizzling with crispy joy.
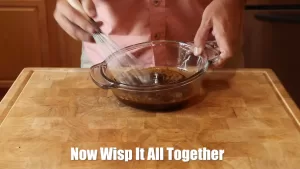
- Gochujang Glaze Mania: While your chicken sizzles, stir together the gochujang, soy sauce, honey, and sesame oil in a small saucepan. Heat gently until simmering and the glaze thickens slightly.
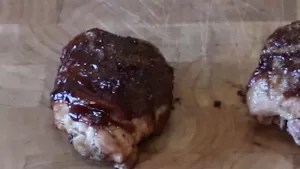
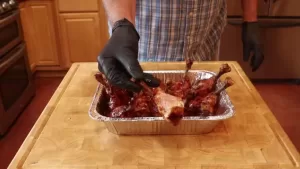
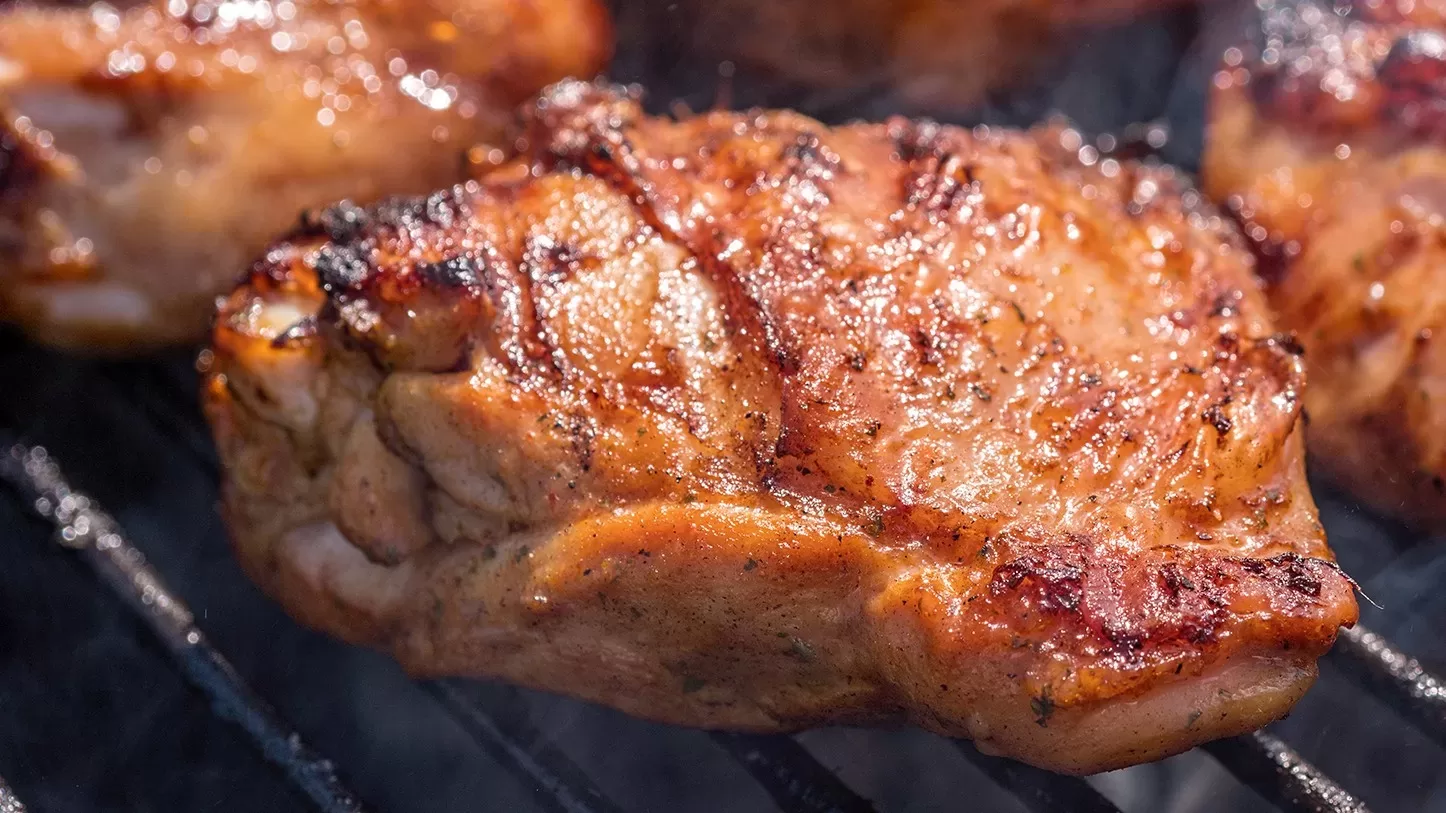
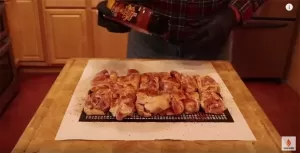
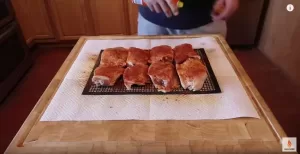
- Brush and Glaze: Once your chicken is cooked through, generously brush them with the gochujang glaze. Watch the colors dance and the aroma fill the air!
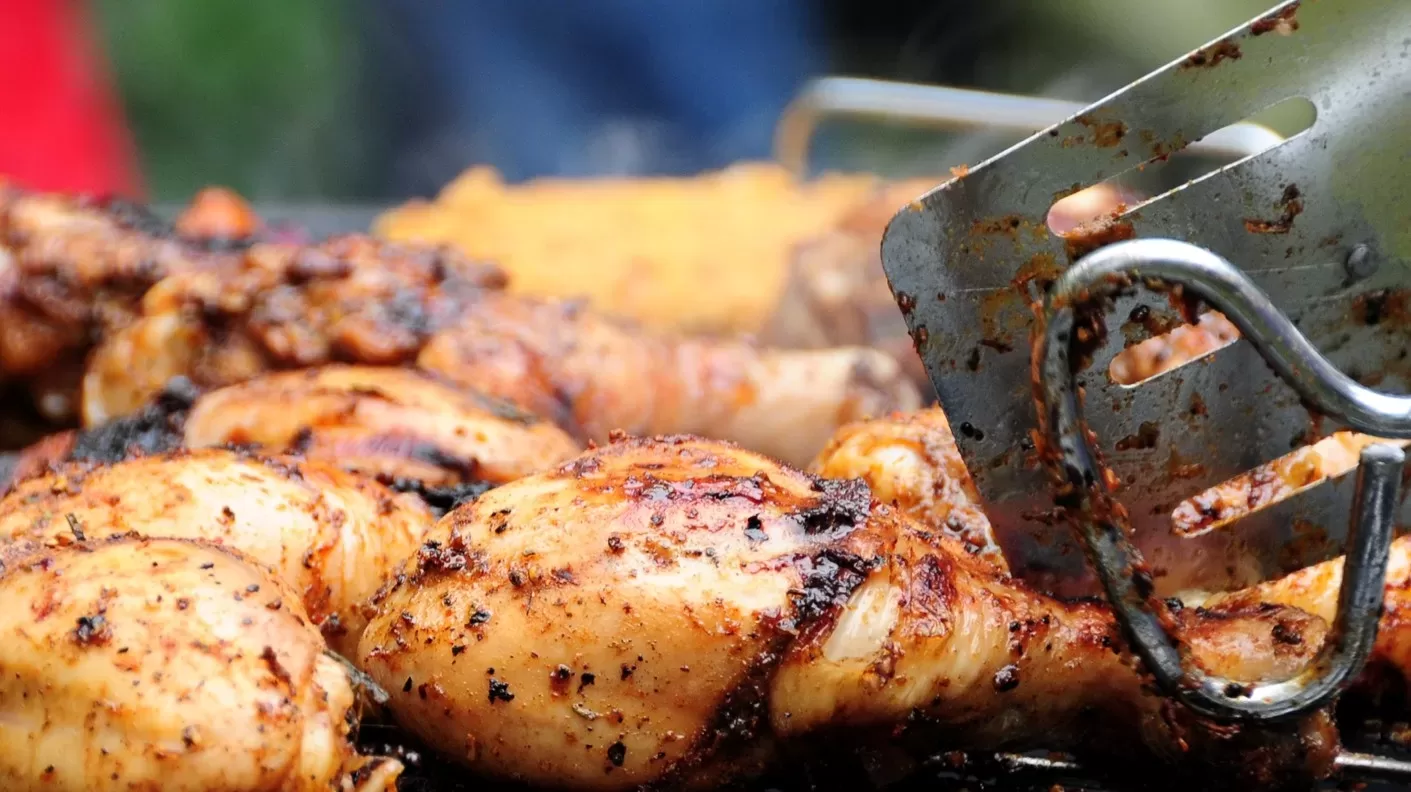
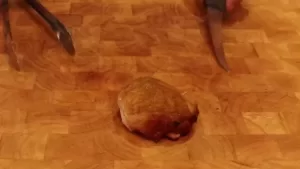
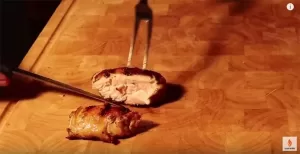
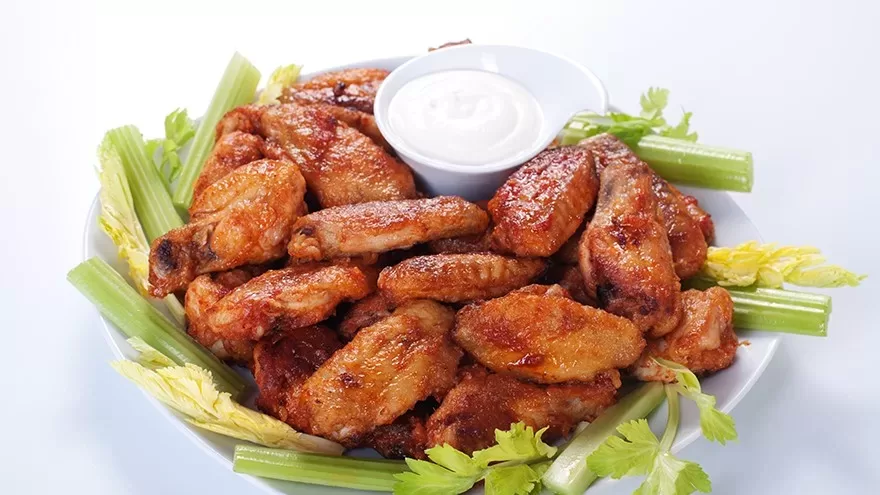
- Serve and Savor: Plate your griddle-kissed KFC and enjoy! Pair them with kimchi, pickled radishes, and your favorite dipping sauces for a complete Korean feast.
Notes
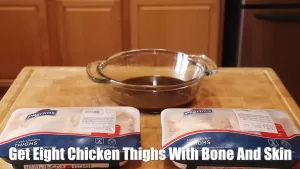
Use bone-in, skin-on chicken pieces for maximum flavor and texture.
Don’t overcrowd the griddle! Cook your chicken in batches to ensure even cooking.
Adjust the spiciness of the gochujang glaze to your preference.
Get creative with your glazes! Experiment with different spices and sauces to personalize your KFC adventure.
Enjoy this delicious, healthy, and inclusive take on Korean Fried Chicken! Remember, food is a celebration of joy and flavor, so let your creativity shine and have fun in the kitchen!
Nutrition
Calories: 400kcal