Rotisserie Turkey on the Wyldside using the ThermoWork BlueDOT

Rotisserie Turkey on the Recteq Wyldside using the ThermoWork BlueDOT

This recipe shows how to cook a 12-pound turkey on a rotisserie using herb butter and using a ThermoWorks BlueDot thermometer to monitor the turkey internal temperature.
Print Recipe
CourseMain Course
CuisineAmerican
Keywordbarbecue turkey, herb butter, rotisserie, rotisserie turkey, wyldside grill
Prep Time30 minutes
Cook Time1 hour 50 minutes
Servings8
Calories170kcal
Cost25

Ingredients

Cooking Tools

  • 15.4 Pound Lump Charcoal
  • 1 Bag Hickory Chunks

Cooking Ingredients

Instructions

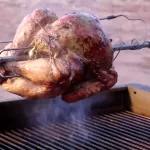
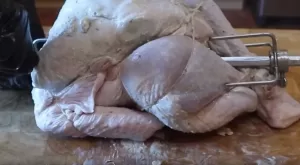
  • Here what it looks like when I first put the turkey on.
    The rotisserie handled this 12-pound turkey like it weighed nothing.
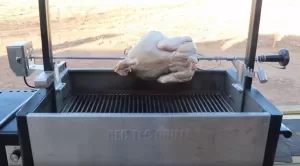
  • The ThermoWorks BlueDOT also ran flawlessly and its round design and two powerful magnets in the back made attaching it rather easy.
  • To attach the BlueDOT all I needed was a round disk used to mount phones magnetically to your dash.
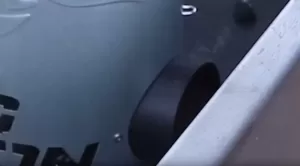
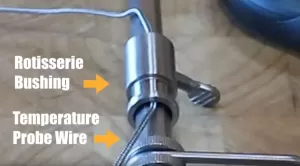
    To attach the BlueDOT you need to route the BlueDOT temperature probe wire through the rotisserie bushing. This bushing allows the spit to turn freely on the grill.
  • Wipe the spit handle clean and remove the paper so the adhesive is exposed
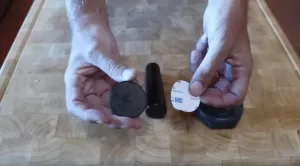
  • Now center the disk at the end of the handle.
    I felt it was easier to put the disk on the table and then center the handle.
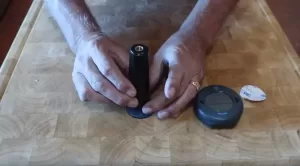
  • With disk attached to handle take the blue dot and test how secure it is.
    I was amazed at how strong the magnet was and how secure the BlueDOT became on the handle.
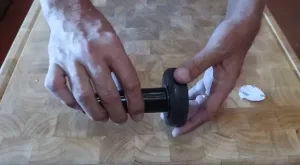
  • Now before you attach the handle just make sure the probe cable can be attached to the BlueDOT and also that the temperature probe can be inserted into the turkey.

    Now screw the handle back on to the spit.
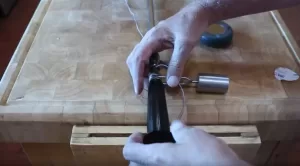
  • Because your cable is going to be a lot longer than you need I wrapped the excess cable around the handle before inserting the cable into the BlueDOT.
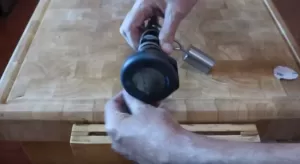
  • Now it is time to prep the turkey.
    I borrow this recipe from Gordon Ramsey and it is great at keeping a turkey moist.
    The secret is making an herb butter.
    Your start with 2 sticks of unsalted butter.
    1 Tablespoon of Sage
    1 Tablespoon of Rosemary
    1 Tablespoon of Thyme
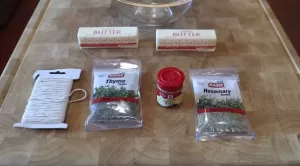
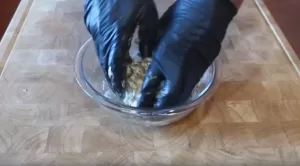
  • Now clean your hands and put on a pair of food preparation gloves and go for it.
    You need to make sure every inch of butter is mixed with the spices.
    Now put the herb butter in the refrigerator and let all those spices become one with the butter.
  • Now on to the turkey.
    Got this 12 pound turkey at Sprouts Farmer Market. It is fully natural and has not been injected with salt.
    If you see the words enhanced when you by a turkey it means they injected salt into the turkey. The only thing that is enhanced is the companies bank account.
    For the salt makes the turkey weigh more when it is bought.
    Also, you should never brine an enhance turkey and also an enhanced turkey does mean it is brined. It is not.
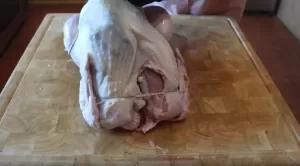
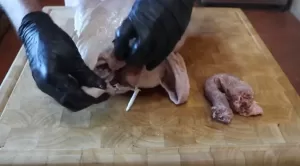
    As you see I am removing all the accessories. You do not need any plastic holding legs or a popup temperature gauge that guarantees an overcooked turkey.
    Do keep the neck and all the gizzards for they make a great gravy.
  • Now its time to tie up this bird. You do not want the legs and wings dangling on the rotisserie.
    I separate the job into two twines. One twine to hold the wings in tight and then a second twine to secure the leg s and also hold the skin tight.
    Take twine and loop behind the wings then go around the turkey and secure the wings.
    Make sure you cut the loose ends of the twine so they do not get close to the fire..
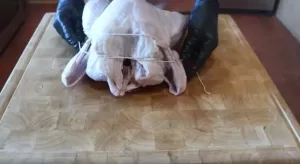
  • With the wings tied get a second twine and loop it around the breast bone and follow behind each leg.
    This will push up the breast and also pull the legs up so the skin will tighten and will cook evenly.
    Put the legs together with one on top of the other and wrap legs with twine.
    Flip the bird over and then circles twine over the pope nose and pull twine tight and tie.
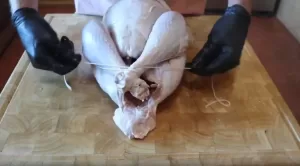
  • Now make final adjustments and get ready to apply herb butter.
    Before the butter can be applied you need to separate the skin from the breast.
    With your finger push slowly but firmly between the breast meat and the skin.
    Do this from both sides of the cavity.
  • Now go get he herb butter and put it into the microwave for around 20 seconds and soften it up.
    Now apply butter on every inch of the breast under the skin.
    As you put more butter in with one hand use the other hand to even out the butter.
    This butter is going to give you a very moist turkey with a perfectly golden turkey skin and the herbs will add those subtle flavors we all crave when we have thanksgiving turkey.
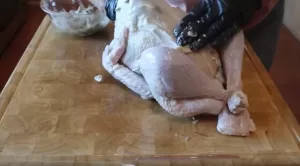
  • When you are done covering the breasts then cover every inch of skin on the outside and also in the cavity.
    More butter means better self-basting as the bird turns on the rotisserie.
    Now you know where the name Butterball came from.
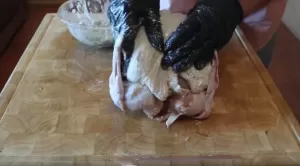
  • Make sure you get into all the crevasses and also underneath the twine.
    Now it is time to put the turkey on the spit rod.
    With the turkey laying with the breasts facing up put spit rod through the top cavity and then the lower cavity making sure the rod is above the legs.
    Insert spit rod fork into the upper part of the breasts
    Now put the other spit rod fork and make sure both legs are secured by the fork.
    Now using plyers make sure both forks are secured.
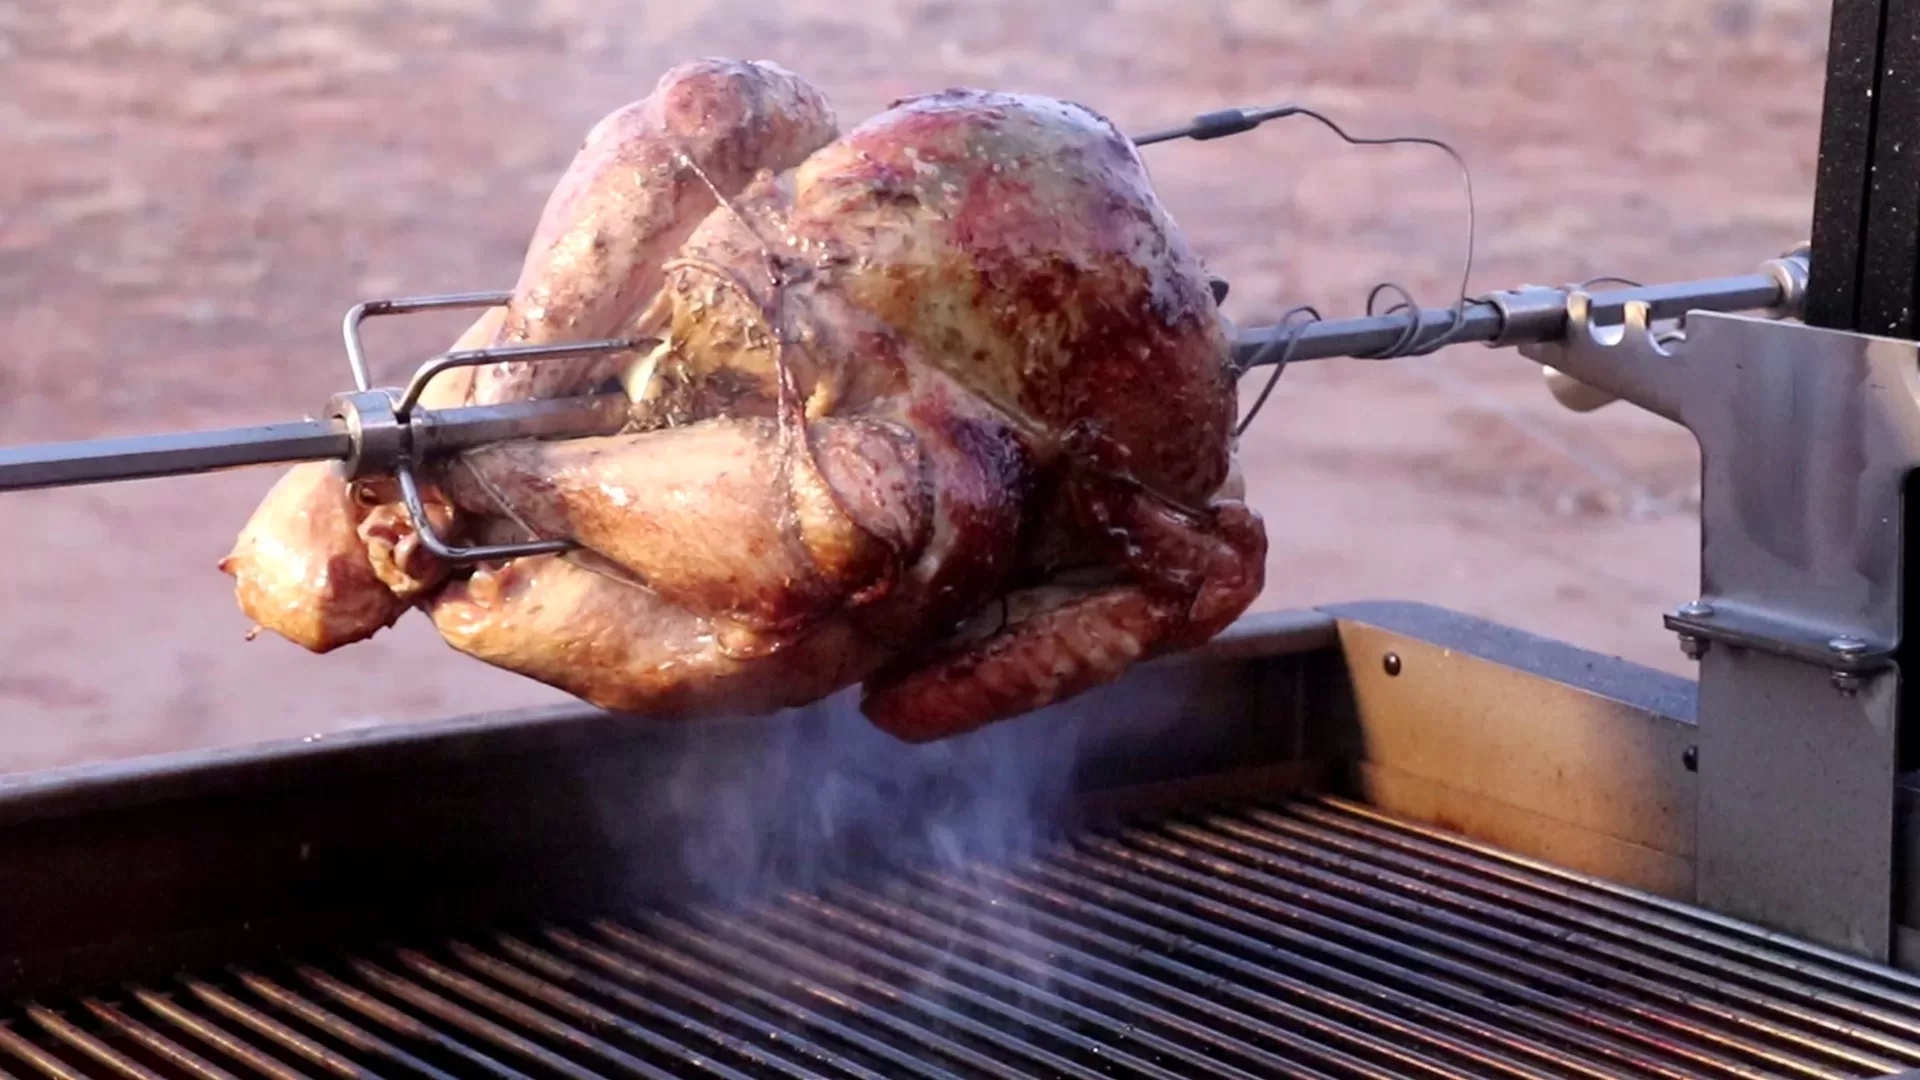
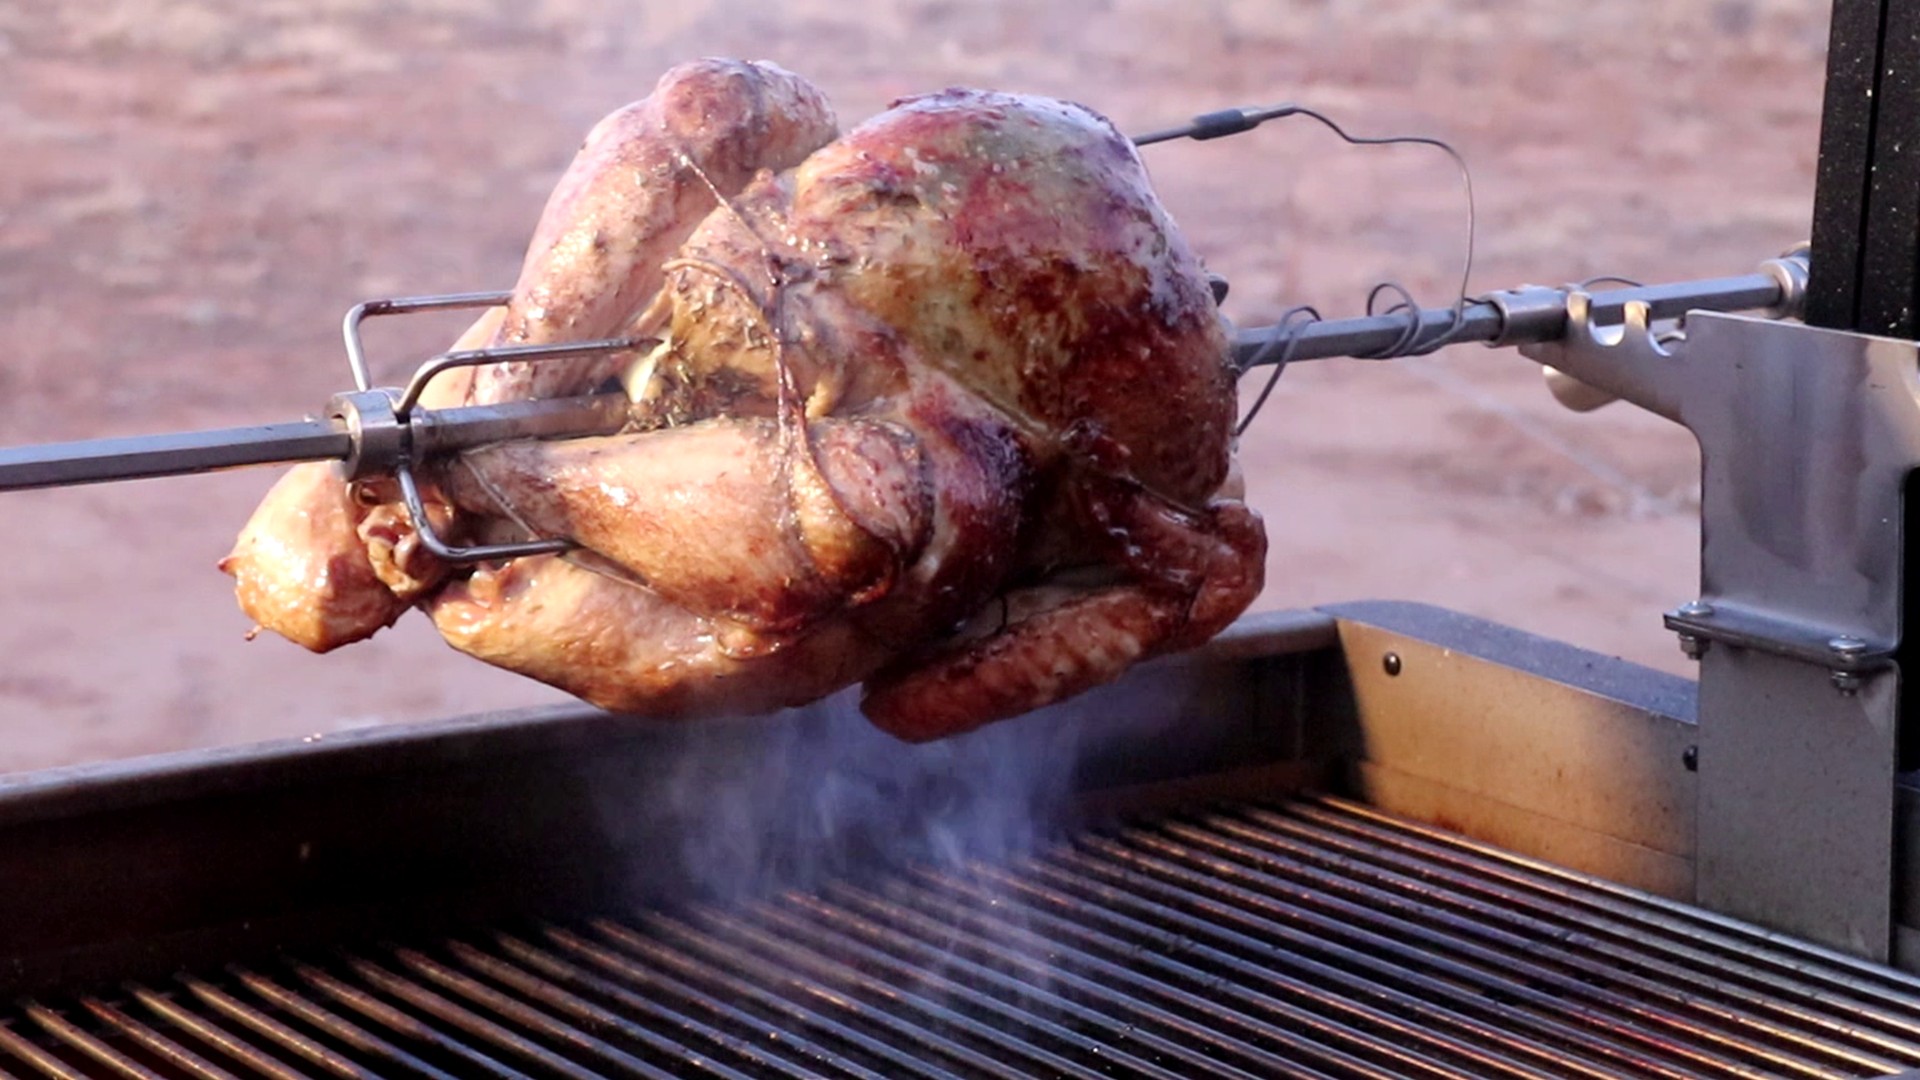
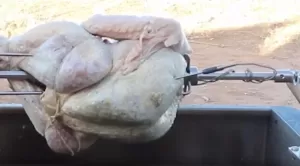
  • Now it is time to get this turkey on the grill and as you can see the rotisserie is turning freely without any hesitation and the bird is not flopping around.
    The BlueDOT temperature probe is also inserted into the thickest part of the breast.
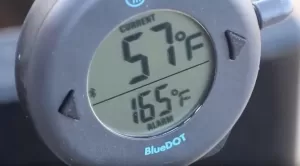
    Here is the BlueDOT only minutes after I put the turkey on.
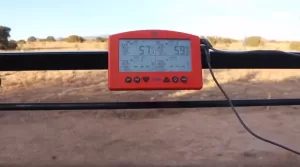
  • Turkey's temperature is 57 degrees and the alarm is set for 165 degrees. As you can see very easy to read the display.
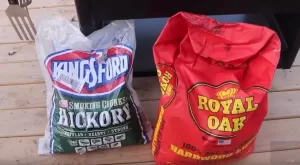
    For cooking fuel, I am using Royal Oak lump charcoal and Kingsford hickory smoking chunks.
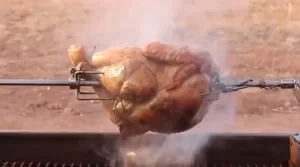
  • Here is the turkey a little over halfway through the cook and you see how evenly the bird is cooking.
  • The Wyldside pit area maintains an even and consistent heat due to the heavy large metal plate at the bottom of the pit.
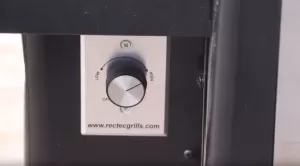
    In addition, it has a variable speed blower that acts like bellows giving the fire additional oxygen.
    Now here is the ThermoWorks app showing not only the turkey temperature but shows the complete graph of the cook.
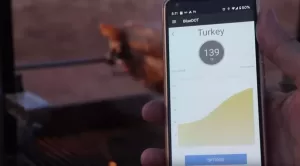
  • When turkey hit 160F I then pulled turkey and covered in foil to rest. Over the next 30 minutes, the turkey temperature raised to 165F and the turkey was ready to be served.
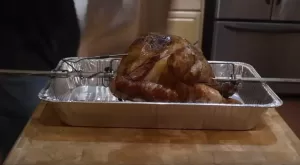
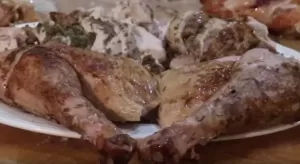
  • Cook time before the rest was 1 hour and 53 minutes. The total time from start to finish was 2 hours and 23 minutes. The turkey came out very moist and was full of flavor from the herb butter.
Video

Nutrition

Serving: 3oz | Calories: 170kcal | Protein: 18g | Fat: 4.4g | Saturated Fat: 1.2g | Polyunsaturated Fat: 1.2g | Monounsaturated Fat: 1.5g | Sodium: 96mg

Tri Tips Seared in Duck Fat on the Recteq Wyldside Grill

Tri Tip Seared in Duck Fat

A recipe showing how to cook on the Recteq Wyldside Grill. This one is all about Tri-Tips using duck fat to sear. This recipe will also work if you have a Santa Maria Style Grill or even an Argentinian Grill.

Trip Tips Seared in Duck Fat on the Wyldside Grill

A recipe showing how to cook on the Recteq Wyldside Grill. This one is all about Tri-Tips using duck fat to sear. This recipe will also work if you have a Santa Maria Style Grill or even an Argentinian Grill.
Print Recipe
CourseMain Course
CuisineAmerican
Keywordargentinian grill, rec tec wyldside, santa maria style bbq, santa maria style grill, tri tip, wyldside grill
Prep Time20 minutes
Cook Time45 minutes
Servings8
Calories500kcal
Cost30

Ingredients

Cooking Tools

Food Ingredients

Instructions

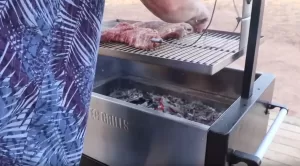
  • In this recipe, we will be cooking and searing Tri-Tip roasts
    on the Recteq Wyldside Grill.
    The Wyldside grill is an Argentinian or some would say a
    Santa Maria style BBQ.
    The cooking fuel will be lump charcoal and hickory wood
    chunks.
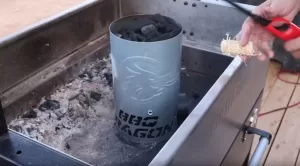
  • We will need a very hot fire and it all starts with the BBQ Dragon Chimney Starter.
    First, we fill the starter all the way with lump charcoal.
    Then using a tumbleweed starter I light and then push the starter to the middle of the chimney using the access port on the side of the BBQ Dragon chimney.
    To help with the lighting, the Wyldside has vent holes that part powered by a fan, all around the base of the fire pit.
  • To help with the lighting, the Wyldside has vent holes that part powered by a fan, all around the base of the fire pit.
    Here I show the port and how I am pointing it towards the vents at the base.
  • We now turn on the fan to high and let the chimney and charcoal come up to temperature.
    As you can see the charcoal is well on its way. So while the charcoal is lighting we move into the kitchen to prepare our Tri Tips.
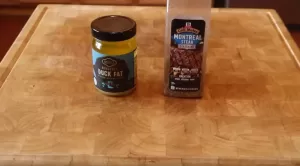
  • Here are the ingredients we will be using.
    Duck Fat and Montreal Steak Seasoning
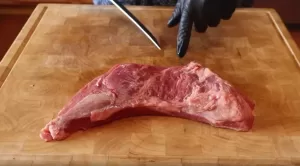
  • And two 2.5 pound tri tip roasts
    A little trivia. The Tri Tip was created by Bob Schultz in Santa Maria, CA in the 1950s. Before Mr Schultz this cut of meat was used to make hamburgers.
    As you can see the roast has three points like a triangle. Hence the name Tri Tip.
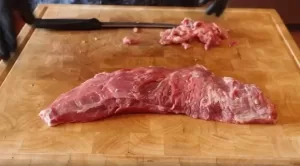
    Before cooking, we need to remove external fat and silver skin.
  • Because this is not a big piece of meat I take small cuts until I can see the outside is mainly meat.
  • After trimming you can see that the outside of this roast should really sear well.
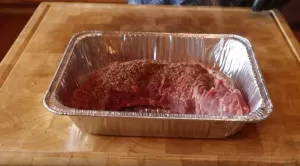
    Now it is time to season the meat. I put the meat into a foil pan so cleanup is easy.
    Now with the Montreal steak seasoning, I liberally put the seasoning on.
    Montreal Steal seasoning is your standard SPG, salt pepper and garlic with few extras added.
    With the meat totally cover in rub it is now off to the grill.
  • We now lay the coals in the middle of the fire pit.
    Now add the hickory wood chunks
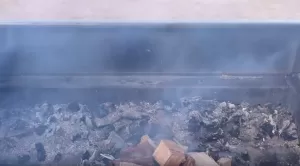
    As the wood chunks are added you can see the wood starts to smoke and the fire becomes very hot.
    Also, the vents and fan are adding even more oxygen to the fire.
  • We then add another layer of lump charcoal.
    The wood is already producing flame and now we want to movewood and coals so we have a focused cooking area.
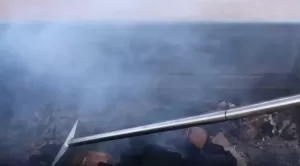
    Using the rack we try and equally distribute the wood among the coals.
  • With coals and wood ready we now lower the grate into the grill.
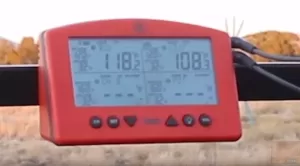
  • Here you can see my favorite thermometer. Signals by Thermoworks.
    Here is the fire with both flame and smoke. Perfect for cooking these tri-tips.
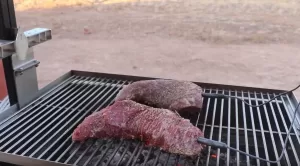
  • In the grate, up position, the tri-tips are placed on the grate.
    The temperature probes from the signals thermometer are inserted into the two tri-tips.
  • The grate is then lowered to the point that the flames just kiss the meat but do not char the meat.
    The tri-tips are turned about ever 2 to 3 minutes.
    The tri-tips will be ready to sear when they reach an internal temperature of 120F.
  • Here you can see one tri-tip is at 118F and just about ready to pull.
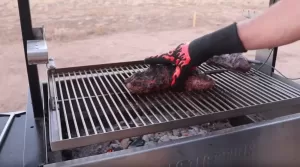
  • With the one tri-tip done we move it off to the side, so it can stay warm.
    Then as the second tri-tip hits 120F we also move it off the heat too.
    I highly recommend some real good BBQ gloves like the BBQ Dragon Extreme Heat Resistant BBQ Gloves
    By far the best BBQ gloves I have ever used.
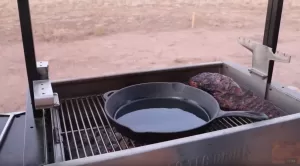
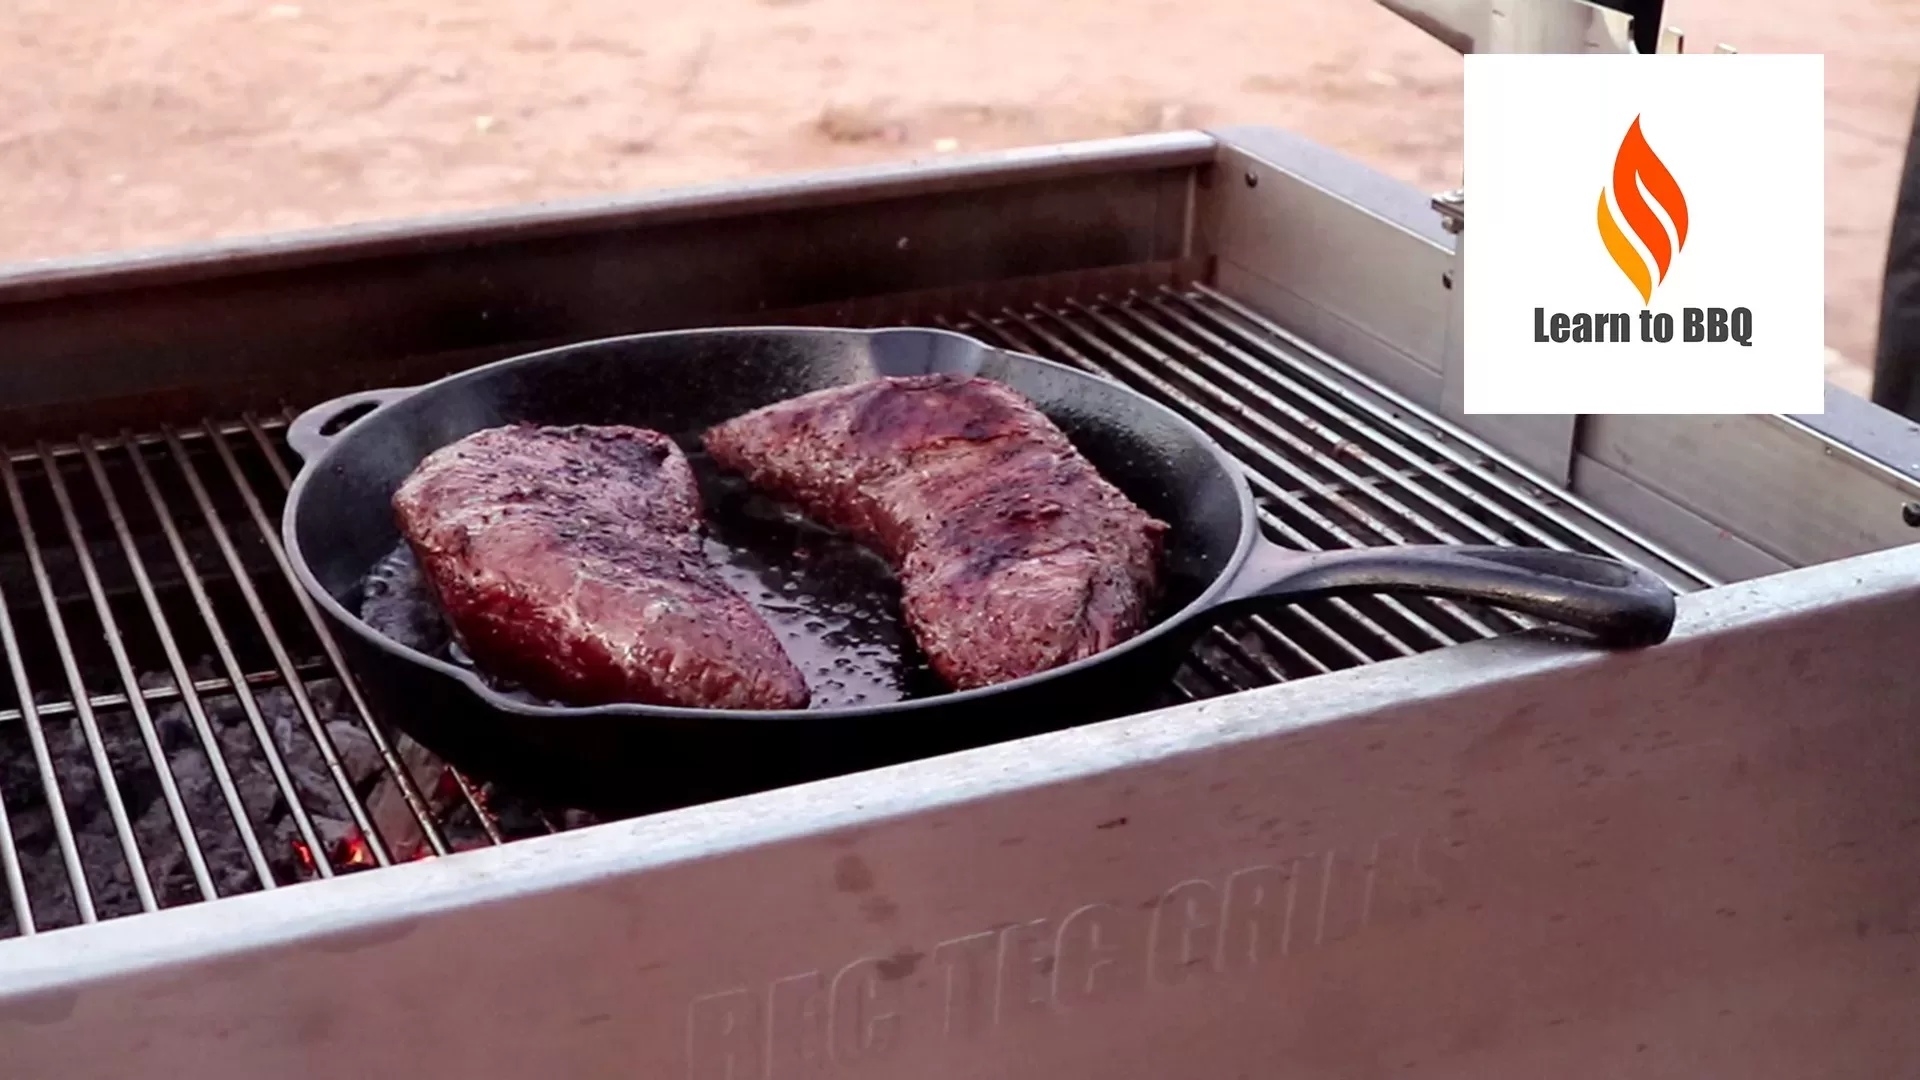
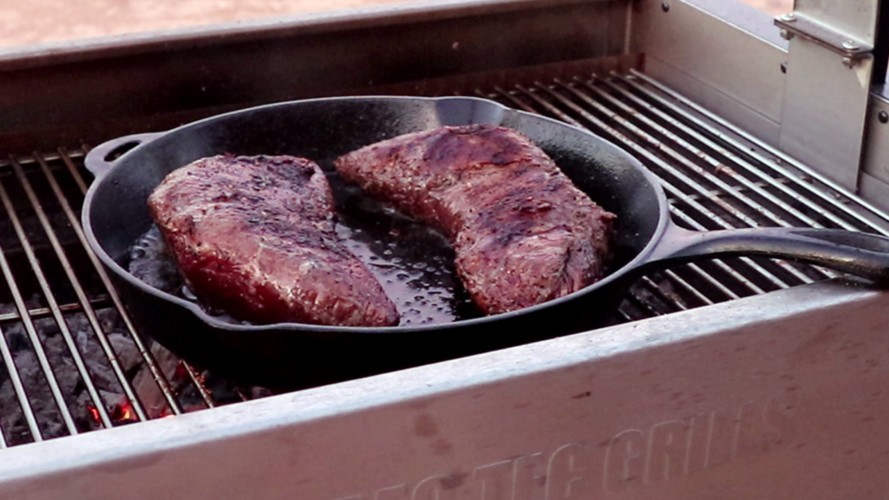
  • Now it is time to get a large 15 inch cast iron skillet. This one is a Lodge.
    Now the duck fat.
    Why duck fat? It does not burn at high temperature so no free radicals so it stays healthy for you. It also has a neutral taste so it doe not change the taste of the meat.
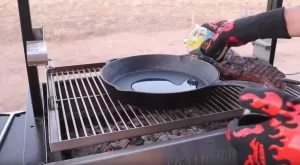
    Pour duck fat into skillet and let the oil come up to temperature.
  • Coat the bottom of the skillet and the lower the grate so it is very close to the coals.
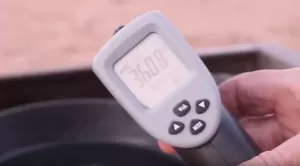
    Remove meat temperature probes and then start monitoring the skillet temperature using an inferred thermometer.
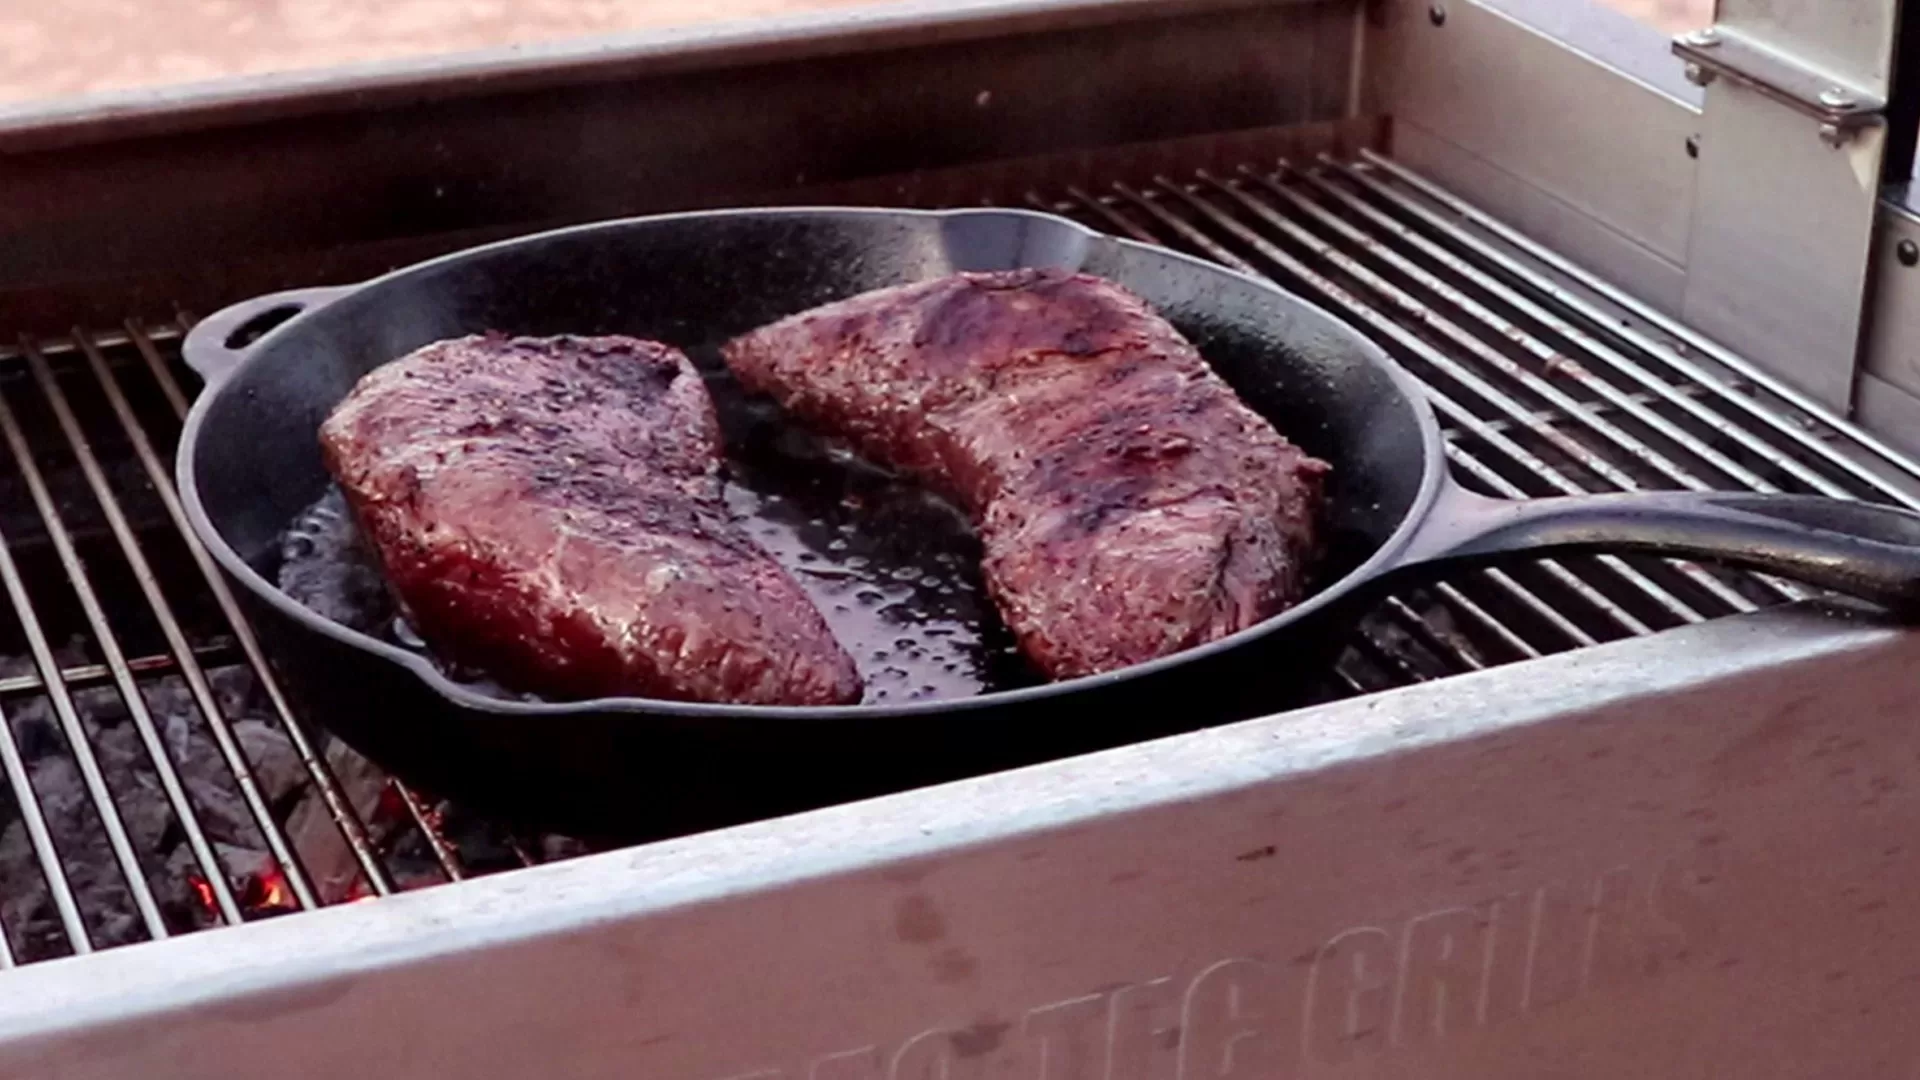
  • The correct searing temperature is 360F.
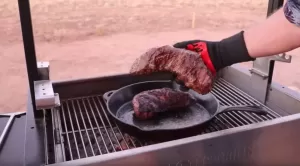
    Now do not do this unless you have extreme temperature gloves on.
    As I seared these tri-tips I noticed how the meat actually became more pliable and the color became even in color like a well-cooked steak.
    Total searing time was around 2 minutes
  • The nice thing about the gloves is you could actually feel when the meat was done.
    They looked perfect and it was time to pull.
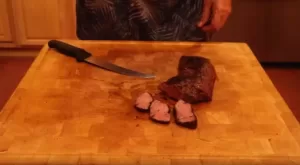
  • Always cut against the grain and in a tri-tip that means you change the cut when you reach the middle.
    Tri-tip cut easy and it tasted great.

Video

Nutrition

Serving: 8oz | Calories: 500kcal | Protein: 60g | Fat: 12g | Iron: 8mg

What is Santa Maria Style Barbecue

santa maria style barbecue

So we start with the question? What is Santa Maria Style Barbecue?

Well, I will tell you what it is not Argentinian Barbecue or Asado.

The physical grills are similar but the barbecue that comes off those grills is very different.

Let’s start with where is Santa Maria valley.

It is positioned in a valley by the pacific coastline. 150 miles northwest of downtown Los Angeles and about 65 miles northwest of Santa Barbara.

map of santa maria

The city is notable for its wine industry and Santa Maria-style barbecue.
Sunset magazine called Santa Maria “The West’s Best BBQ Town

wests best bbq town

So what is so special about santa maria?

First the weather is perfect for year round growing of grass. The average highs in July are 74 F and the lows 54 F. In January the average highs are 66 F and the lows 39 F. The last time they had snow was 1945.

santa maria weather

With ideal weather and location In the 1800s, the land was divided into large cattle ranches. The outlines of which still define roads and town boundaries today.

Santa Maria-style barbecue is thought to have evolved in the mid-1800s, in the valley of Santa Maria. Local ranchers would host Spanish-style feasts each spring for their vaqueros or cowboys, following big cattle roundups.

Spanish style feasts

They barbecued meat over pits filled with hot coals of local red oak.

In 1931, the Santa Maria Club started a “Stag Barbecue. This was held on the second Wednesday of every month, with up to 700 patrons attending each event.

Stag Barbecue

stag barbecue santa maria

Over the years, the legend of Santa Maria Style Barbecue grew, turning a local treasure into a major attraction.

In those early days, the favored cut was top-block sirloin. The meat was rolled in a mixture of salt, pepper, and garlic salt before being barbecued. Cooked over the red oak coals, which contribute a smoky, hearty flavor.

top block sirloin santa maria

In the 1950s, a local butcher named Bob Schutz perfected the tri-tip, a triangular bottom sirloin cut that quickly joined top-block sirloin as a staple of Santa Maria Style Barbecue.

Tri-Tip

tri tip santa maria

President Ronald Reagan was an avid fan of Santa Maria Style Barbecue. Local barbecue chef Bob Herdman and his “Los Compadres Barbecue Crew” staged several barbecues for President Reagan, including five feasts on the South Lawn of the White House.

So what is a Santa Maria Style BBQ grill?

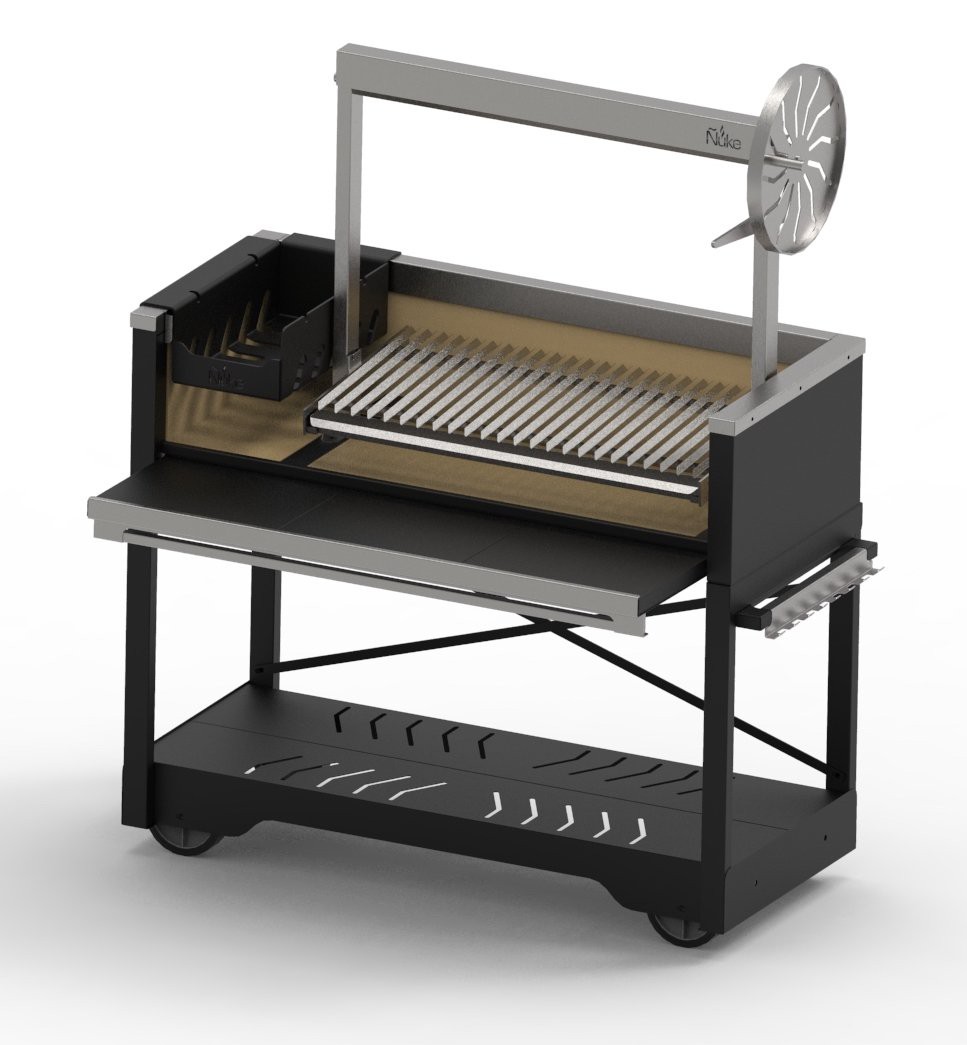
It is a grill that had a large pit area that’s primary fuel is wood or lump charcoal with wood.

It also has a grate that can be raised or lower depending on how much heat you want to apply to the food.

The other way the pitmaster can control temperature is just by using a shovel or rack to move the coals around.

The grill I have also has a rotisserie accessory that is connected to the grate allowing you to move the food on the rotisserie up and down giving you great control over the cook.

As you can see Santa Maria Style BBQ is a simple but effective way to prepare barbecue. It has a 200-year history and if you are a BBQ enthusiast like me it is one of the more enjoyable ways to prepare a great meal while showing off your true barbecue skills.

One of the nicest Santa Maria Grills on the market is The Puma.

Why does food taste better on a Santa Maria Style Grill?

Why does food taste better on a Santa Maria Grill vs other ways to cook? Well, there are two reasons. The Maillard Reaction and Caramelization.

The Maillard Reaction is is a chemical reaction between amino acids and reducing sugars that gives browned food its distinctive flavor. Seared steaks, pan-fried dumplings, cookies and other kinds of biscuits, breads, toasted marshmallows, and many other foods undergo this reaction. It is named after French chemist Louis-Camille Maillard, who first described it in 1912 while attempting to reproduce biological protein synthesis.

The reaction is a form of non-enzymatic browning which typically proceeds rapidly from around 140 to 165 °C (280 to 330 °F). Many recipes call for an oven temperature high enough to ensure that a Maillard reaction occurs At higher temperatures, caramelization (the browning of sugars, a distinct process) and subsequently pyrolysis (final breakdown leading to burning) become more pronounced.

With a Santa Maria Style Grill you can put your food in that sweet spot of 280F to 330F by controlling the distance from the flame and heat. Also, the flames give the food a burst of heat off and on meaning the Maillard Reaction and Caramelization are more intense meaning more of the food is affected and just taste better.
Signals Thermometer

https://en.wikipedia.org/wiki/Maillard_reaction