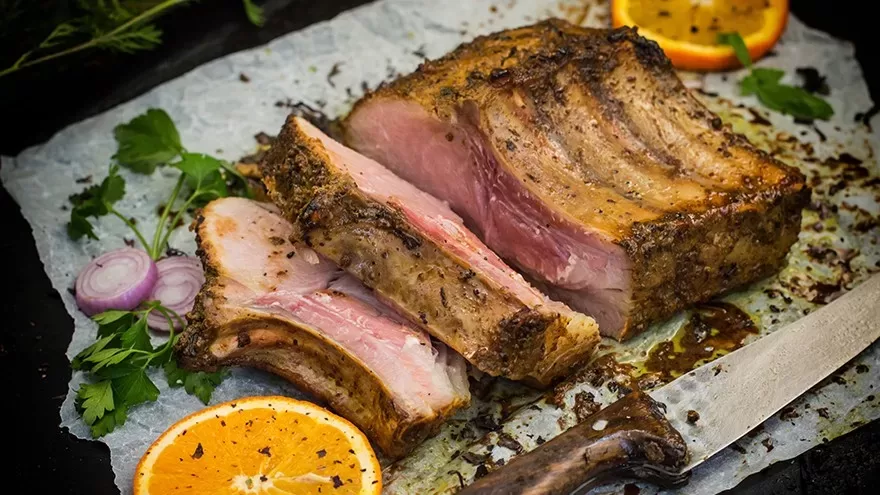

Sous Vide Asian Pulled Pork
This recipe is one of my Sous Vide BBQ recipes that uses the ChefSteps Joule Circulator. The Joule is the smallest circulator out there but is also one of the most powerful due to its 1,100-watt heating element It also has a superior and easy to use app.
Print Recipe
Equipment
Ingredients
Marinade
- 1/4 cup Soy Sauce
- 3 tbsp Go Chu Jang
- 3 tbsp Hoisin Sauce
- 3 tbsp Ketchup
- 3 tbsp Rice Vinegar
- 2 tbsp Clover Honey
- 2 tbsp Sesame Oil
- 2 tsp Chinese 5 Spice Powder
Meat
Mayo for Sandwich
Instructions
- This recipe is one of my Sous Vide BBQ recipe using the ChefSteps Joule Circulator. The Joule is the smallest circulator out there but is also one of the most powerful due to its 1,100-watt heating element Also it’s superior and easy to use app.

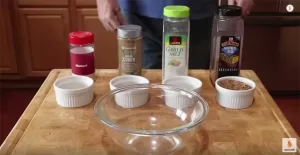
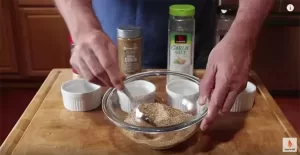
- Now we make the marinade. 1/4 cup of Soy Sauce.

- 3 Tablespoons of Go Chu Jang.

- 3 Tablespoons of Hoisen Sauce.

- 3 Tablespoons of Ketchup.

- 3 Tablespoons of Rice Vinegar.

- 2 Tablespoons of Clover Honey

- 2 Tablespoons of Sesame Oil.

- 2 Teaspoons of Chinese 5 Spice Powder.

- 2 inch Piece of Fresh Ginger, Peeled and Grated.

- Mix it all together.

Prepare Pork Shoulder
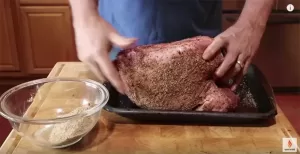
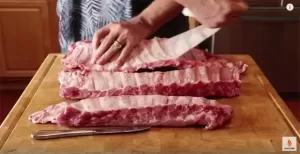
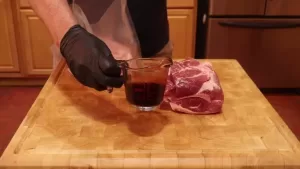
- Here is our 8 pound pork shoulder with blade bone, but it is to big for my vacuum bags so I have to cut it into two pieces. The other advantage of cutting the pork shoulder in half is there is more surface area for the marinate.
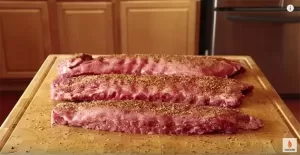
- Now it is time to add the cooking marinate. I split the marinate in half and each bag took just short of a ½ cup. Make sure the lip is clean so the bag can seal.
- Now using vacuum sealer seal each bag removing all air.
- Now with both bags properly vacuum sealed with the marinate it is time to take them to the sous vide bath. Our setup is a 26 quart container and the joule immersion circulator.
- Now it is time to program the cook. I have to admit the Joule app makes this part really easy. First, you select under pork the Simple, Tasty Pulled Pork Shoulder Recipe.
- Now you select a temperature and they even give you there favorite which is what I also picked of 154F.
- The time is set at 24 hours.
- After selecting the time the Joule starts preheating the water. Because the joule has a 1,100 watt heating element it does not take long for it to reach temperature.
- When it hits 154F it starts keeping track of the the cooking time and even tells you when it is going to be done. As you can see it is telling me this cook will be done at 12:11 pm tomorrow.
- When the cook is done the joule app nicely lets you know.
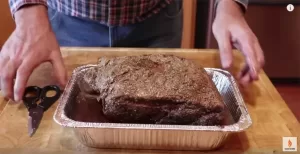
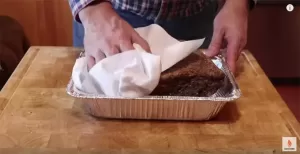
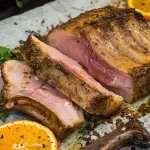
- Now remove from bags and pat dry. You want the outside to be as dry as possible before putting into the smoker grill.
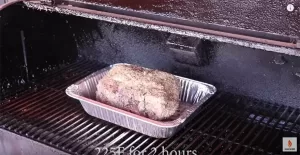
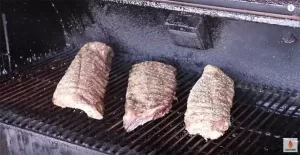
- Pre-heat smoker or grill setup for indirect cooking to 225F . Leave pork shoulders in foil pan for they are already subject to falling a part after the 24 hour sous vide cook. Insert meat thermometer probe into the roast that does not have the blade none.
- Cook pork shoulders till internal temperature of 160F then pull. Now the true test to see if the blade bone will pull out clean and easy. If it does then you know it is done.
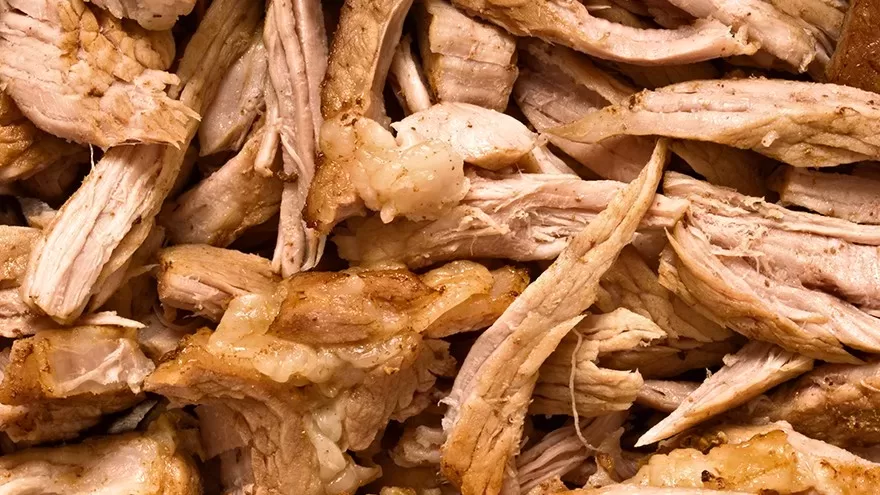
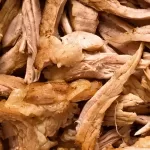
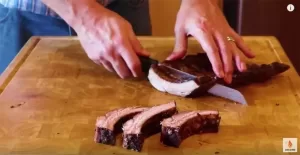
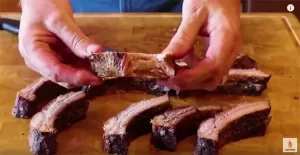
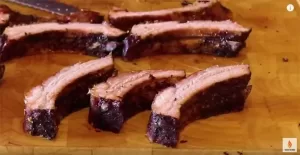
- So here I have my bear claws and I start breaking this pork shoulder down into smaller pieces. The easiest why that I know is just keep splitting the pieces apart and to just keep moving from piece to piece. I really do not like to over shred the pork so I shred till the pieces are bite site.
- Pour some of the liquid that was in the cooking bag into the foil pan to mix in with the pork.
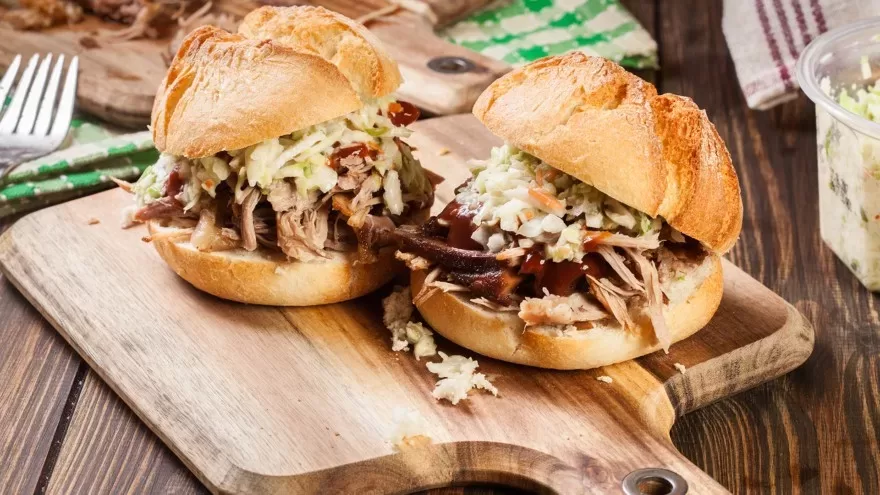
- So let make an Asian shredded pork sandwich. The first step put some pork on one side of the roll. Stack pork as high as you can. Now add some homemade Asian cole slaw. There will be a link to that video at then of this one. To finish it off and to give it that extra Asian flavor, on the top roll add some Sriracha Mayo Dressing.
Video
Nutrition
Calories: 690kcal