Off-Grid Cuban Lechon Asado: Slow Cooker to Griddle Glory

Get ready for an epic culinary adventure with this portable Cuban Lechon Asado recipe! We’ll harness the power of the Presto Nomad slow cooker and Jackery Explorer 1500 to transform a tough pork shoulder into succulent, crispy perfection, all without needing a plug. So fire up your inner explorer and let’s get cooking!
Print Recipe
CourseMain Course
CuisineCuban
KeywordLechon Asado
Prep Time30 minutes
Cook Time8 hours
Servings6
Calories500kcal

Ingredients

Instructions

  • Prep the Pork: Pat the pork dry and rub it generously with olive oil and adobo seasoning. Don’t be shy, get it into all the nooks and crannies!
  • Marinate to Magnify: Whisk together the orange juice, lime juice, vinegar, garlic, bay leaf, oregano, and thyme. Pour this flavorful concoction over the pork, massaging it in to evenly distribute the marinade. Cover and refrigerate for at least 8 hours, ideally overnight. Let those citrusy-herbal notes work their magic!
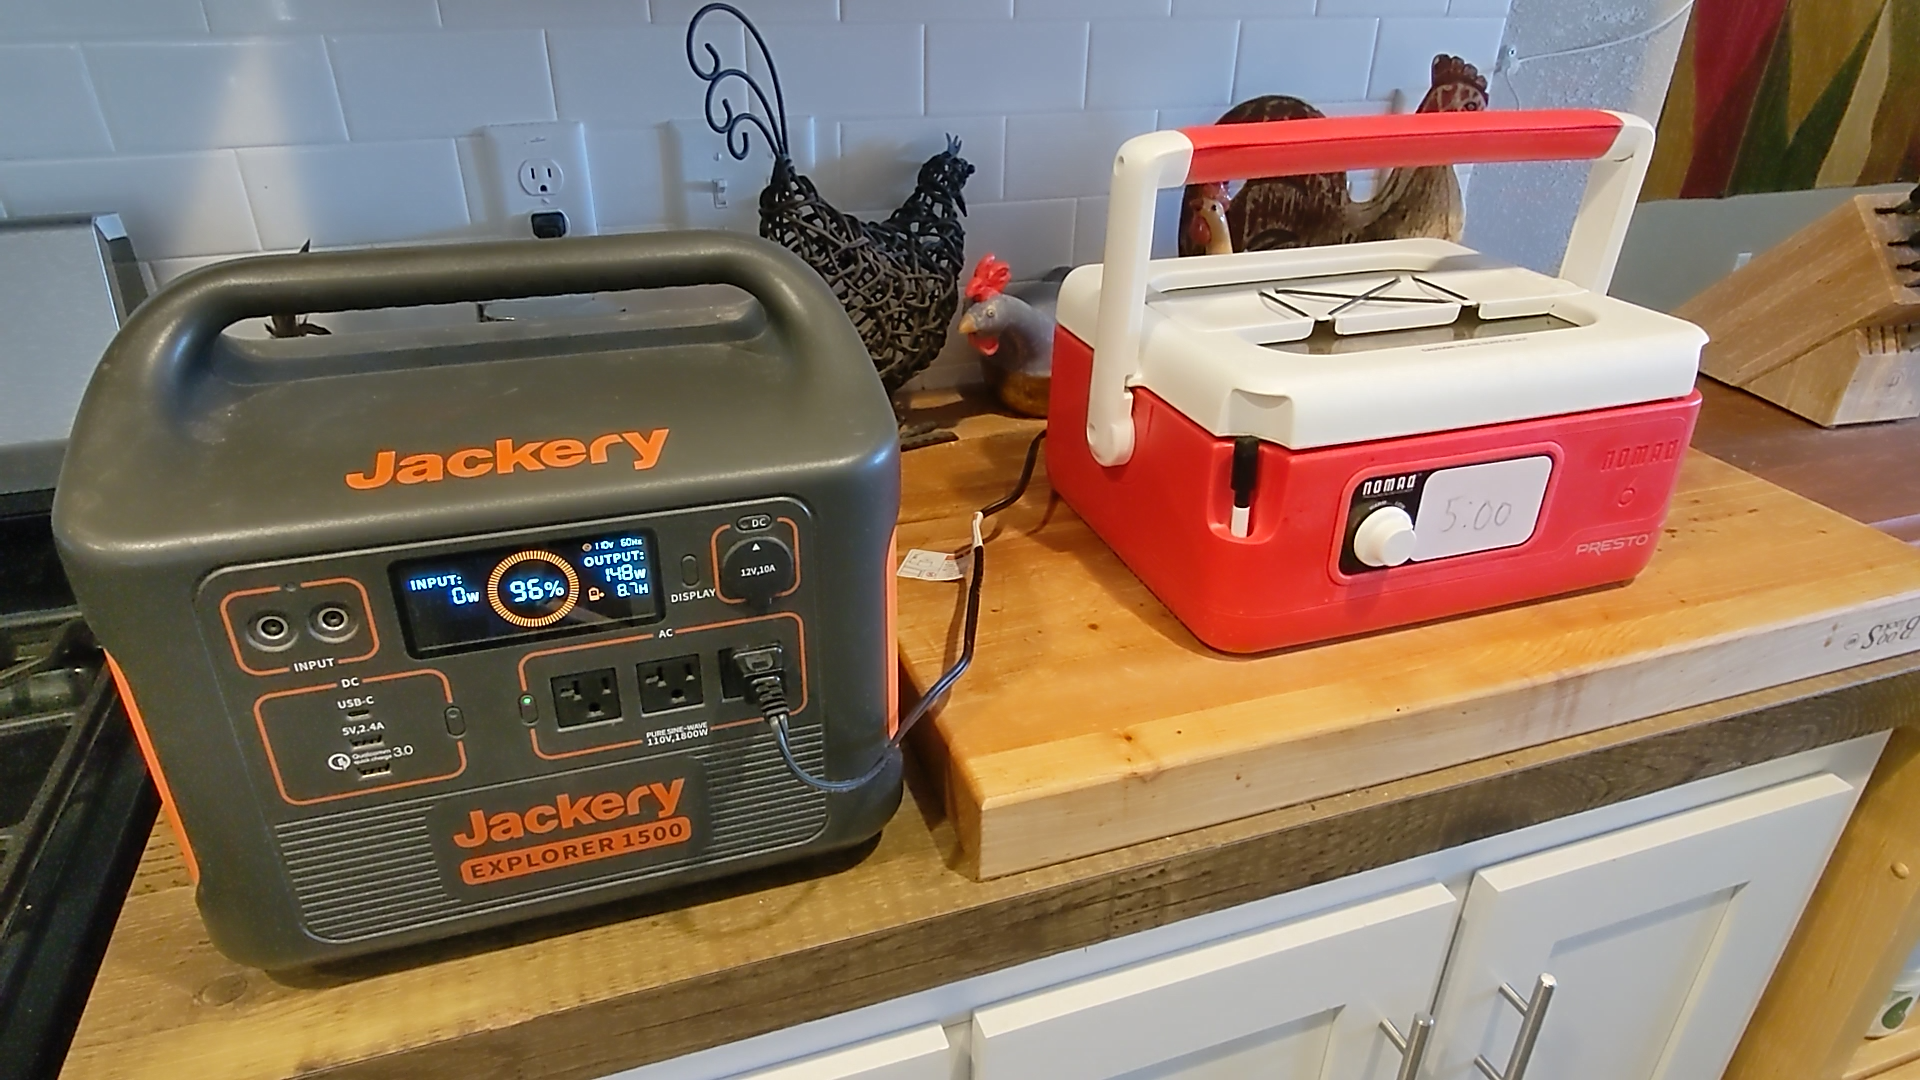
  • Slow Cooker Sizzle: Place the pork, fat side up, in your trusty Presto Nomad. Pour the remaining marinade over the top. Now comes the easy part: set the slow cooker to low and let it work its slow-cooking wonders for 8-10 hours. The Jackery Explorer 1500 will keep your cooker humming along, so kick back, relax, and anticipate the juicy goodness to come.
  • Griddle Glory: Once the pork is fork-tender (reaching an internal temperature of 195°F), it’s time to add the crispy finale! Carefully transfer the pork to your preheated Blackstone griddle (around medium-high heat). The sizzle you hear is the sound of pure porky joy!
  • Skin to Perfection: This is where the magic happens. Using tongs or a spatula, carefully hold the pork skin down on the hot griddle. Watch as the fat crackles and renders, transforming the skin into a golden, crackling masterpiece. Resist the urge to poke or prod – let the heat do its crispy work.
  • Rest and Rejoice: Transfer the Lechon Asado to a cutting board and let it rest for 15-20 minutes. This allows the juices to redistribute, ensuring maximum tenderness in every bite. Then, carve it into succulent slices and prepare to be amazed!

Notes

Why This Recipe Rocks Off the Grid:
Portable Powerhouse: The Presto Nomad and Jackery Explorer 1500 are your ticket to culinary freedom. No outlets? No problem! This dynamic duo lets you savor slow-cooked goodness anywhere, from campsites to backyards.
Slow Cooker Convenience: Let the slow cooker handle the heavy lifting while you explore, relax, or simply savor the anticipation. It’s low-maintenance cooking at its finest.
Griddle Grand Finale: The Blackstone griddle adds the perfect crispy counterpoint to the melt-in-your-mouth pork. That skin, oh that skin, will have you scraping the griddle for every last morsel.
Beyond the Recipe:
Cuban Companions: Elevate your Lechon Asado experience with traditional Cuban sides like black beans and rice, yuca con mojo, or fried plantains. A feast for the senses!
Leftover Love: This recipe yields plenty for leftovers. Shred the pork and use it for sandwiches, tacos, or Ropa Vieja (Cuban pulled pork). The possibilities are endless!
So ditch the limitations, grab your gear, and fire up this flavorful adventure. With a little slow cooker magic and a griddle sear, you’ll be enjoying restaurant-worthy Cuban Lechon Asado, no matter where the road takes you.

Nutrition

Calories: 500kcal

Ingredients:

  • 5-6 lb bone-in pork shoulder (skin on preferred)
  • 4 tbsp olive oil
  • 4 tbsp adobo seasoning (or DIY blend with garlic powder, onion powder, oregano, cumin, smoked paprika, salt, pepper)
  • 1/2 cup orange juice
  • 1/4 cup lime juice
  • 1/4 cup white vinegar
  • 1 tbsp chopped garlic
  • 1 bay leaf
  • 1/2 tsp dried oregano
  • 1/4 tsp dried thyme

Equipment:

  • Presto Nomad Slow Cooker
  • Jackery Explorer 1500 power station
  • Blackstone E-Series 22 Griddle (or similar griddle)
  • Meat thermometer
  • Aluminum foil (optional)

Instructions:

  1. Prep the Pork: Pat the pork dry and rub it generously with olive oil and adobo seasoning. Don’t be shy, get it into all the nooks and crannies! Opens in a new windowwww.amazon.comPork shoulder rubbed with adobo seasoning
  2. Marinate to Magnify: Whisk together the orange juice, lime juice, vinegar, garlic, bay leaf, oregano, and thyme. Pour this flavorful concoction over the pork, massaging it in to evenly distribute the marinade. Cover and refrigerate for at least 8 hours, ideally overnight. Let those citrusy-herbal notes work their magic!
  3. Slow Cooker Sizzle: Place the pork, fat side up, in your trusty Presto Nomad. Pour the remaining marinade over the top. Now comes the easy part: set the slow cooker to low and let it work its slow-cooking wonders for 8-10 hours. The Jackery Explorer 1500 will keep your cooker humming along, so kick back, relax, and anticipate the juicy goodness to come.
  4. Griddle Glory: Once the pork is fork-tender (reaching an internal temperature of 195°F), it’s time to add the crispy finale! Carefully transfer the pork to your preheated Blackstone griddle (around medium-high heat). The sizzle you hear is the sound of pure porky joy!
  5. Skin to Perfection: This is where the magic happens. Using tongs or a spatula, carefully hold the pork skin down on the hot griddle. Watch as the fat crackles and renders, transforming the skin into a golden, crackling masterpiece. Resist the urge to poke or prod – let the heat do its crispy work.
  6. Rest and Rejoice: Transfer the Lechon Asado to a cutting board and let it rest for 15-20 minutes. This allows the juices to redistribute, ensuring maximum tenderness in every bite. Then, carve it into succulent slices and prepare to be amazed!

Why This Recipe Rocks Off the Grid:

  • Portable Powerhouse: The Presto Nomad and Jackery Explorer 1500 are your ticket to culinary freedom. No outlets? No problem! This dynamic duo lets you savor slow-cooked goodness anywhere, from campsites to backyards.
  • Slow Cooker Convenience: Let the slow cooker handle the heavy lifting while you explore, relax, or simply savor the anticipation. It’s low-maintenance cooking at its finest.
  • Griddle Grand Finale: The Blackstone griddle adds the perfect crispy counterpoint to the melt-in-your-mouth pork. That skin, oh that skin, will have you scraping the griddle for every last morsel.

Beyond the Recipe:

  • Cuban Companions: Elevate your Lechon Asado experience with traditional Cuban sides like black beans and rice, yuca con mojo, or fried plantains. A feast for the senses!
  • Leftover Love: This recipe yields plenty for leftovers. Shred the pork and use it for sandwiches, tacos, or Ropa Vieja (Cuban pulled pork). The possibilities are endless!

So ditch the limitations, grab your gear, and fire up this flavorful adventure. With a little slow cooker magic and a griddle sear, you’ll be enjoying restaurant-worthy Cuban Lechon Asado, no matter where the road takes you. Remember, the only grid you need is the one holding your perfectly crisped pork!

Master the Griddle: Your Guide to Two-Zone Cooking

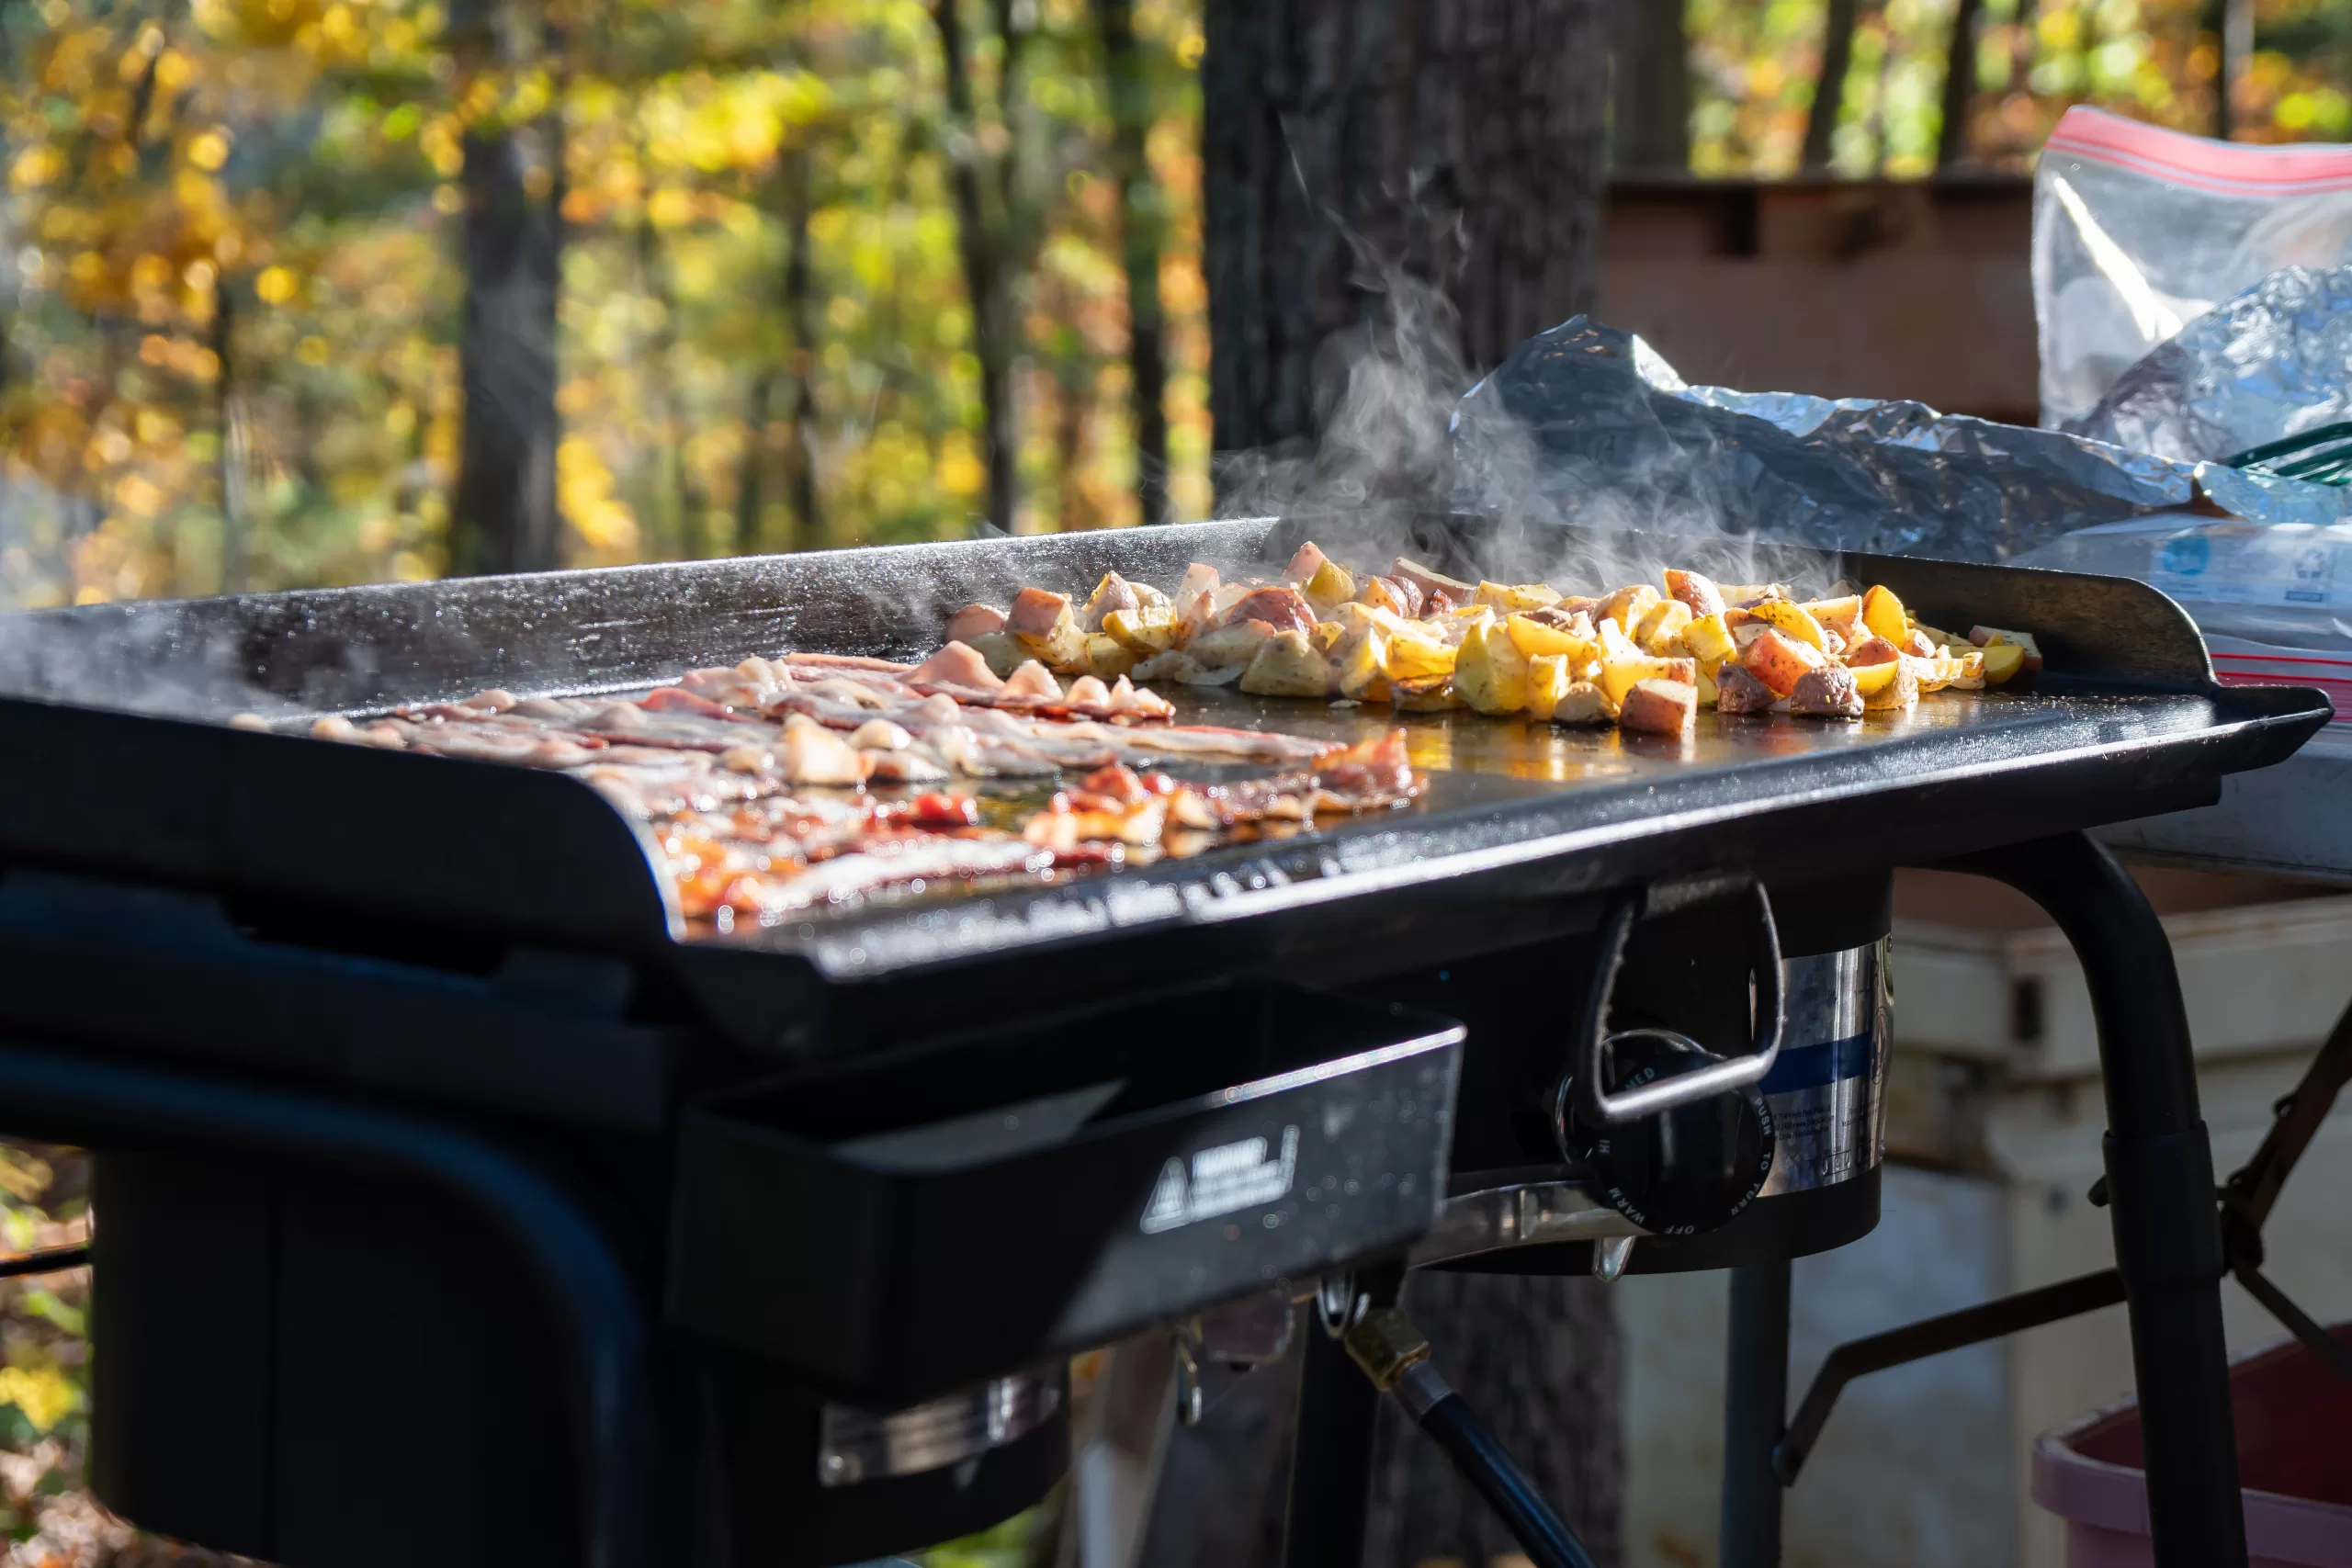
two zone cooking

Two-zone cooking is a game-changer on the griddle. It’s not just about flipping burgers anymore; it’s about unlocking a whole new level of grilling mastery. By creating two distinct heat zones on your griddle, you gain unparalleled control over the cooking process, resulting in perfectly seared steaks, juicy chicken breasts, and flawlessly caramelized vegetables.

What is Two-Zone Cooking?

The concept is simple: divide your griddle into two sections, one hot and one cool. The hot zone, typically directly over the burners, delivers intense direct heat for searing, quick cooking, and crisping. Think sizzling fajita veggies, char-grilled burgers, and pan-seared scallops. The cool zone, situated further away from the heat source, offers indirect heat for slower cooking, gentle warming, and finishing touches. This is where you’ll find your delicate fish fillets, juicy roasts, and fluffy pancakes basking in the residual heat.

Why Go Two-Zone?

The benefits of two-zone cooking are numerous:

  • Precision cooking: Achieve the perfect sear without overcooking the interior of your food. No more dry chicken or tough steaks!
  • Versatility: Cook a wider variety of dishes simultaneously, from delicate seafood to hearty roasts.
  • Efficiency: Maximize your griddle space and cook multiple items at different temperatures with ease.
  • Convenience: Move food between zones for searing, finishing, or simply keeping warm, all on one cooking surface.

Setting Up Your Two-Zone Griddle

The beauty of two-zone cooking lies in its flexibility. Your specific setup will depend on your griddle type and configuration. Here are some general tips:

  • Gas griddle: Adjust the burner knobs to create different heat levels on each side.
  • Electric griddle: Utilize heat control dials or designated zones on the cooking surface.

Two-Zone Cooking in Action

Now, let’s put theory into practice with some recipe inspiration:

  • Seared steak with roasted vegetables: Sear your steak in the hot zone for a beautiful crust, then move it to the cool zone to finish cooking to your desired doneness. Meanwhile, roast your veggies in the indirect heat for perfect tenderness.
  • Pancakes and bacon: Whip up fluffy pancakes in the cool zone while crisping up your bacon in the hot zone – breakfast perfection!
  • Fish tacos: Sear your fish in the hot zone for a flaky texture, then warm your tortillas and caramelize onions in the cool zone. Assemble and enjoy!

Two-zone cooking is not just a technique; it’s a mindset. It’s about understanding heat control and using it to your advantage. With a little practice, you’ll be wielding your griddle like a pro, churning out restaurant-worthy dishes that will impress your friends and family. So, fire up your griddle, embrace the two-zone approach, and unlock a world of grilling possibilities!

Bonus Tips:

  • Invest in a good spatula and grill scraper for easy maneuvering and cleaning.
  • Use a meat thermometer to ensure your food reaches the proper internal temperature.
  • Experiment with different heat levels and cooking times to find your sweet spot.
  • Don’t be afraid to get creative! Two-zone cooking opens up a world of culinary possibilities.

With these tips and tricks, you’ll be well on your way to two-zone griddle mastery.

Till next time.

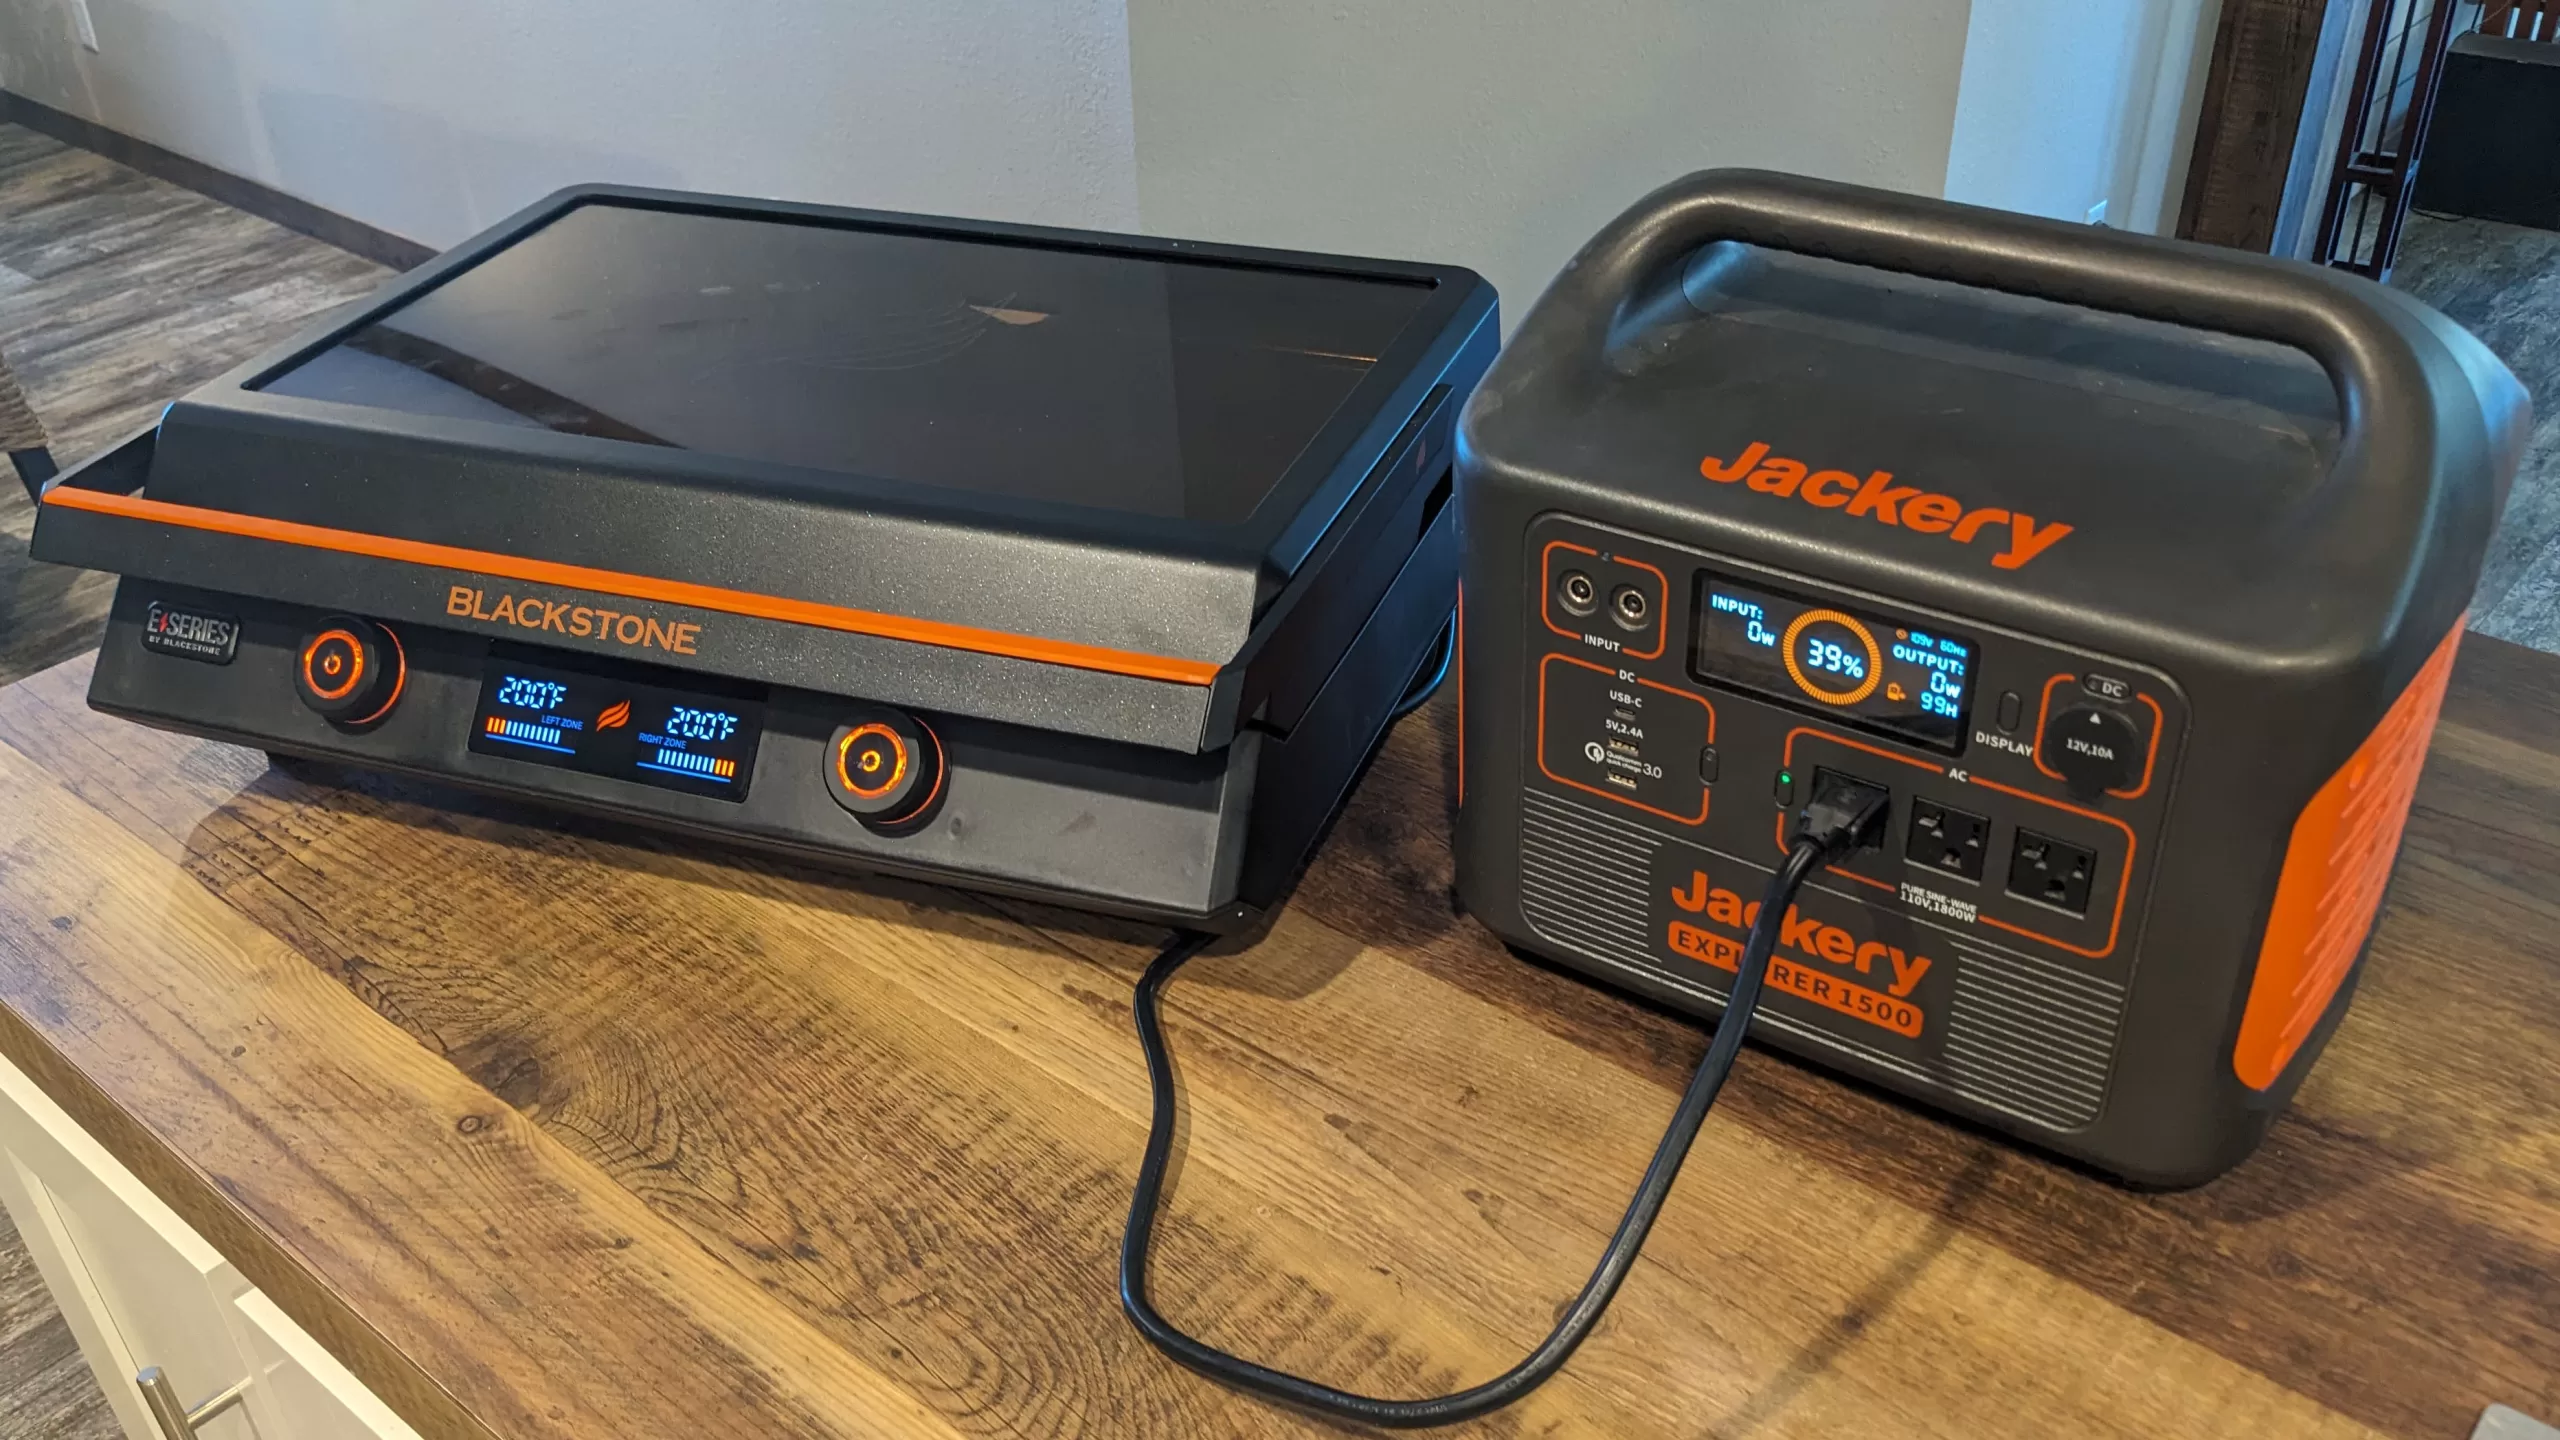
Can the Blackstone E-Series 22 Griddle Rock Out with a Jackery 1500 Power Station?

You betcha! The Blackstone E-Series 22 and Jackery 1500 make a dynamic duo for portable, off-grid grilling adventures. But before we fire up the virtual spatula, let’s address the elephant in the campground: can the Jackery 1500 handle the E-Series 22’s 1800-watt appetite?

Power Play: Will the Jackery 1500 Buckle Under the Heat?

The Jackery 1500 packs a punch with its 1500Wh lithium battery and 2000W AC output. That’s enough juice to run the E-Series 22 for a good time, but let’s factor in some grilling realities:

  • Cooking temp: Searing steaks at max heat will drain the battery faster than simmering veggies.
  • Ambient temp: Cold weather reduces battery efficiency, so keep that in mind for winter cookouts.
  • Griddle love: Preheating and maintaining heat use more power than the occasional burger flip.

The Verdict: Grilling Glory with Caveats

Here’s the good news: the Jackery 1500 can definitely power the Blackstone E-Series 22 for a cookout. You can expect:

  • Hours of grilling: Enjoy sizzling steaks, crispy bacon, and fluffy pancakes before needing a recharge.
  • Adjustable heat control: Don’t be afraid to crank up the heat for searing, just adjust to medium heat for longer grilling sessions.
  • Solar power potential: Pair the Jackery 1500 with solar panels for extended grilling bliss, soaking up the sun’s rays while you savor your culinary creations.

Remember, grilling time is an estimate, not a guarantee. Consider these tips for maximizing your off-grid grilling game:

  • Master the low and slow: Embrace indirect heat cooking methods for longer battery life.
  • Preheat strategically: Pre-heat just before throwing food on the griddle, not for an eternity.
  • Unplug the party lights: Avoid running other appliances while grilling to conserve power.
  • Solar savvy: Invest in good quality solar panels and position them for optimal sun exposure.

Bonus Round: Beyond Burgers and Brats

The E-Series 22 and Jackery 1500 combo isn’t just for meat mavericks. Get creative with:

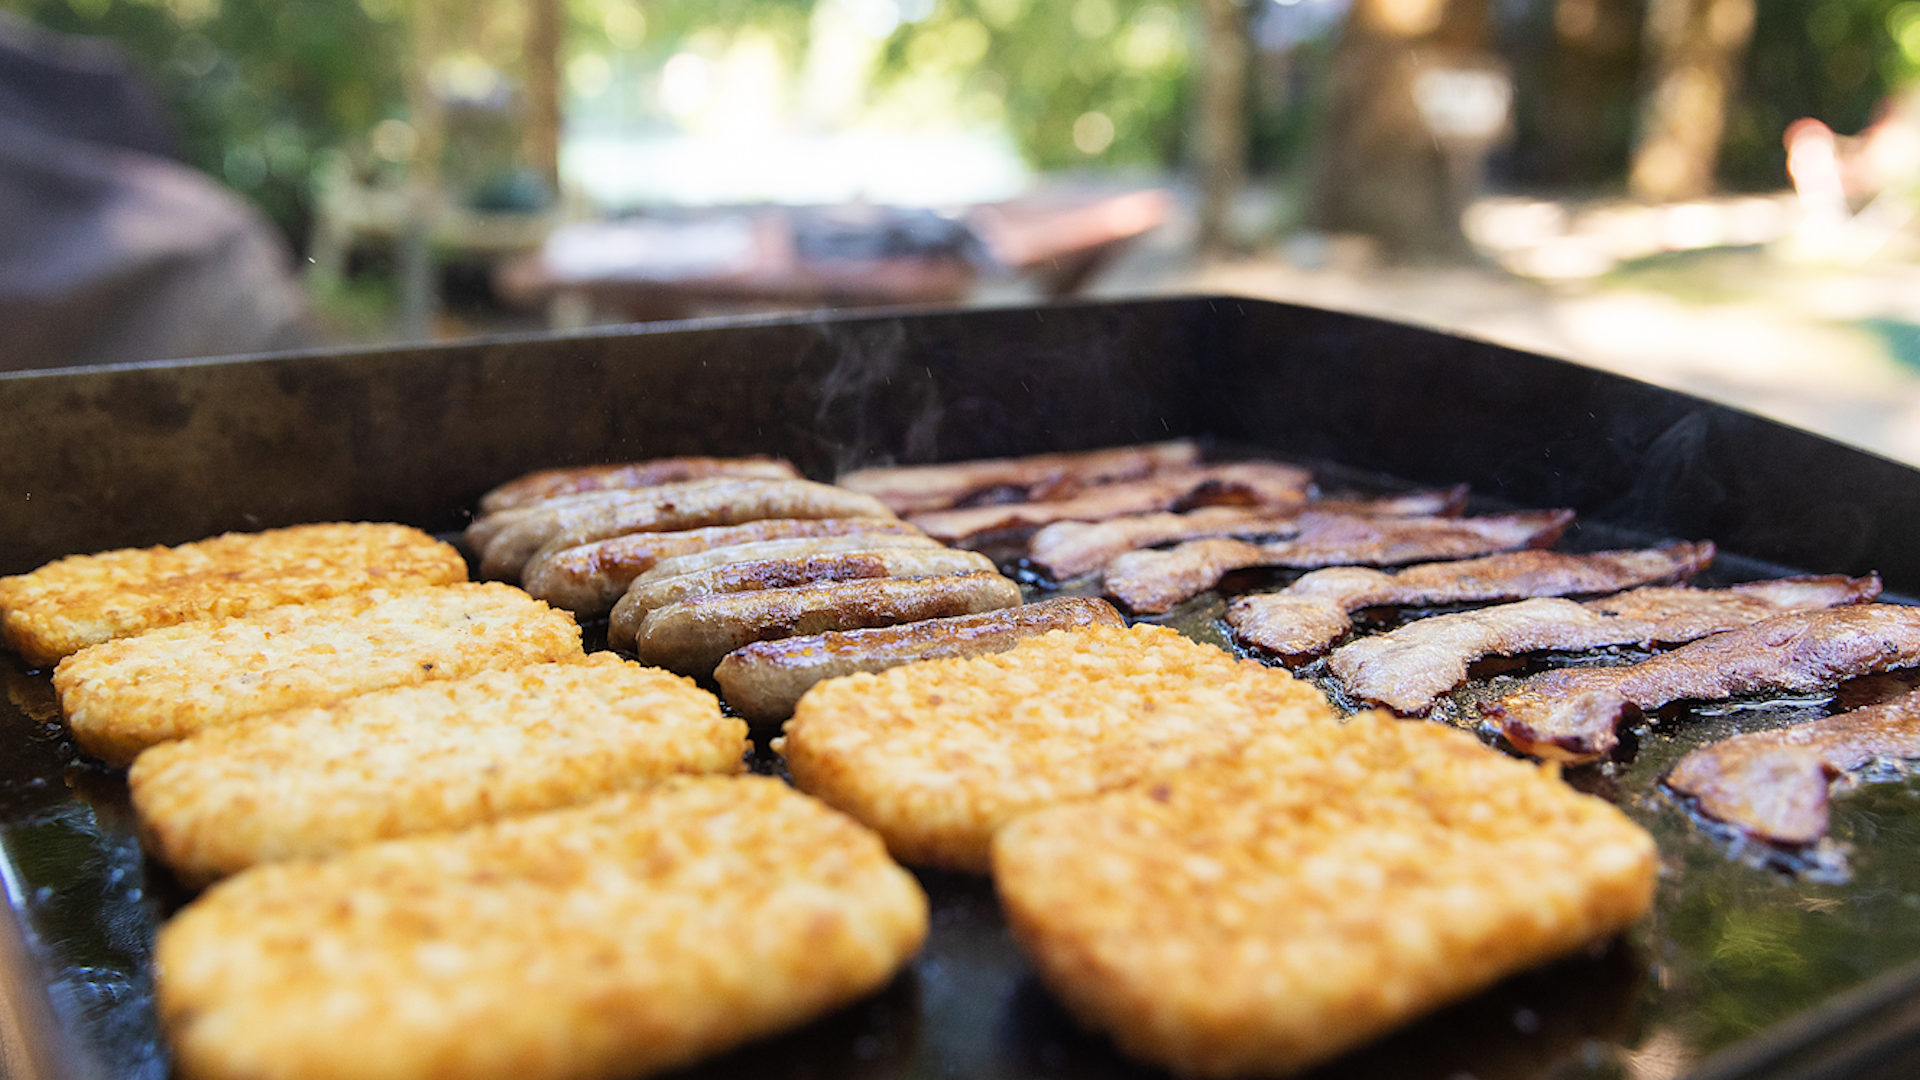
  • Breakfast buffets: Pancakes, eggs, bacon, and hash browns – all sizzling on your portable griddle.
  • Veggie wonders: From grilled portobellos to fajita veggies, the E-Series 22 handles plant-based grilling like a champ.
  • Desserts gone wild: Get adventurous with grilled pineapple, peaches, or even a warm fruit crisp.

The Final Sizzle:

The Blackstone E-Series 22 and Jackery 1500 tag team is a winning combo for portable grilling adventures. With smart cooking practices and a little solar love, you can savor delicious meals and good times, wherever your wanderlust takes you. Just remember, safety first! Keep the griddle away from flammable objects, supervise children and pets around the hot surface, and don’t forget to bring your grilling A-game. Now, go forth and conquer the great outdoors, one perfectly grilled masterpiece at a time!

Must-have Griddle Tools: The Ultimate Top 10 Essentials!

While “top 10” might be subjective and depend on individual cooking styles and preferences, here are ten essential tools that will significantly enhance your griddle experience:

Perfect for flipping burgers, pancakes, and large cuts of meat. Stainless steel or a metal spatula with a wide, flexible edge is ideal.

A thin, slotted spatula is fantastic for delicate items like eggs, fish, and vegetables.

Removes grease and stuck-on food particles efficiently. Choose a metal scraper with a comfortable handle.

A smaller scraper with a curved edge helps gather and transfer chopped ingredients that might get stuck in the bowl.

Applies even pressure to food for consistent cooking and perfect grill marks. Cast iron press is preferred for its heat retention.

Fill one with oil for greasing and another with water for deglazing the griddle. Choose heat-resistant plastic bottles and always make sure they are full before cooking.

Monitors internal temperature of meat for accurate doneness. Opt for a digital thermometer with a long probe for safety.

Creates a dome for steaming vegetables, melting cheese, or simulating an oven-like environment.

Convenient for quick cleanup after cooking. Choose wipes designed explicitly for griddle surfaces.

For handling hot food like sausages, chicken wings, or vegetables. Look for long, heat-resistant tongs with a secure grip.

The next two are not essential but will make your griddle life a lot easier..

A caddy for organizing all of your essential griddle accessories so everything is close at hand and you can avoid having to search while you are busy cooking.

I also highly recommend a Griddle cookbook: Get creative with new recipes and cooking techniques specifically for griddles.

Remember, this is just a starting point. You can add other tools like sauce brushes, griddle gloves, or even a griddle scraper with a long handle based on your needs and preferences. Ultimately, the best griddle tools are the ones that help you cook delicious and enjoyable meals!…

Up and Coming Product Review Video – Blackstone E-Series 22 Griddle running on a Jackery 1500 with Solar Panels

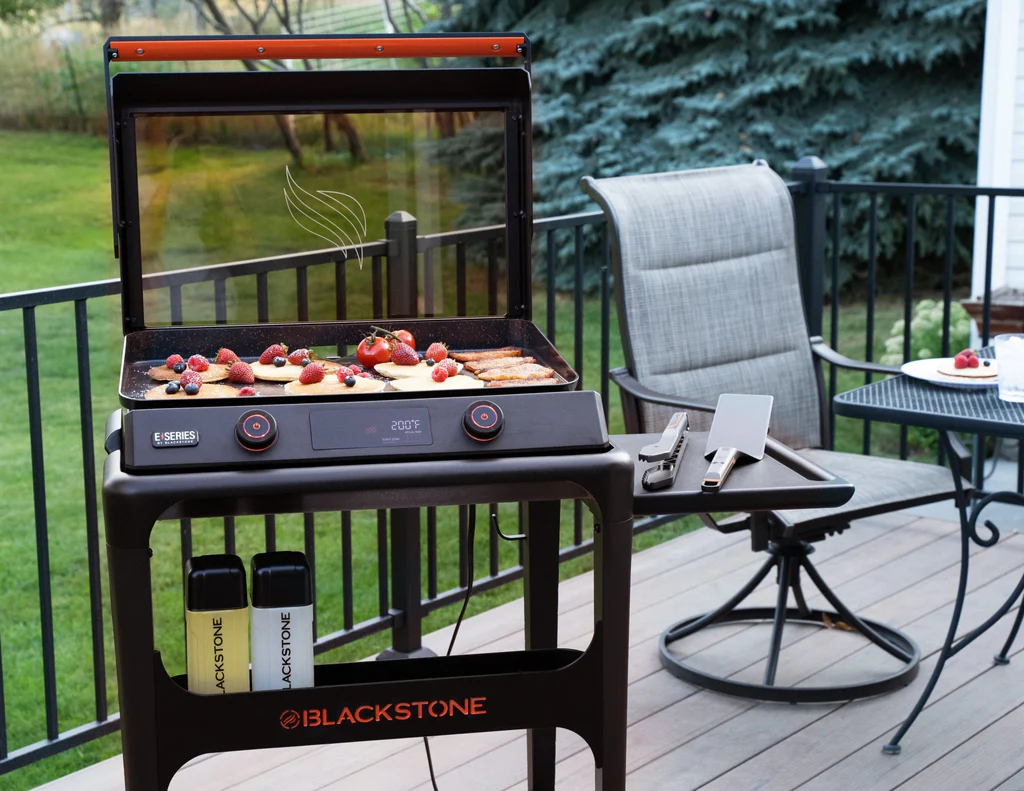
blackstone 22 e-series

Well, it is a new year, and we moved into our new home last year. I now have to build a new outdoor BBQ kitchen.

My first phase is picking the equipment. The first one that I will get next week is a Griddle. It is a Blackstone, but it is the E-Series, so it is electric.

Why electric? This outdoor kitchen is also designed to allow us to be self-sufficient. That means we will not need any form of fuel except electricity to cook.

We also will be installing a power station with solar panels so we can be off the grid if needed.

Now, I will still have pellet grills, charcoal grills, and even propane griddles, but even if I cannot get these fuels, I still want the ability to cook, and this electric griddle will do that.

I will be doing a full review of the Blackstone E-Series 22 and will be running it off a Jackery 1500 with two solar panels. What I am really curious about is how hot and long I can run without recharging.

Also, how quickly can I recharge and start cooking again? If you are not a part of my YouTube Channel, then subscribe and hit the bell, and I will notify you when this review is uploaded.

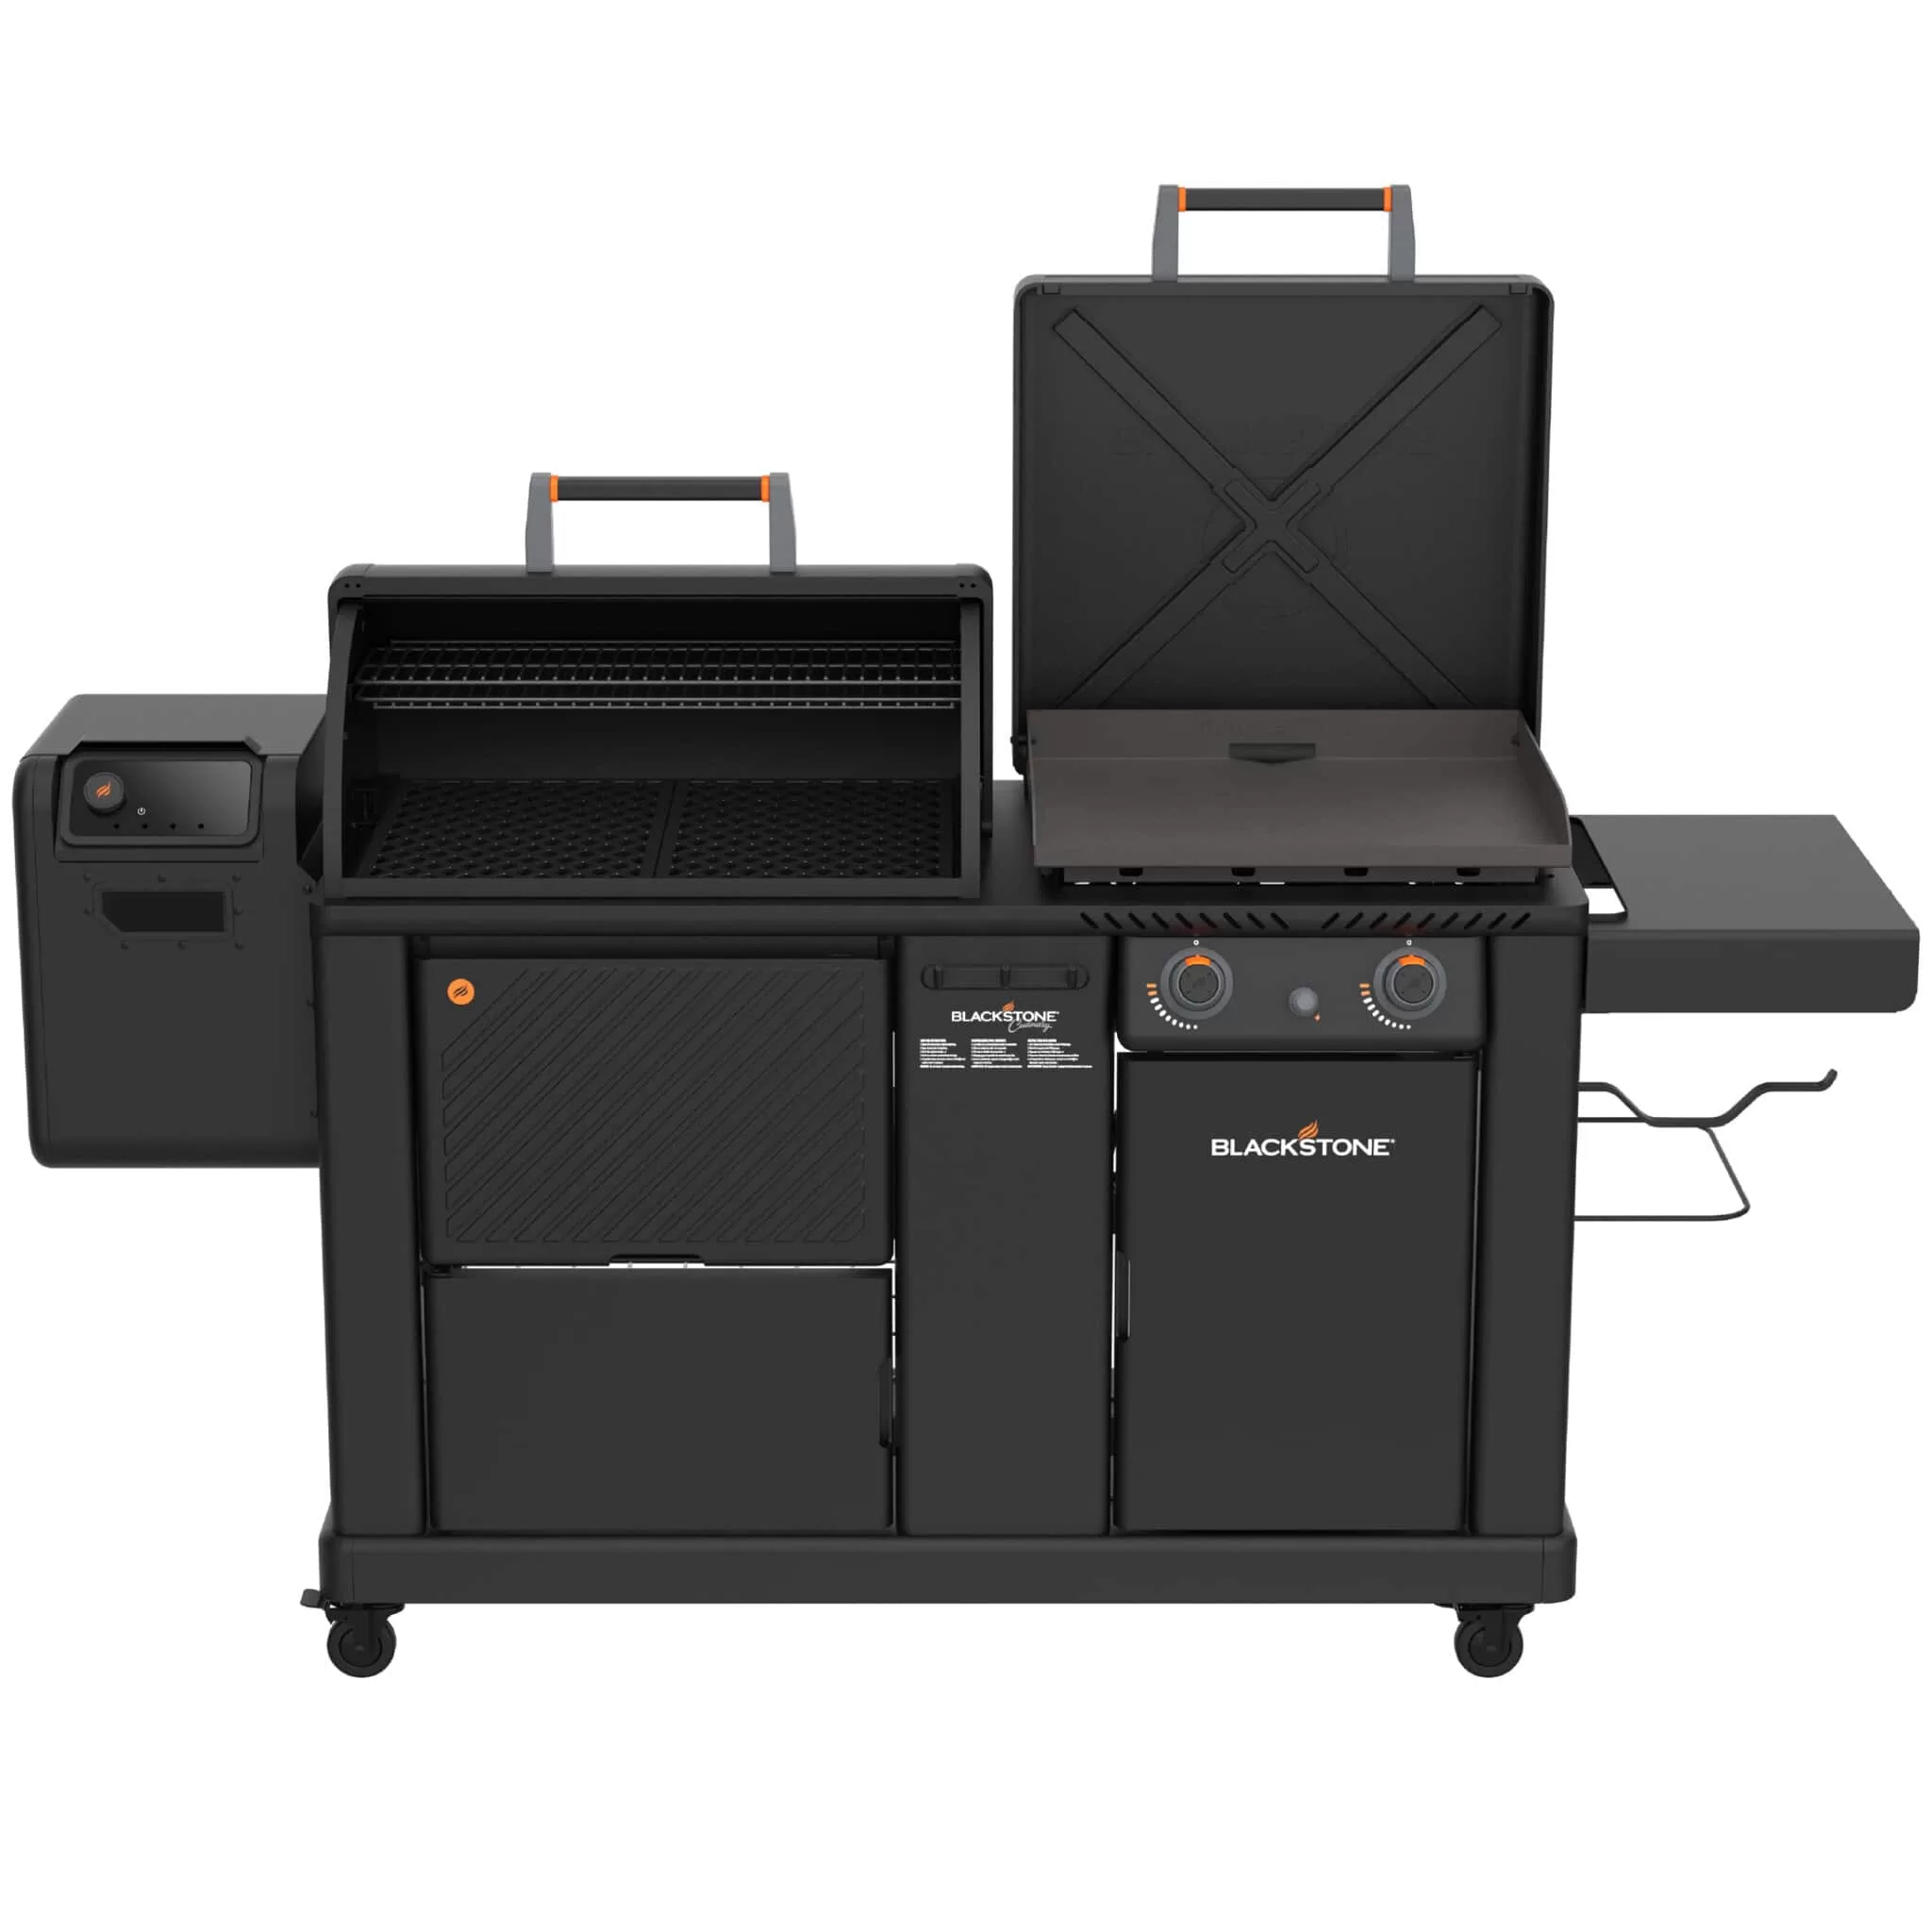
I also will also be reviewing the new pellet grill with griddle combo unit from Blackstone. This will be the first pellet grill that Blackstone has ever made, and I am very interested in seeing how good it is.

Hope to see you in the comment section.

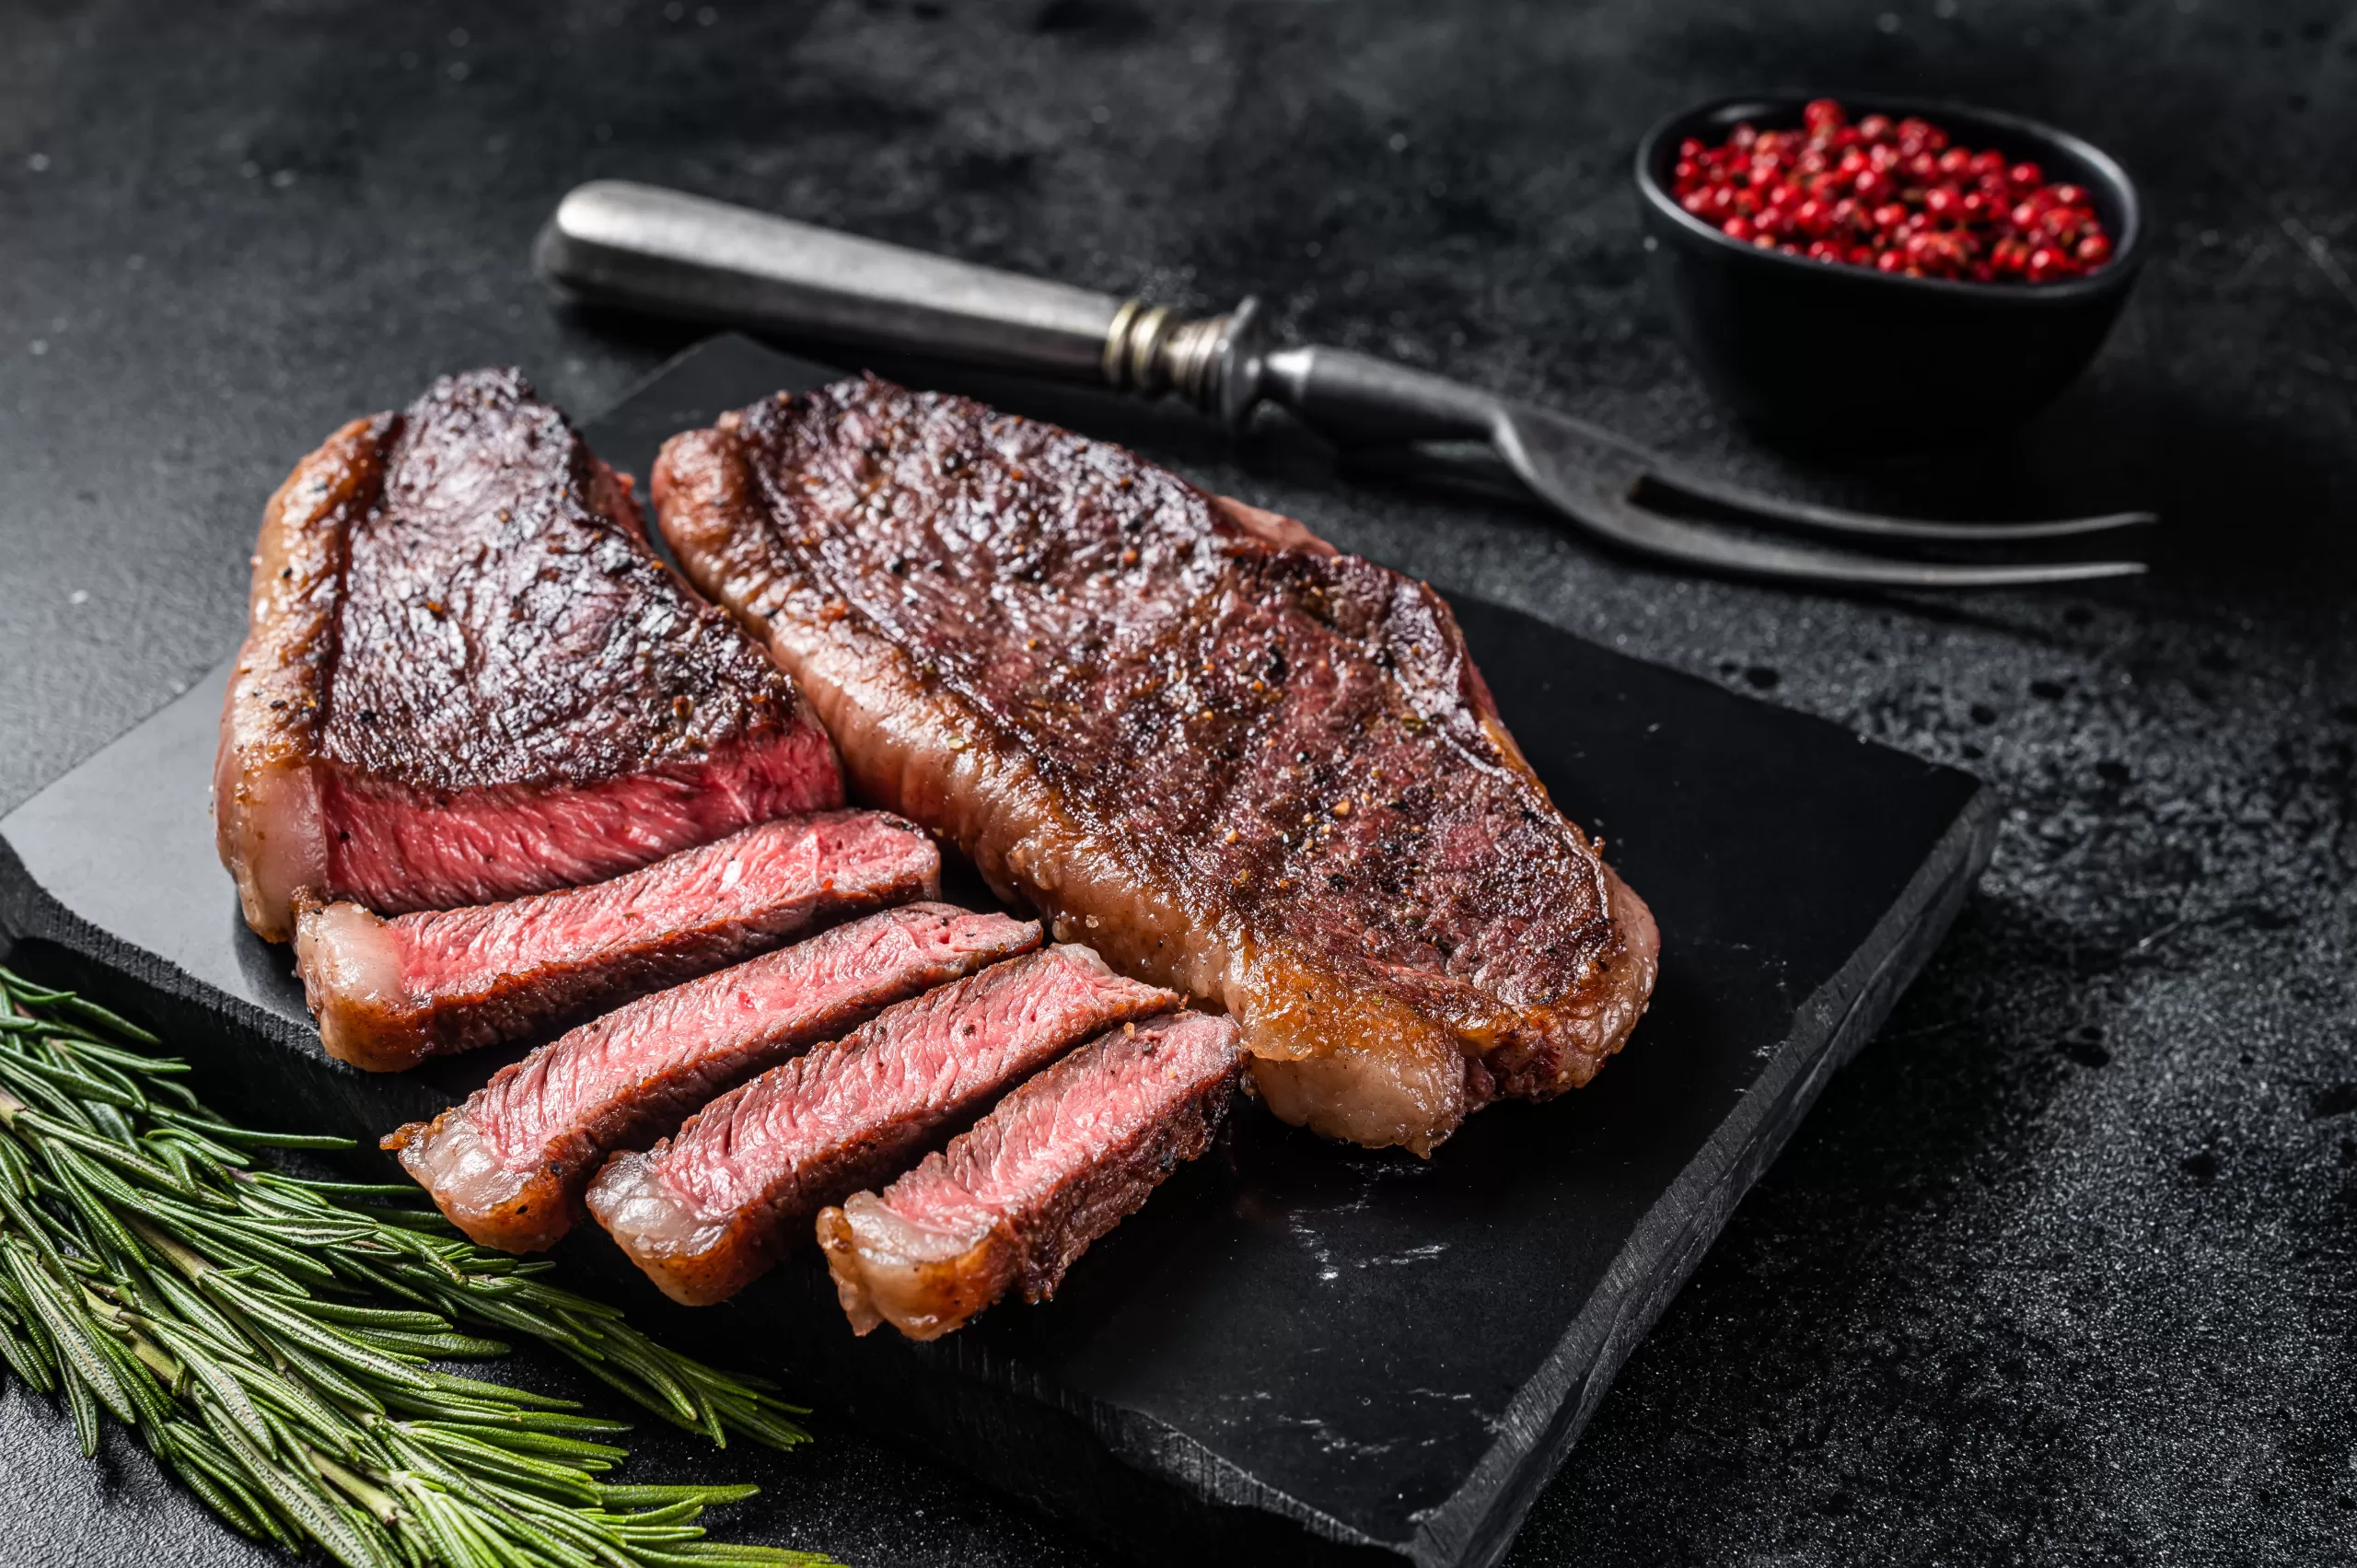
Seared Sous Vide Steak on the Griddle: Restaurant-Quality at Home

sous vide steak on griddle

Seared Sous Vide Steak on the Griddle: Restaurant-Quality at Home

Elevate your steak game with this sous vide technique followed by a sizzling sear on your griddle. The precise temperature control of sous vide guarantees a perfectly cooked interior, while the griddle delivers a satisfyingly crisp crust. Summary: Season and vacuum seal your steak. Sous vide to your desired doneness. Pat dry and sear on a hot griddle for a beautiful crust. Rest, slice, and savor!
Print Recipe
CourseMain Course
CuisineAmerican
Keywordgriddle, sear, sous vide
Prep Time15 minutes
Cook Time2 hours 15 minutes
Total Time2 hours 30 minutes
Servings4
Calories500kcal

Ingredients

Instructions

  • Prep the steak: Generously season both sides of the steak with salt and pepper. You can also add fresh herbs and garlic cloves to the bag for extra flavor.
  • Vacuum seal: Place the steak in a vacuum seal bag and remove as much air as possible using a vacuum sealer or the water displacement method.
  • Sous vide: Preheat your sous vide cooker to your desired internal temperature. Refer to this handy guide for recommended times and temperatures:

_________________________________

    Doneness Internal Temperature Sous Vide Time

      Rare 120°F (49°C) 1-2 hours

        Medium-rare 130°F (54°C) 1-2 hours

          Medium 140°F (60°C) 1-2 hours

            Medium-well 150°F (66°C) 1-2 hours

              Well done 160°F (71°C) 1-2 hours

                _________________________________

                • Submerge the sealed bag in the preheated water bath and cook for the desired time.
                • Sear the steak: While the steak finishes cooking, heat your griddle to high heat. Remove the steak from the bag and pat it dry with paper towels. Sear the steak on the griddle for 30-60 seconds per side, or until a nice crust forms.
                • Rest and serve: Transfer the steak to a plate and let it rest for 5-10 minutes before slicing. This allows the juices to redistribute throughout the meat, resulting in a more tender and flavorful steak.

                Notes

                Use a thick-cut steak (at least 1 inch) for best results.
                Don’t overcrowd the griddle when searing. Work in batches if necessary.
                Baste the steak with melted butter or olive oil while searing for added richness.
                Garnish with your favorite steakhouse sides like mashed potatoes, creamed spinach, and grilled asparagus.
                With this recipe and a little practice, you’ll be cooking restaurant-quality steaks at home in no time!
                Enjoy!

                Nutrition

                Calories: 500kcal

                Elevate your steak game with this sous vide technique followed by a sizzling sear on your griddle. The precise temperature control of sous vide guarantees a perfectly cooked interior, while the griddle delivers a satisfyingly crisp crust.

                DonenessInternal TemperatureSous Vide Time
                Rare120°F (49°C)1-2 hours
                Medium-rare130°F (54°C)1-2 hours
                Medium140°F (60°C)1-2 hours
                Medium-well150°F (66°C)1-2 hours
                Well done160°F (71°C)1-2 hours

                Tips:

                • Use a thick-cut steak (at least 1 inch) for best results.
                • Don’t overcrowd the griddle when searing. Work in batches if necessary.
                • Baste the steak with melted butter or olive oil while searing for added richness.
                • For an extra smoky flavor, finish the steak under a broiler for a few seconds after searing.
                • Garnish with your favorite steakhouse sides like mashed potatoes, creamed spinach, and grilled asparagus.

                With this recipe and a little practice, you’ll be cooking restaurant-quality steaks at home in no time! Enjoy!

                Baby Back Ribs on a Griddle

                griddle baby back ribs

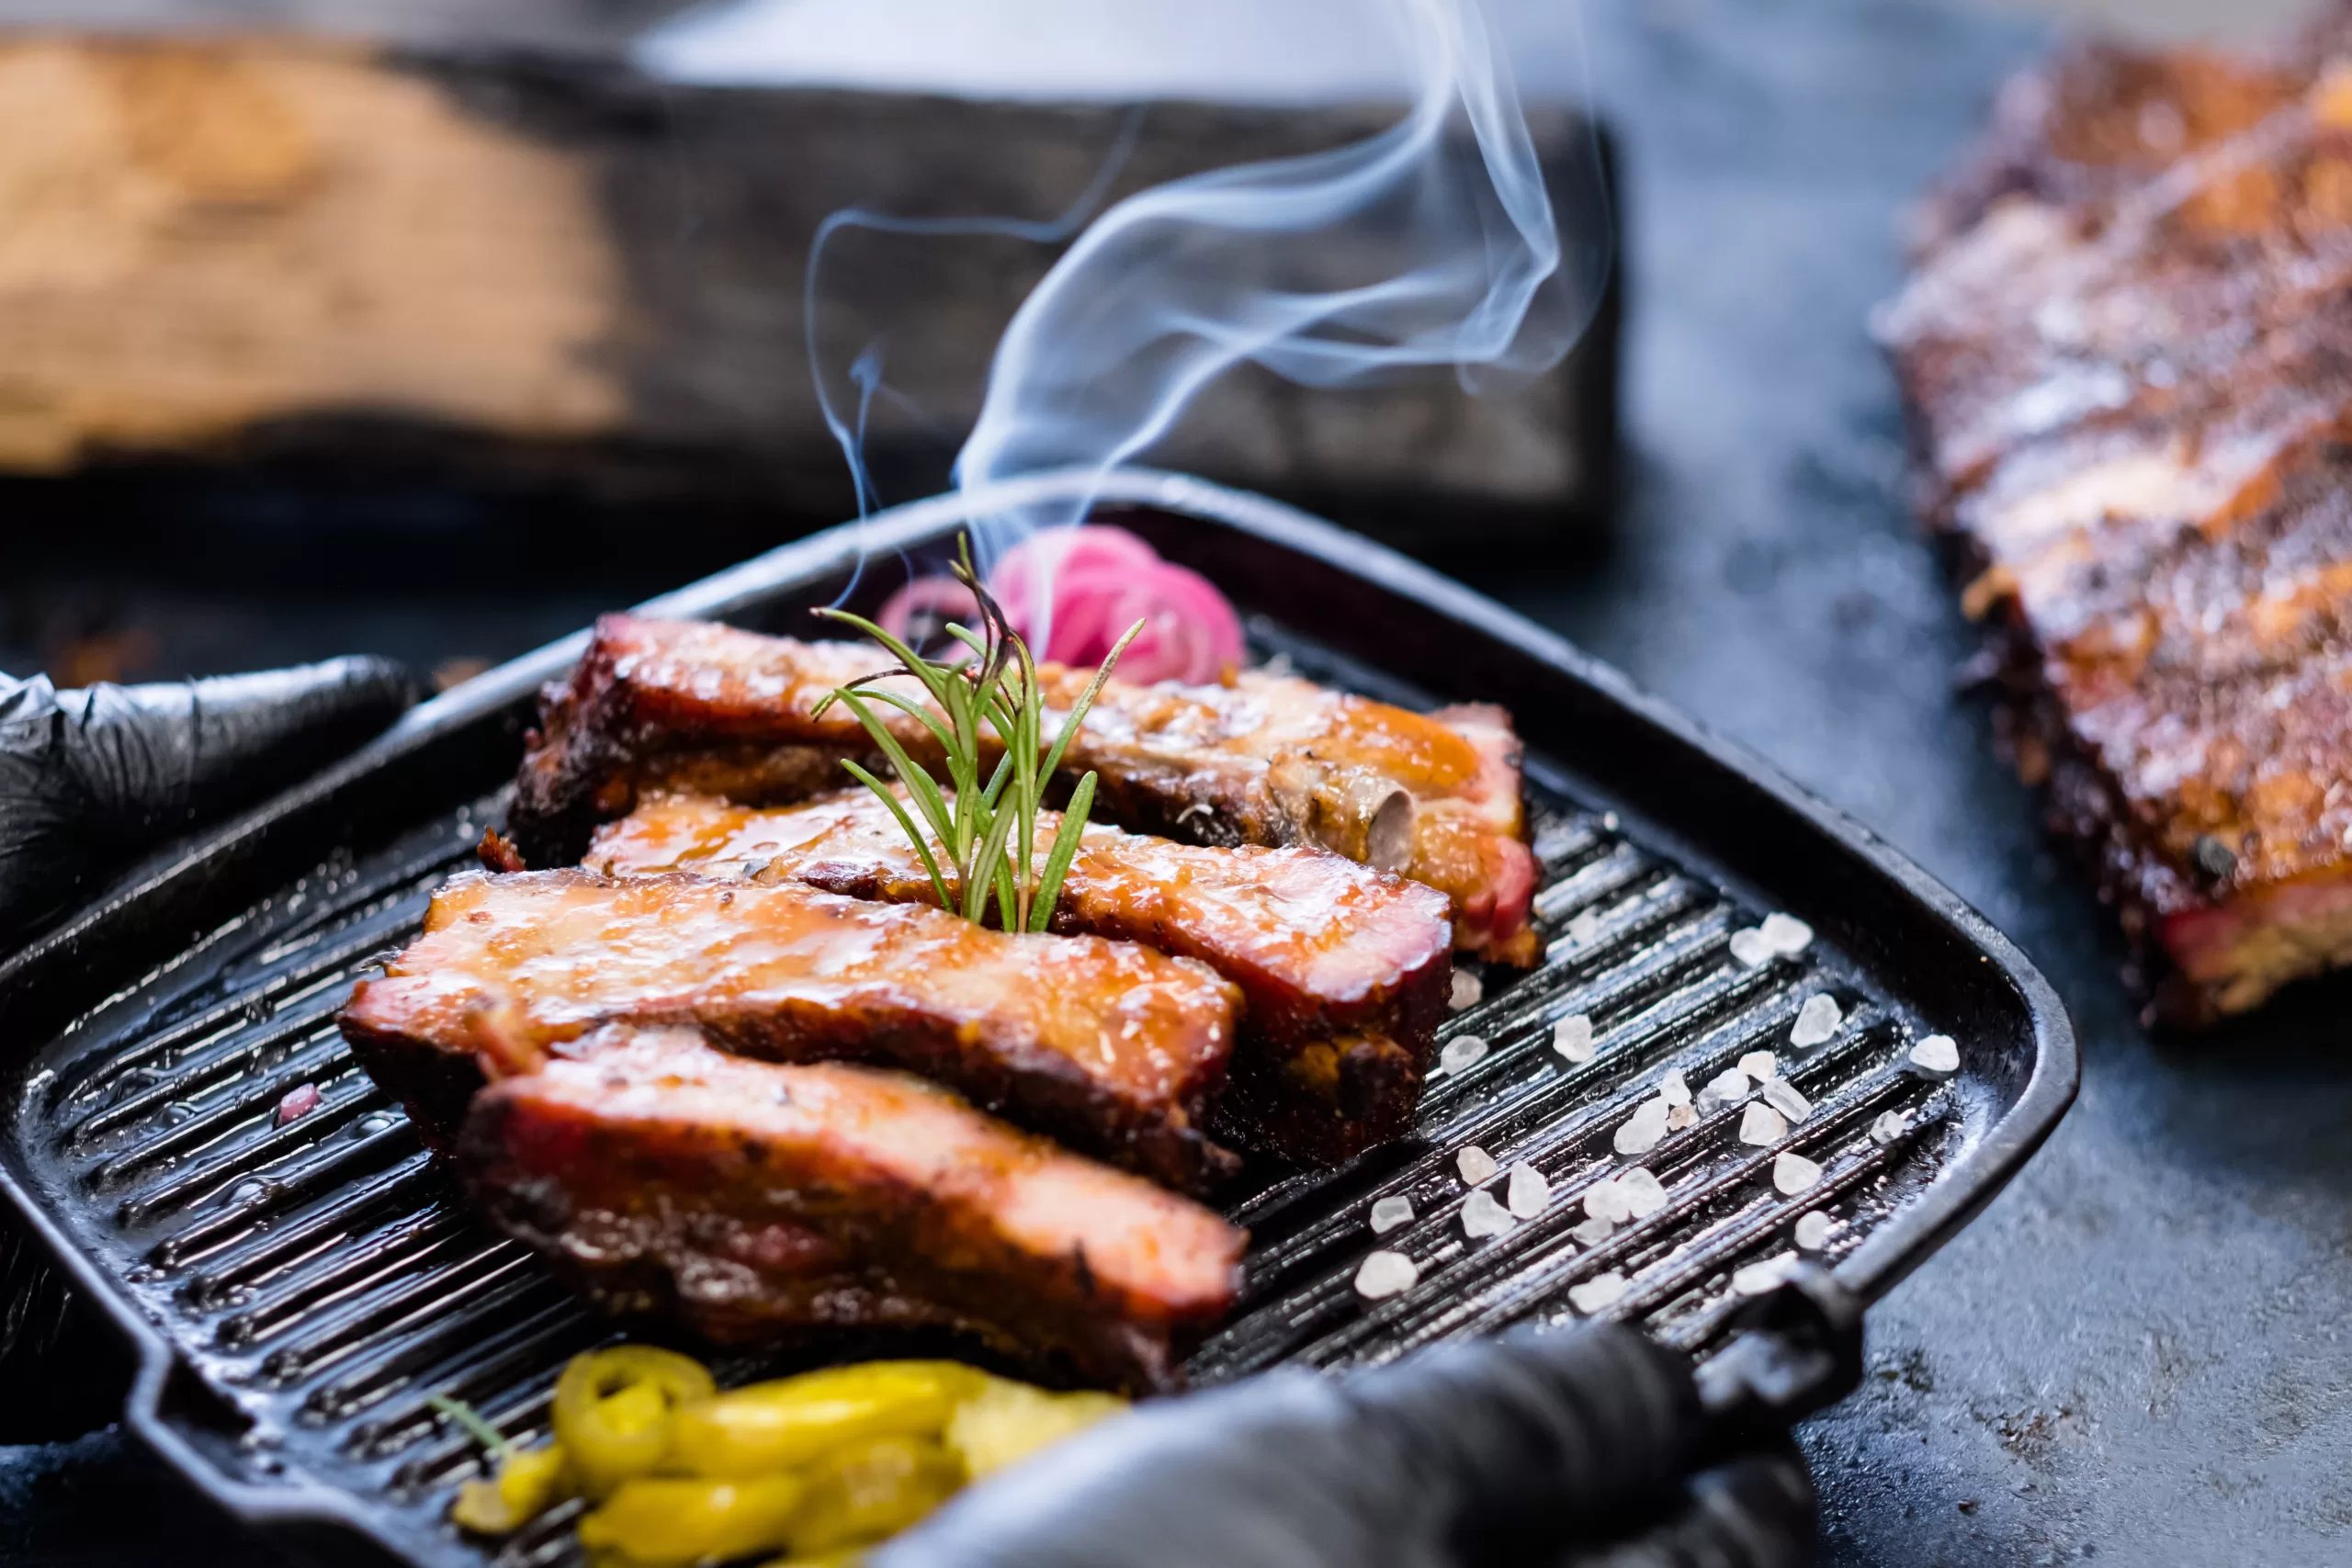
                Griddle cooking offers a unique twist on classic BBQ ribs, creating a smoky, caramelized flavor that will have everyone digging in. This recipe takes advantage of the griddle’s direct heat for a quick cook, while a foil “tent” steams the ribs to melt-in-your-mouth tenderness.

                griddle baby back ribs

                Baby Back Ribs on a Griddle

                Griddle cooking offers a unique twist on classic BBQ ribs, creating a smoky, caramelized flavor that will have everyone digging in. This recipe takes advantage of the griddle's direct heat for a quick cook, while a foil "tent" steams the ribs to melt-in-your-mouth tenderness.
                Print Recipe
                CourseMain Course
                CuisineAmerican
                Keywordbaby back ribs, griddle
                Prep Time30 minutes
                Cook Time2 hours
                Servings4
                Calories500kcal

                Equipment

                Ingredients

                Instructions

                • Preheat your griddle to medium-high heat.
                • Prepare the rub: Combine brown sugar, paprika, chili powder, onion powder, garlic powder, and black pepper in a small bowl. Generously coat both sides of the ribs with the rub.
                • Sear the ribs: Place the ribs on the hot griddle, meaty side down. Sear for 3-4 minutes per side, or until nicely browned.
                • Create the foil tent: Tear off a large sheet of aluminum foil and fold it in half to create a double layer. Pour about 1/4 cup of apple cider vinegar onto the center of the foil. Place the ribs meat-side up on the foil, then fold the sides up and around the ribs to create a sealed tent.
                • Steam and sauce: Reduce the heat to medium-low and cover the griddle with a lid. Steam the ribs for 45-60 minutes, or until tender and falling off the bone. Check on them occasionally and add more vinegar if needed to keep the bottom moist.
                • Glaze it up: In a small bowl, whisk together honey and Dijon mustard. Carefully remove the foil and brush the ribs generously with the glaze. Increase the heat to medium-high and return the ribs to the griddle, open-faced. Cook for 2-3 minutes per side, caramelizing the glaze and creating a sticky, delicious coating.
                • Rest and serve: Transfer the ribs to a cutting board and let them rest for 5-10 minutes before slicing and serving. Enjoy with your favorite BBQ sauce, if desired.

                Notes

                Choose tender ribs: Look for ribs with good marbling and bendable bones.
                Season generously: Don’t skimp on the rub! It adds depth of flavor and enhances the natural sweetness of the ribs.
                Control the heat: Medium-low heat is key for gentle steaming and preventing the ribs from drying out.
                Glaze and go: The final caramelization adds a sticky, irresistible finish. Don’t overcook at this stage, just achieve a beautiful char.
                Get creative: Experiment with different rubs and glazes to find your perfect flavor combination. You can also add vegetables like onions or peppers to the foil tent for a complete meal.
                With these tips and this recipe, you’ll be grilling up restaurant-worthy ribs on your griddle in no time. So fire up the heat, gather your friends and family, and prepare for a taste of smoky-sweet, fall-off-the-bone bliss!

                Nutrition

                Calories: 500kcal

                Blackstone E-Series 22-inch Electric Tabletop Griddle with Hood and Prep Cart: Full Review

                blackstone 22 e-series

                The Blackstone E-Series 22-inch Electric Tabletop Griddle with Hood and prep Cart is a versatile cooking appliance that can take your meals from breakfast to dinner, indoors or outdoors. Whether you’re a seasoned griddle enthusiast or a curious newcomer, this electric griddle offers a convenient and flavorful way to cook.

                Here’s a deep dive into its features, performance, and overall value:

                Features:

                • Large cooking surface: With a 358-square-inch cooktop surface the 22-inch cast aluminum griddle top provides ample space for cooking pancakes, bacon, eggs, burgers, vegetables, and more.
                • Dual heating zones: 1,600 watts that are controlled by two independently controlled heating elements allow for different temperature zones, perfect for searing steaks and keeping food warm simultaneously.
                • Non-stick ceramic titanium coating: The griddle surface boasts a durable, easy-to-clean coating that makes cooking and cleanup a breeze.
                • EZ-Touch control dial and LCD display: The intuitive control dial and clear LCD display make setting and monitoring the temperature effortless.
                • Removable hood with grease management system: The hood traps heat and steam for even cooking, while the integrated grease channel directs drippings into a removable catch tray for easy disposal.
                • Folding prep cart: The attached prep cart offers additional workspace and storage for condiments, utensils, and grilling tools.
                • Durable construction: The griddle is constructed from heavy-duty stainless steel for lasting performance.

                Performance:

                The Blackstone E-Series heats up quickly and evenly, reaching temperatures high enough for searing and grilling. The dual heating zones provide flexibility for cooking different foods at different temperatures. The griddle surface retains heat well, ensuring consistent cooking throughout your meal. The hood further enhances heat retention and helps keep food moist and warm.

                Cleaning:

                The non-stick surface makes cleanup a breeze. Simply wipe down the griddle with a damp cloth or paper towel after it cools. The removable grease tray also makes disposal of drippings quick and easy.

                Overall Value:

                The Blackstone E-Series 22-inch Electric Tabletop Griddle with Hood and Prep Cart offers excellent value for money. It’s a versatile and well-made appliance that can handle a variety of cooking tasks. It’s perfect for apartment dwellers, small kitchens, or anyone who wants a convenient and mess-free way to grill indoors or outdoors.

                Benefits:

                • Large cooking surface
                • Dual heating zones
                • Non-stick surface
                • Easy-to-use controls
                • Removable hood with grease management system
                • Folding prep cart
                • Durable construction
                • Heats up quickly and evenly
                • Easy to clean

                Verdict:

                The Blackstone E-Series 22-inch Electric Tabletop Griddle with Hood and Prep Cart is a great choice for anyone looking for a versatile and convenient way to cook. It’s well-made, easy to use, and cleans up easily. While it may not be as powerful as a propane griddle, it’s perfect for everyday meals and entertaining.

                I hope this comprehensive review helps you decide whether the Blackstone E-Series 22-inch Electric Tabletop Griddle with Hood and Prep Cart is the right fit for you.

                Additional notes:

                • This griddle is also available in a 17-inch model without the prep cart.
                • Blackstone offers a wide variety of accessories for its griddles, including spatulas, griddle scrapers, and griddle covers.
                • It’s important to note that this griddle is electric and requires a standard 120V outlet.

                In the coming months we will be doing a complete video review. If you would like to be notified when it is available please subscribe to our YouTube channel by clicking the subscribe button.

                Introducing the Blackstone Pellet Grill and Griddle: The Ultimate Backyard Cooking Duo!

                Get ready to revolutionize your outdoor cooking with the all-new Blackstone Pellet Grill and Griddle Combo. This innovative two-in-one appliance is the ultimate grilling powerhouse, letting you sear, smoke, and sizzle like a culinary pro.

                Searing Versatility:

                • Griddle Glory: The expansive 22-inch griddle surface boasts superior heat distribution, ensuring perfectly seared steaks, sizzling veggies, and fluffy pancakes. From delicate crepes to a full-on hibachi feast, this griddle is your blank canvas for endless culinary creations.
                • Pellet Prowess: Elevate your grilling game with the magic of wood-fired flavor. The integrated pellet grill delivers low-and-slow smoking perfection for melt-in-your-mouth pulled pork, juicy brisket, and flavorful ribs. It has an 884 sq pellet grill with a rolling barrel hood, lower cast iron grates, and an upper adjustable stow-away rack. It also has a 20-pound hopper for pellets that will get you through those 8 to 10-hour brisket cooks.

                Convenience King:

                • Effortless Efficiency: Say goodbye to juggling separate grills! The Blackstone Pellet Grill and Griddle Combo lets you switch seamlessly between searing and smoking, all on one convenient unit.
                • Fuel Flexibility: Choose your grilling adventure! Power the griddle with propane or the pellet grill with your favorite wood pellets for maximum versatility.

                Built to Last:

                • Heavy-Duty Construction: Crafted from durable materials like porcelain-coated steel and cast iron, the Blackstone Pellet Grill and Griddle is built to withstand years of backyard grilling fun.
                • Easy Cleanup: The integrated grease management system makes cleaning a breeze, letting you spend less time scrubbing and more time enjoying your grilling masterpieces.

                The Blackstone Pellet Grill and Griddle Combo is more than just a grill – it’s an outdoor kitchen. Whether you’re a seasoned grilling guru or a backyard barbecue newbie, this versatile appliance has something for everyone.

                Additional Features:

                • The Griddle has dual control knobs for independent temperature control of the griddle. The pellet grill has a PID controller and can be controlled using a phone app using Bluetooth or WiFi.
                • Spacious hopper holds up to 20 pounds of pellets for extended grilling sessions. You can do those low and slow cooks overnight to make the best brisket or pulled pork.
                • The convenient side shelf and front shelf provide ample prep space.
                • Built-in igniter for the griddle supply quick and easy startup.

                In the coming weeks, we will do a full product review on our YouTube Channel.

                If you want to be notified when it is available, please subscribe to our YouTube channel by clicking the subscribe button.

                To purchase this product click here.

                Griddle Paella: A Smoky Twist on the Classic

                While traditionally prepared in a paella pan over an open flame, this recipe brings the beloved Spanish dish to the griddle for a unique and flavorful twist. The smoky touch adds depth to the classic paella flavors, making it a fun and delicious experiment for paella enthusiasts.
                Print Recipe
                CourseMain Course
                CuisineSpanish
                Keywordpaella
                Prep Time30 minutes
                Cook Time45 minutes
                Total Time1 hour 15 minutes
                Servings4
                Calories500kcal

                Ingredients

                Instructions

                • Heat the griddle and paella pan to medium-high. Drizzle with olive oil and add the onion, garlic, and bell peppers. Sauté until softened, about 5 minutes.
                • Add the rice to the pan and stir to coat with oil. Toast for a minute or two until slightly translucent.
                • Stir in the smoked paprika and cook for 30 seconds.
                • Gradually add the hot broth, one ladleful at a time. Let the rice absorb the liquid before adding the next ladleful. This should take about 20-25 minutes, until the rice is almost cooked through.
                • While the rice cooks, cook the chicken and chorizo on the griddle in batches on a separate part of the griddle. Sear until golden brown on both sides.
                • Once the rice is almost cooked, add the chicken, chorizo, and peas to the paella pan. Stir gently to combine.
                • Increase the heat to high and cook for a minute or two to form a slight crust (socarrat) on the bottom of the paella.
                • Turn off the heat, cover the pan, and let the paella rest for 5-10 minutes.
                • Serve the paella garnished with chopped parsley and lemon wedges.

                Notes

                Use a wide spatula to move the rice around without breaking the grains.
                Don’t overcrowd the griddle! Work in batches if needed to ensure even cooking.
                Adjust the broth addition based on the absorbency of your rice and desired texture.
                Embrace the smoky twist! The griddle adds a unique flavor dimension that complements the traditional paella spices.
                Feel free to adjust the protein and vegetables to your liking. Seafood paella works well on the griddle too, but be careful of flare-ups.
                You can also use pre-cooked chorizo for convenience.
                For a vegetarian paella, omit the chicken and chorizo and add additional vegetables like mushrooms or zucchini.
                Enjoy this delicious and smoky take on paella! The griddle adds a fun twist to the classic dish, making it a perfect option for adventurous cooks and paella lovers alike.

                Nutrition

                Calories: 500kcal