Get ready for an epic culinary adventure with this portable Cuban Lechon Asado recipe! We’ll harness the power of the Presto Nomad slow cooker and Jackery Explorer 1500 to transform a tough pork shoulder into succulent, crispy perfection, all without needing a plug. So fire up your inner explorer and let’s get cooking!

Off-Grid Cuban Lechon Asado: Slow Cooker to Griddle Glory
Get ready for an epic culinary adventure with this portable Cuban Lechon Asado recipe! We’ll harness the power of the Presto Nomad slow cooker and Jackery Explorer 1500 to transform a tough pork shoulder into succulent, crispy perfection, all without needing a plug. So fire up your inner explorer and let’s get cooking!
Print Recipe
Equipment
Ingredients
- 5-6 lb bone-in pork shoulder skin on preferred
- 4 tbsp olive oil
- 4 tbsp adobo seasoning or DIY blend with garlic powder, onion powder, oregano, cumin, smoked paprika, salt, pepper
- 1/2 cup orange juice
- 1/4 cup lime juice
- 1/4 cup white vinegar
- 1 tbsp chopped garlic
- 1 bay leaf
- 1/2 tsp dried oregano
- 1/4 tsp dried thyme
Instructions
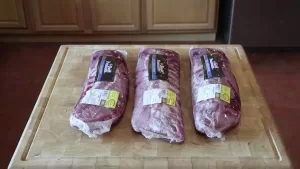
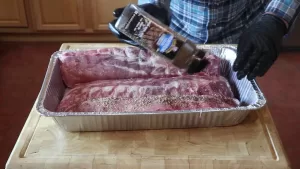
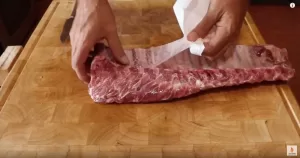
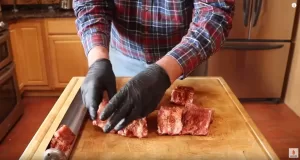
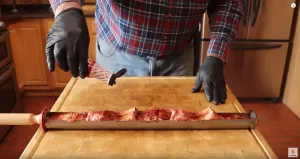
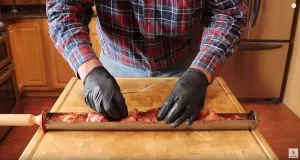
- Prep the Pork: Pat the pork dry and rub it generously with olive oil and adobo seasoning. Don’t be shy, get it into all the nooks and crannies!
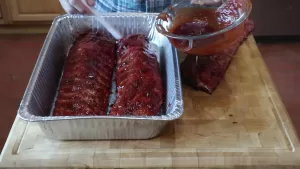
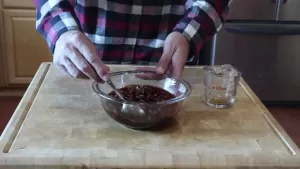
- Marinate to Magnify: Whisk together the orange juice, lime juice, vinegar, garlic, bay leaf, oregano, and thyme. Pour this flavorful concoction over the pork, massaging it in to evenly distribute the marinade. Cover and refrigerate for at least 8 hours, ideally overnight. Let those citrusy-herbal notes work their magic!
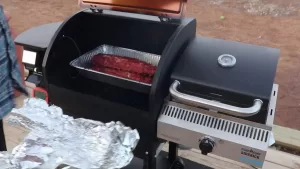
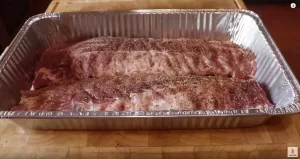
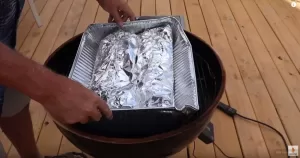
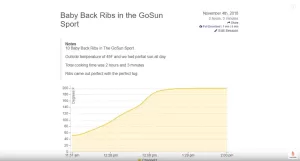
- Slow Cooker Sizzle: Place the pork, fat side up, in your trusty Presto Nomad. Pour the remaining marinade over the top. Now comes the easy part: set the slow cooker to low and let it work its slow-cooking wonders for 8-10 hours. The Jackery Explorer 1500 will keep your cooker humming along, so kick back, relax, and anticipate the juicy goodness to come.
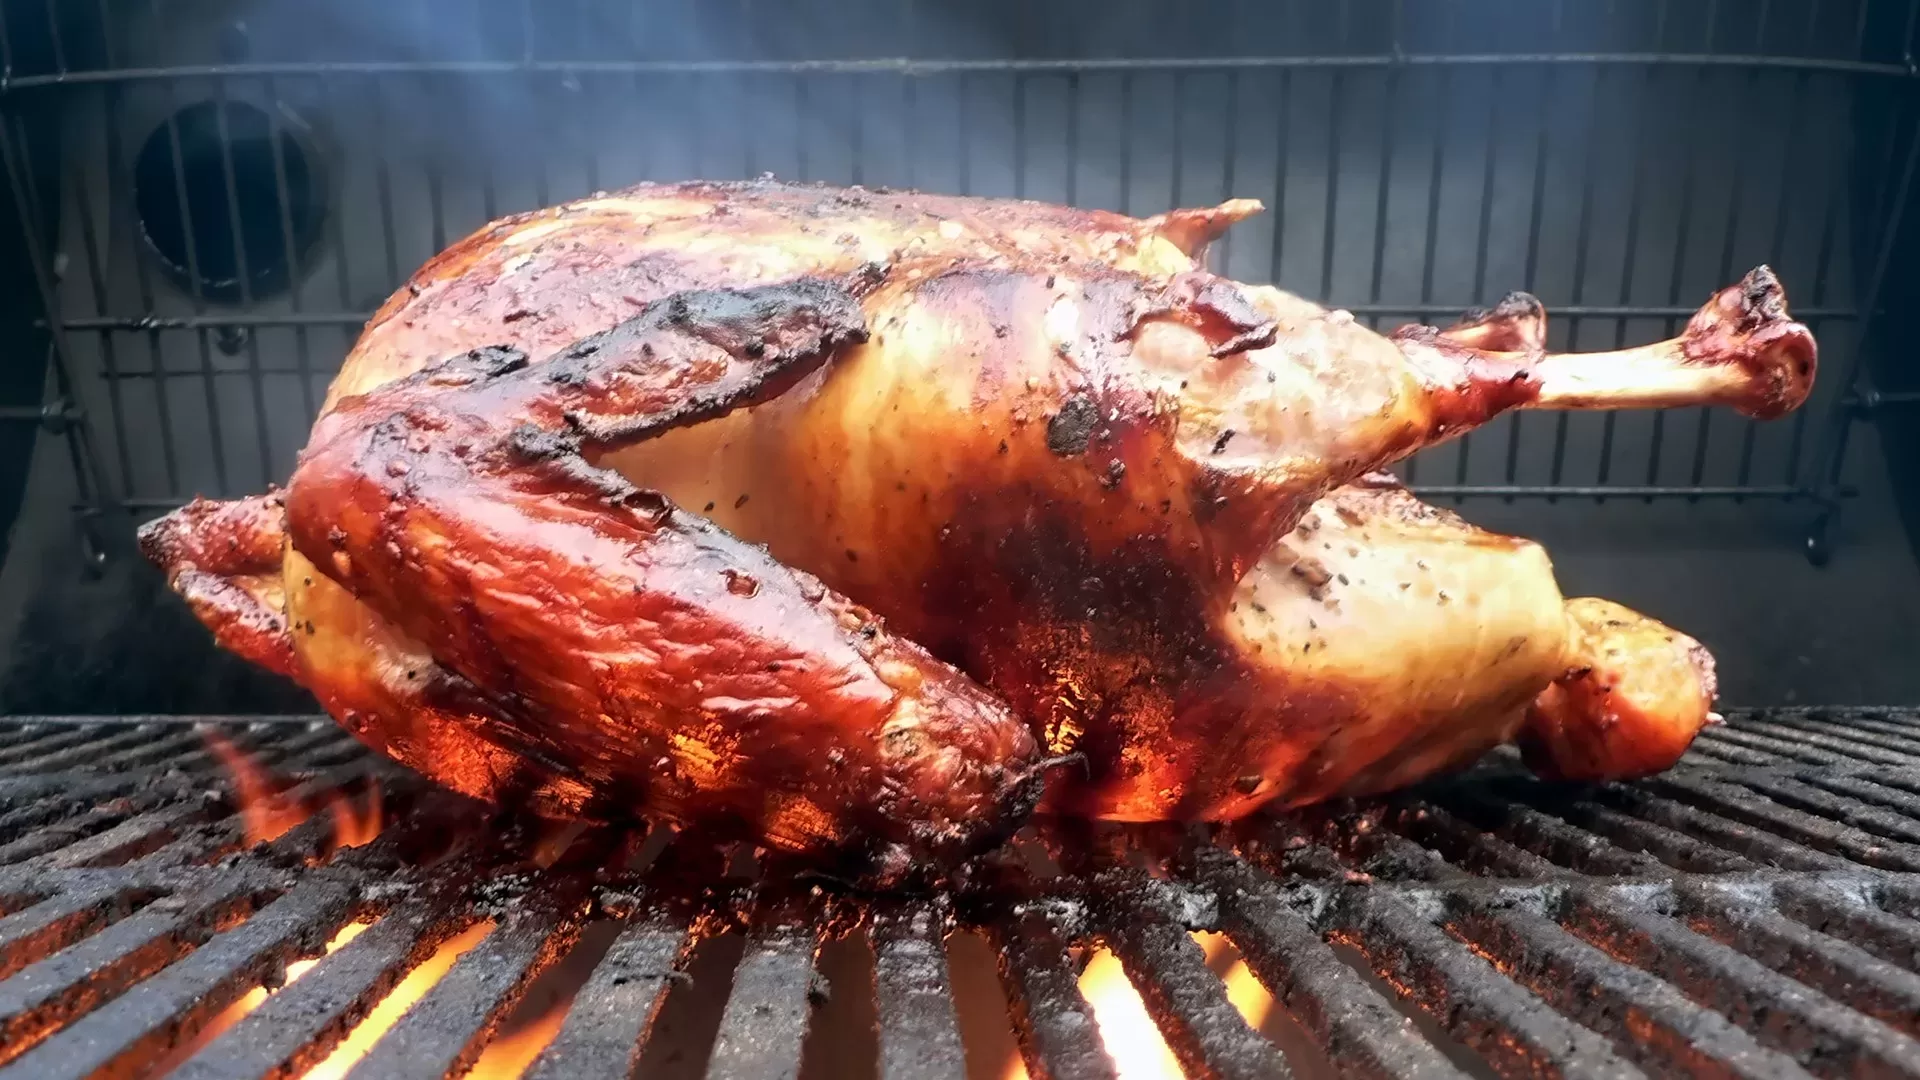
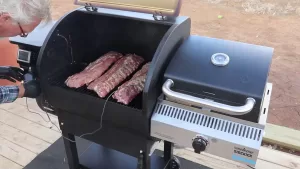
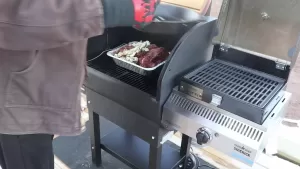
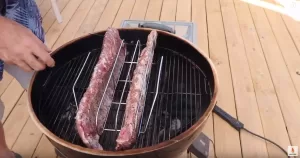
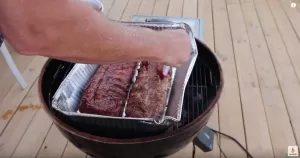
- Griddle Glory: Once the pork is fork-tender (reaching an internal temperature of 195°F), it’s time to add the crispy finale! Carefully transfer the pork to your preheated Blackstone griddle (around medium-high heat). The sizzle you hear is the sound of pure porky joy!
- Skin to Perfection: This is where the magic happens. Using tongs or a spatula, carefully hold the pork skin down on the hot griddle. Watch as the fat crackles and renders, transforming the skin into a golden, crackling masterpiece. Resist the urge to poke or prod – let the heat do its crispy work.
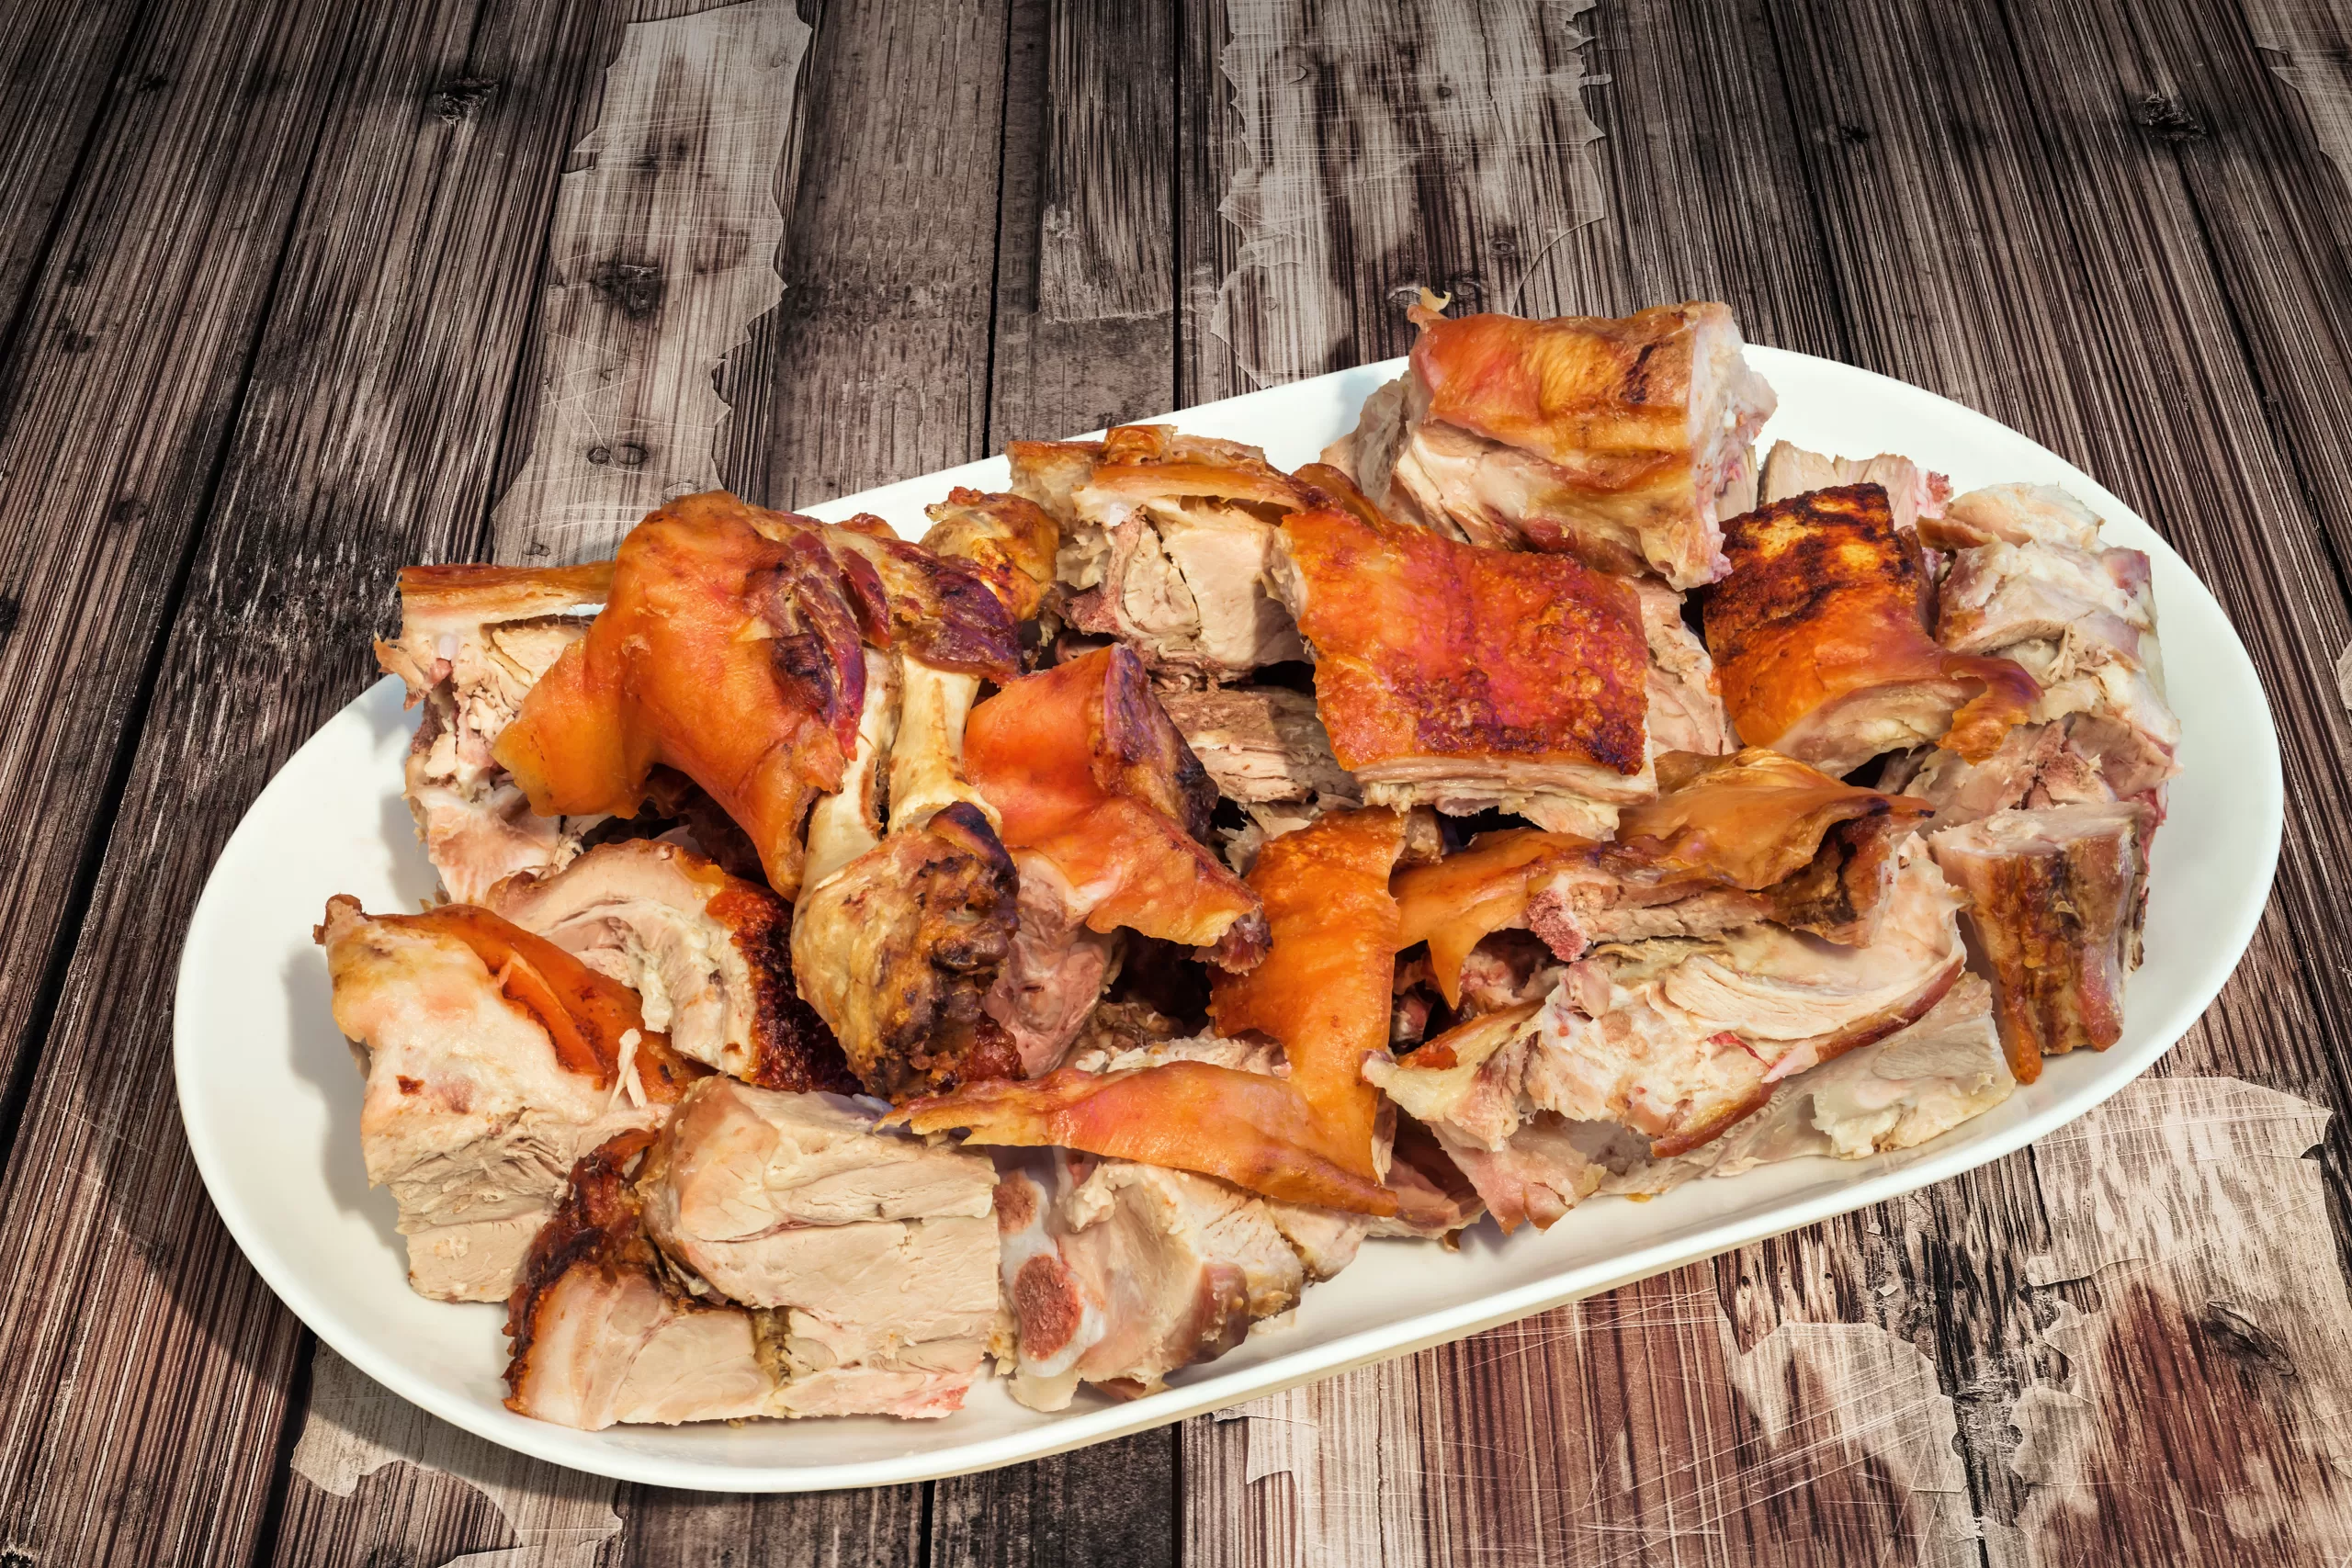
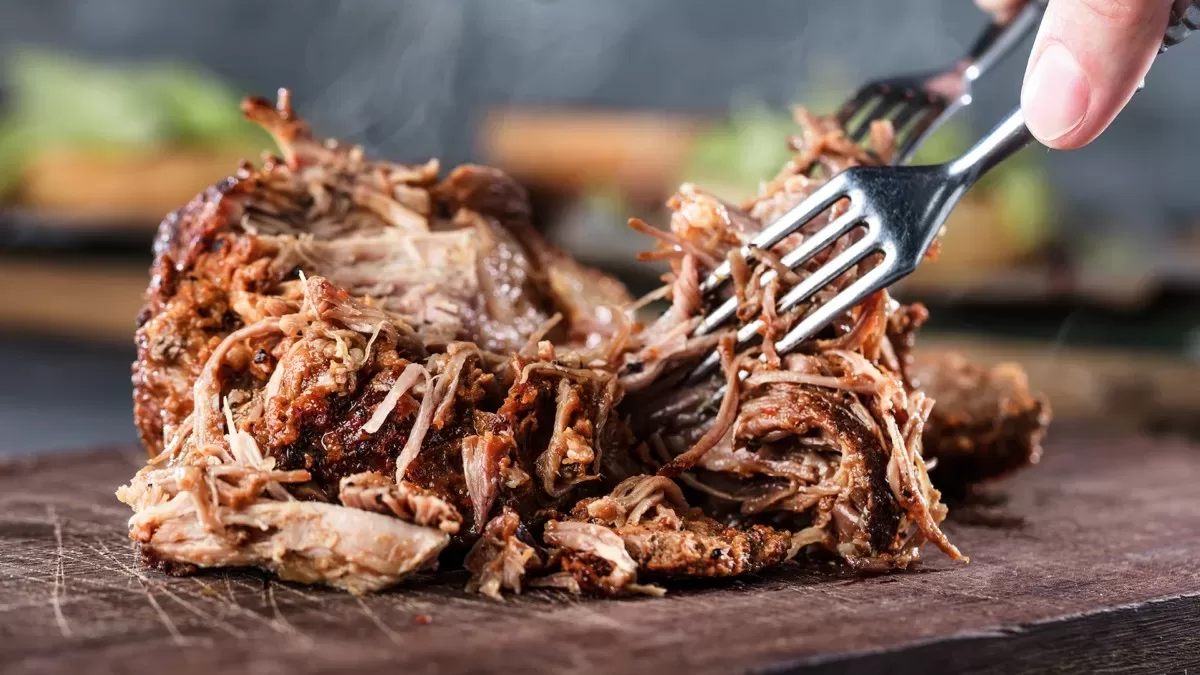
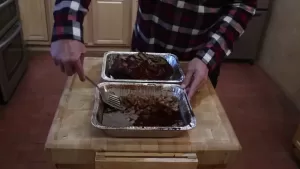
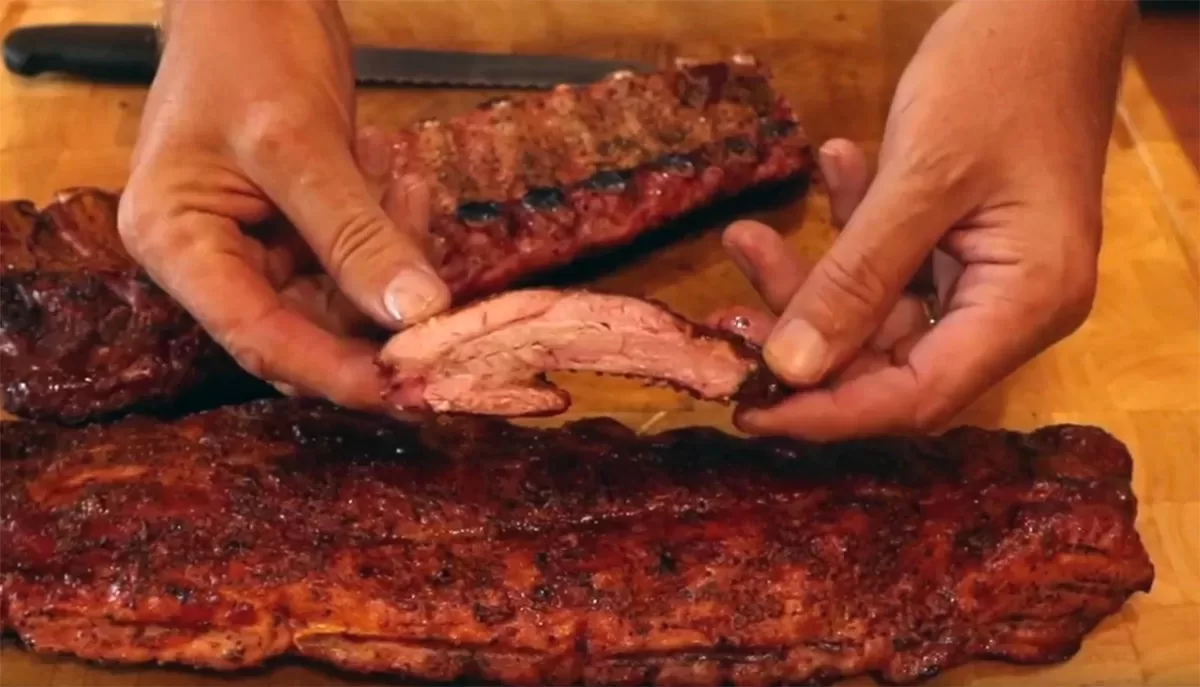
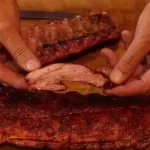
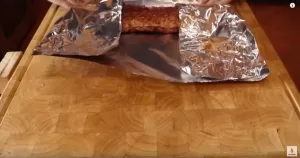
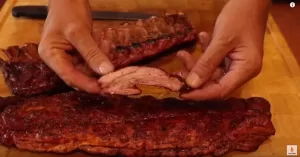
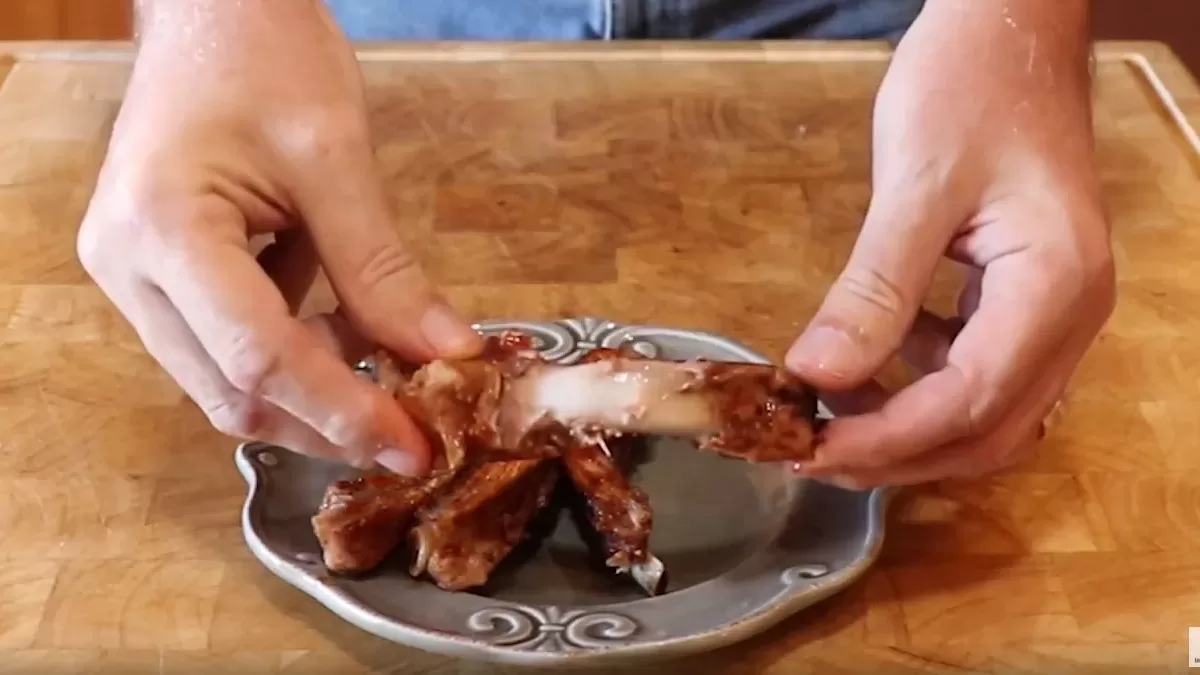
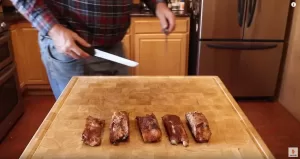
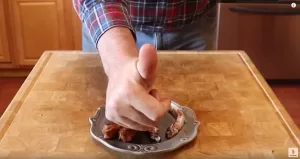
- Rest and Rejoice: Transfer the Lechon Asado to a cutting board and let it rest for 15-20 minutes. This allows the juices to redistribute, ensuring maximum tenderness in every bite. Then, carve it into succulent slices and prepare to be amazed!
Notes
Why This Recipe Rocks Off the Grid:
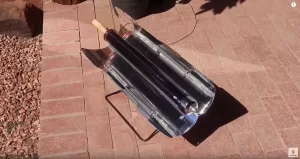
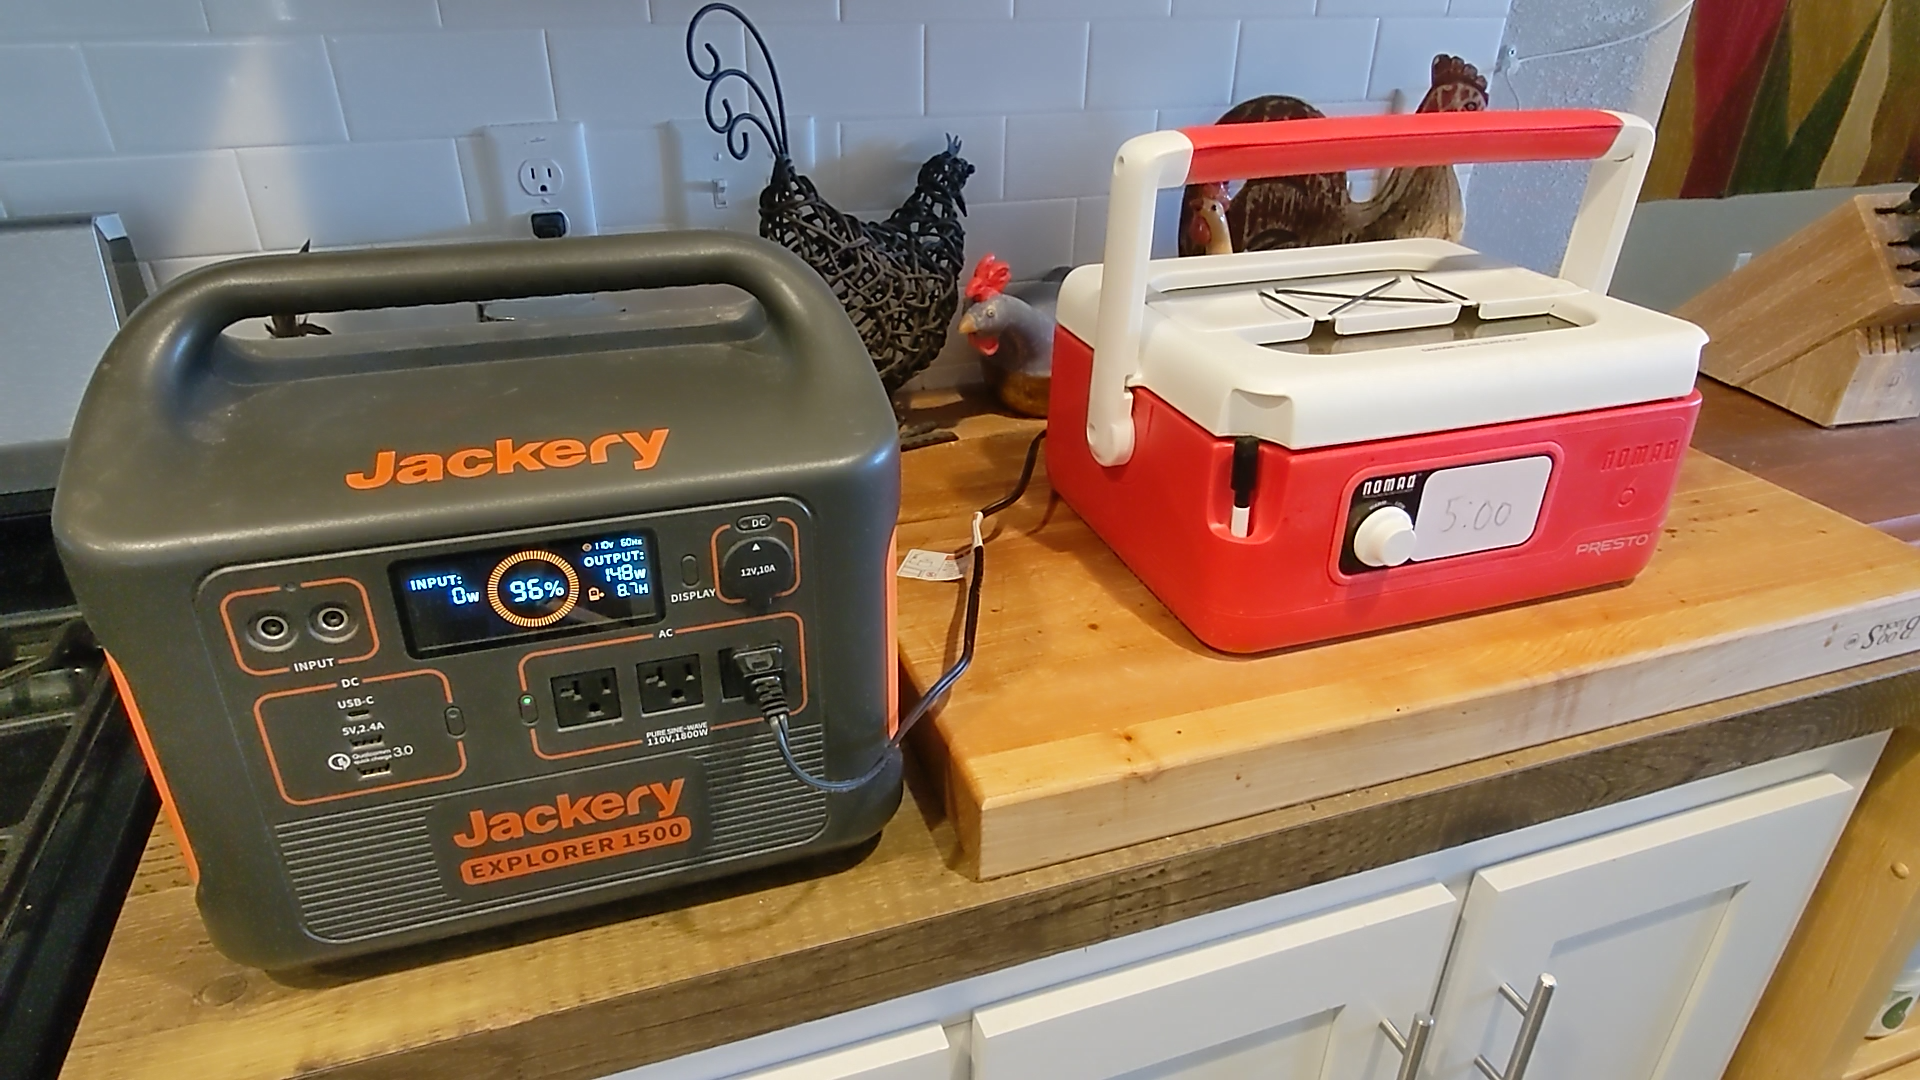
Portable Powerhouse: The Presto Nomad and Jackery Explorer 1500 are your ticket to culinary freedom. No outlets? No problem! This dynamic duo lets you savor slow-cooked goodness anywhere, from campsites to backyards.
Slow Cooker Convenience: Let the slow cooker handle the heavy lifting while you explore, relax, or simply savor the anticipation. It’s low-maintenance cooking at its finest.
Griddle Grand Finale: The Blackstone griddle adds the perfect crispy counterpoint to the melt-in-your-mouth pork. That skin, oh that skin, will have you scraping the griddle for every last morsel.
Beyond the Recipe:
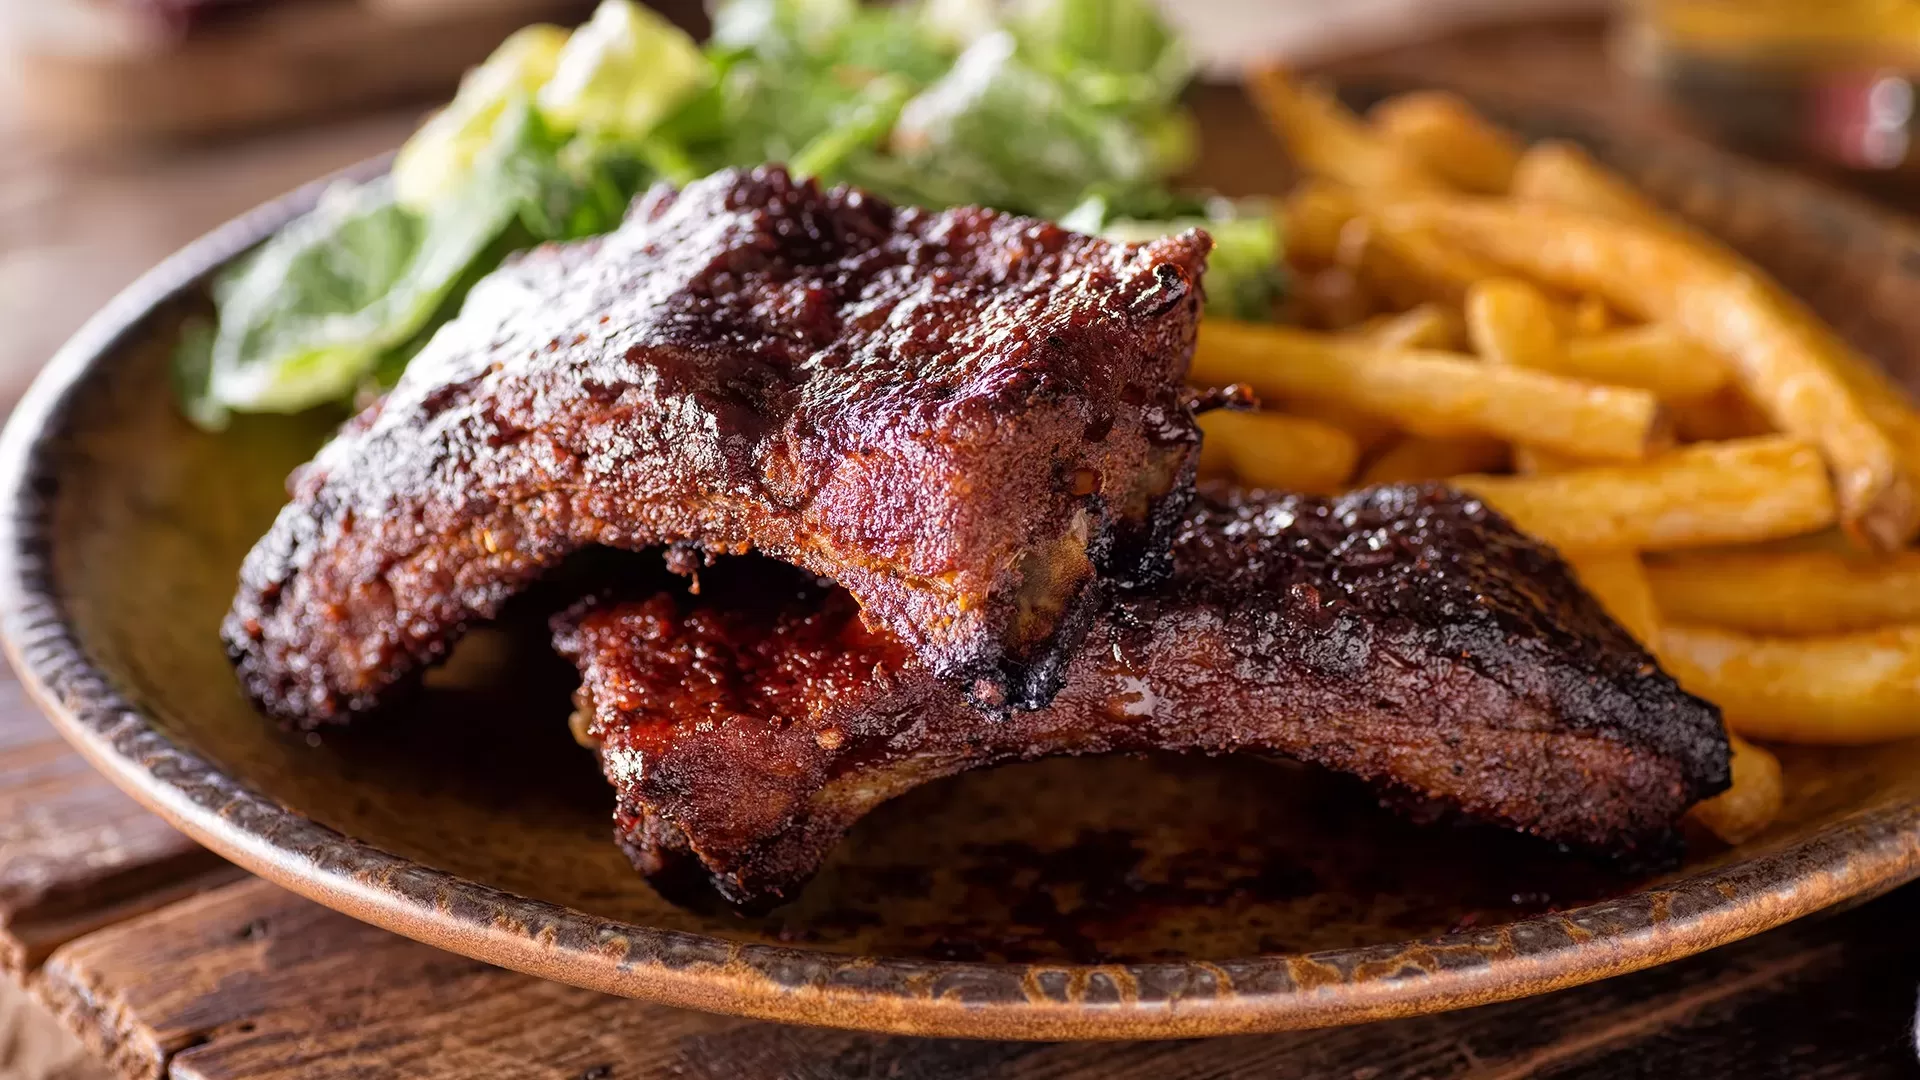
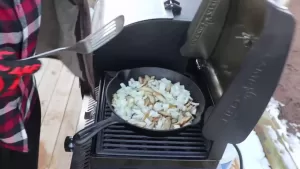
Cuban Companions: Elevate your Lechon Asado experience with traditional Cuban sides like black beans and rice, yuca con mojo, or fried plantains. A feast for the senses!
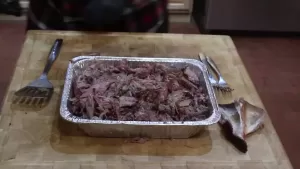
Leftover Love: This recipe yields plenty for leftovers. Shred the pork and use it for sandwiches, tacos, or Ropa Vieja (Cuban pulled pork). The possibilities are endless!
So ditch the limitations, grab your gear, and fire up this flavorful adventure. With a little slow cooker magic and a griddle sear, you’ll be enjoying restaurant-worthy Cuban Lechon Asado, no matter where the road takes you.
So ditch the limitations, grab your gear, and fire up this flavorful adventure. With a little slow cooker magic and a griddle sear, you’ll be enjoying restaurant-worthy Cuban Lechon Asado, no matter where the road takes you.
Nutrition
Calories: 500kcal
Ingredients:
- 5-6 lb bone-in pork shoulder (skin on preferred)
- 4 tbsp olive oil
- 4 tbsp adobo seasoning (or DIY blend with garlic powder, onion powder, oregano, cumin, smoked paprika, salt, pepper)
- 1/2 cup orange juice
- 1/4 cup lime juice
- 1/4 cup white vinegar
- 1 tbsp chopped garlic
- 1 bay leaf
- 1/2 tsp dried oregano
- 1/4 tsp dried thyme
Equipment:
- Presto Nomad Slow Cooker
- Jackery Explorer 1500 power station
- Blackstone E-Series 22 Griddle (or similar griddle)
- Meat thermometer
- Aluminum foil (optional)
Instructions:
- Prep the Pork: Pat the pork dry and rub it generously with olive oil and adobo seasoning. Don’t be shy, get it into all the nooks and crannies! Opens in a new windowwww.amazon.comPork shoulder rubbed with adobo seasoning
- Marinate to Magnify: Whisk together the orange juice, lime juice, vinegar, garlic, bay leaf, oregano, and thyme. Pour this flavorful concoction over the pork, massaging it in to evenly distribute the marinade. Cover and refrigerate for at least 8 hours, ideally overnight. Let those citrusy-herbal notes work their magic!
- Slow Cooker Sizzle: Place the pork, fat side up, in your trusty Presto Nomad. Pour the remaining marinade over the top. Now comes the easy part: set the slow cooker to low and let it work its slow-cooking wonders for 8-10 hours. The Jackery Explorer 1500 will keep your cooker humming along, so kick back, relax, and anticipate the juicy goodness to come.
- Griddle Glory: Once the pork is fork-tender (reaching an internal temperature of 195°F), it’s time to add the crispy finale! Carefully transfer the pork to your preheated Blackstone griddle (around medium-high heat). The sizzle you hear is the sound of pure porky joy!
- Skin to Perfection: This is where the magic happens. Using tongs or a spatula, carefully hold the pork skin down on the hot griddle. Watch as the fat crackles and renders, transforming the skin into a golden, crackling masterpiece. Resist the urge to poke or prod – let the heat do its crispy work.
- Rest and Rejoice: Transfer the Lechon Asado to a cutting board and let it rest for 15-20 minutes. This allows the juices to redistribute, ensuring maximum tenderness in every bite. Then, carve it into succulent slices and prepare to be amazed!
Why This Recipe Rocks Off the Grid:
- Portable Powerhouse: The Presto Nomad and Jackery Explorer 1500 are your ticket to culinary freedom. No outlets? No problem! This dynamic duo lets you savor slow-cooked goodness anywhere, from campsites to backyards.
- Slow Cooker Convenience: Let the slow cooker handle the heavy lifting while you explore, relax, or simply savor the anticipation. It’s low-maintenance cooking at its finest.
- Griddle Grand Finale: The Blackstone griddle adds the perfect crispy counterpoint to the melt-in-your-mouth pork. That skin, oh that skin, will have you scraping the griddle for every last morsel.
Beyond the Recipe:
- Cuban Companions: Elevate your Lechon Asado experience with traditional Cuban sides like black beans and rice, yuca con mojo, or fried plantains. A feast for the senses!
- Leftover Love: This recipe yields plenty for leftovers. Shred the pork and use it for sandwiches, tacos, or Ropa Vieja (Cuban pulled pork). The possibilities are endless!
So ditch the limitations, grab your gear, and fire up this flavorful adventure. With a little slow cooker magic and a griddle sear, you’ll be enjoying restaurant-worthy Cuban Lechon Asado, no matter where the road takes you. Remember, the only grid you need is the one holding your perfectly crisped pork!