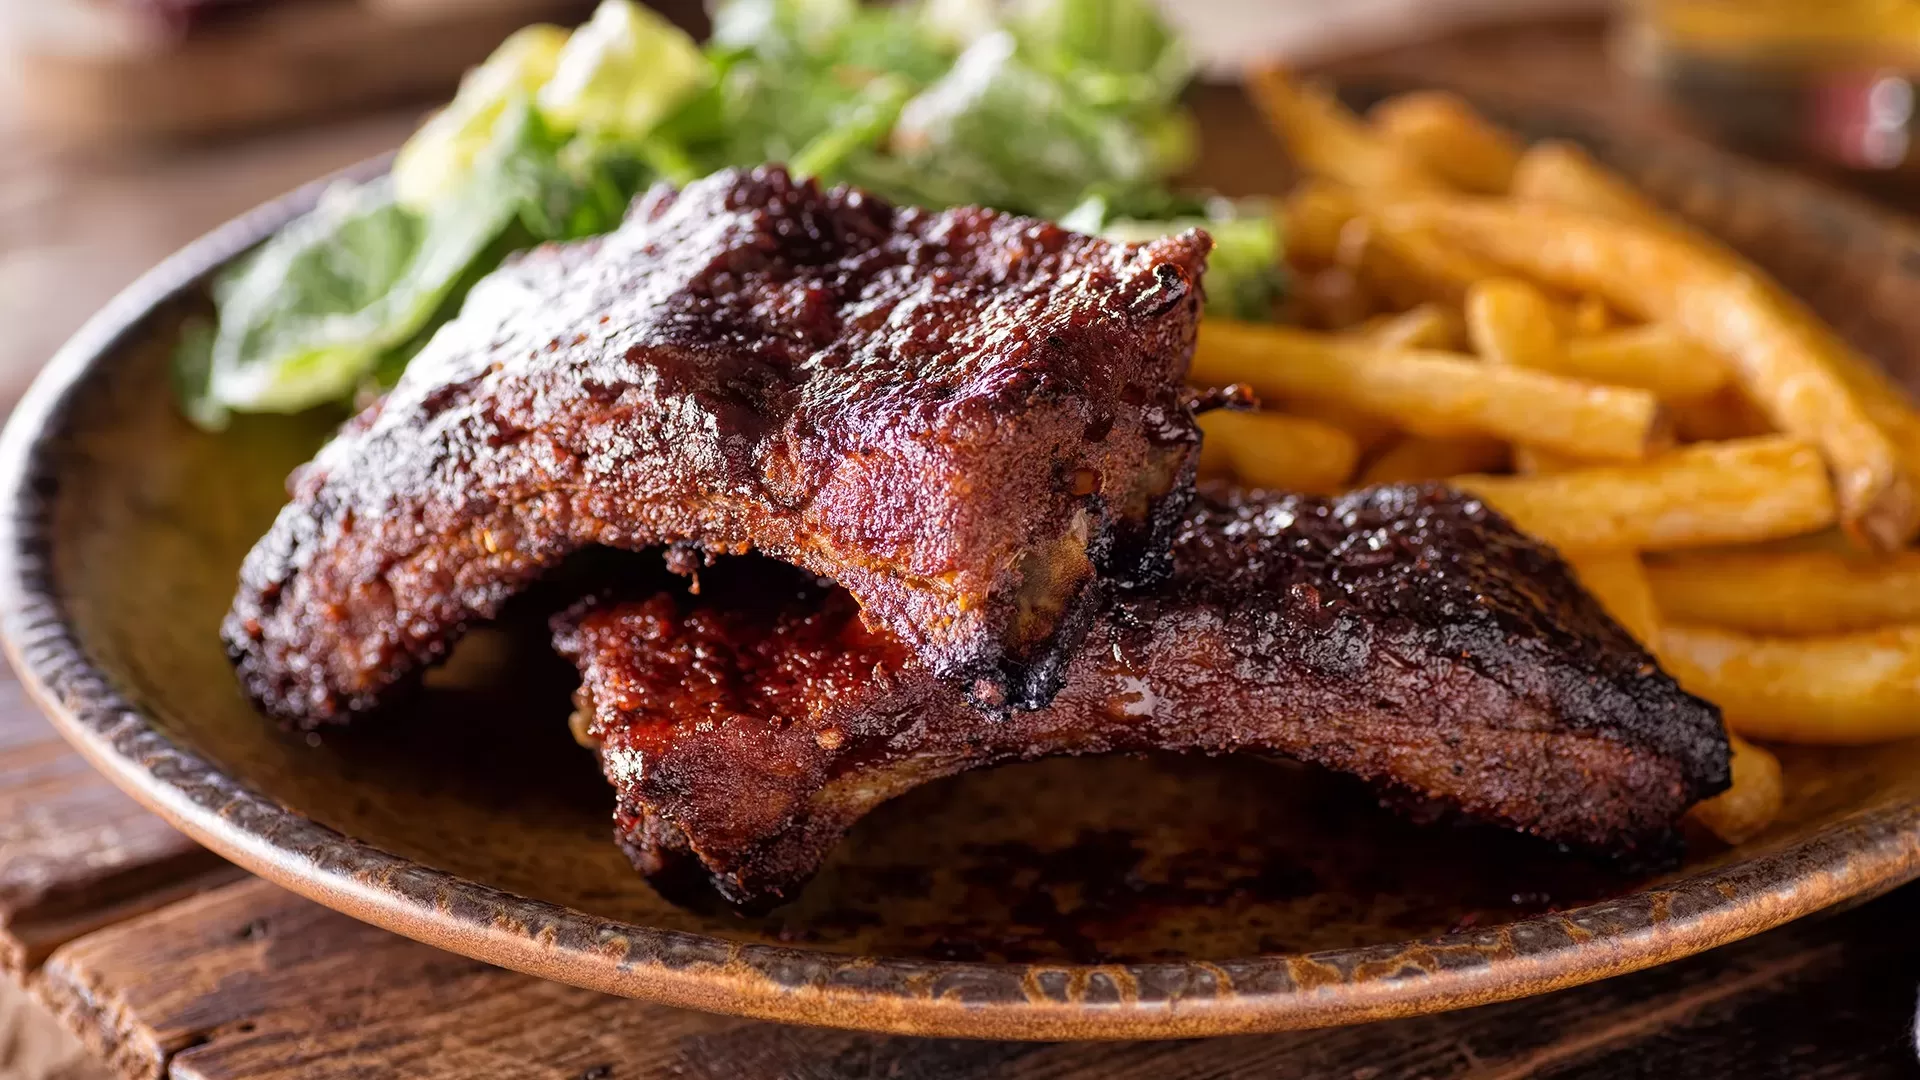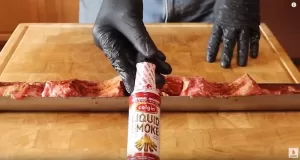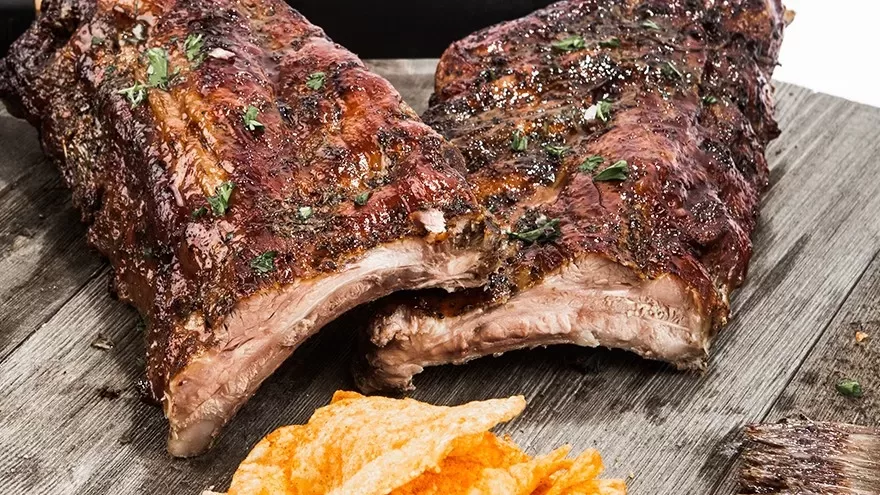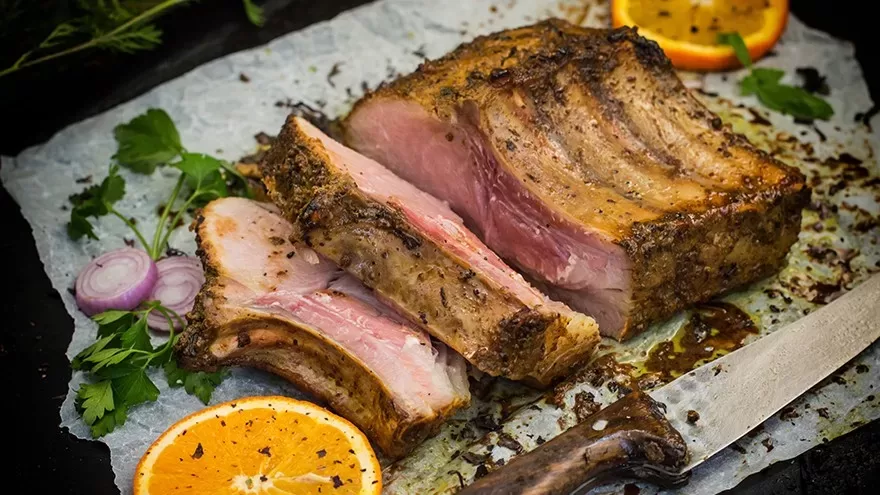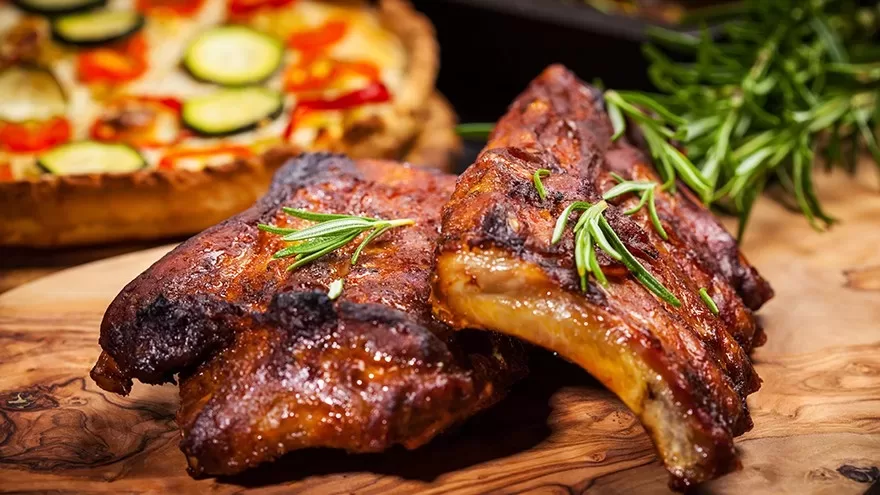
Griddle cooking offers a unique twist on classic BBQ ribs, creating a smoky, caramelized flavor that will have everyone digging in. This recipe takes advantage of the griddle’s direct heat for a quick cook, while a foil “tent” steams the ribs to melt-in-your-mouth tenderness.
Baby Back Ribs on a Griddle
Griddle cooking offers a unique twist on classic BBQ ribs, creating a smoky, caramelized flavor that will have everyone digging in. This recipe takes advantage of the griddle's direct heat for a quick cook, while a foil "tent" steams the ribs to melt-in-your-mouth tenderness.
Print Recipe
Equipment
Ingredients
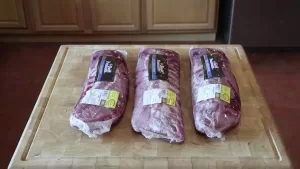
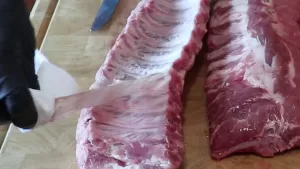
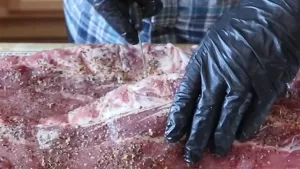
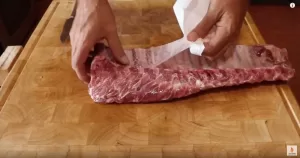
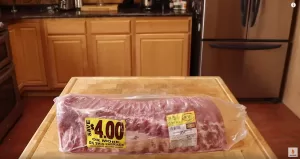
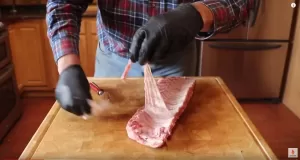
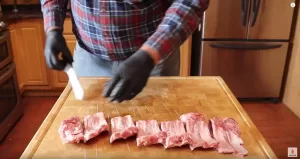
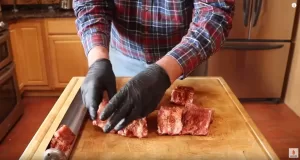
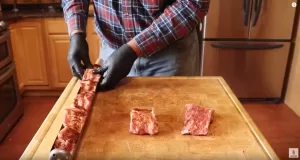
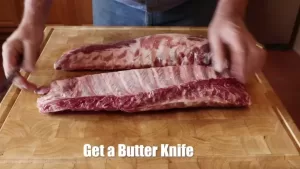
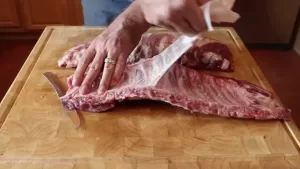
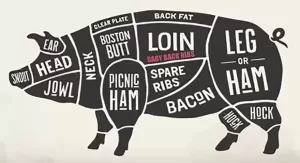
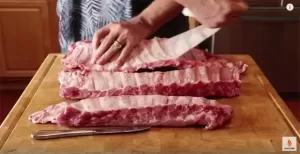
- 2 racks baby back ribs membrane removed
- 1/4 cup brown sugar
- 2 tablespoons paprika
- 1 tablespoon chili powder
- 1 teaspoon onion powder
- 1/2 teaspoon garlic powder
- 1/2 teaspoon black pepper
- 1/4 cup apple cider vinegar
- 1/4 cup honey
- 2 tablespoons Dijon mustard
- Aluminum foil
- Optional: Your favorite BBQ sauce
Instructions
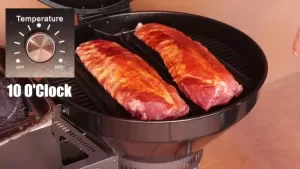
- Preheat your griddle to medium-high heat.
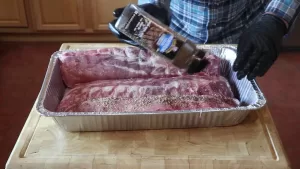
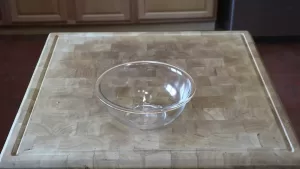
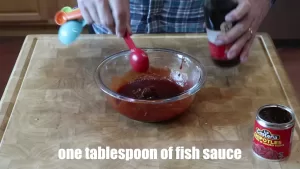
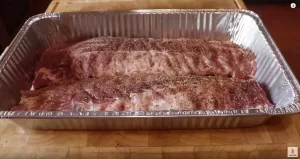
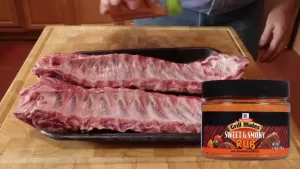
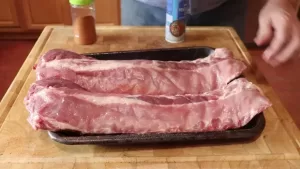
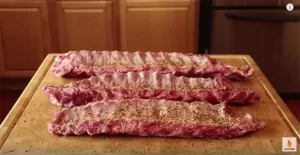
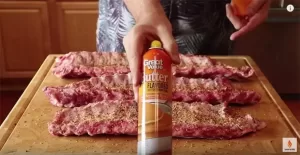
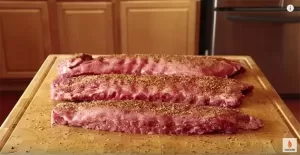
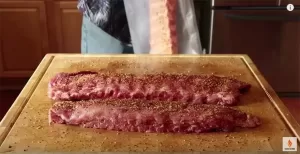
- Prepare the rub: Combine brown sugar, paprika, chili powder, onion powder, garlic powder, and black pepper in a small bowl. Generously coat both sides of the ribs with the rub.
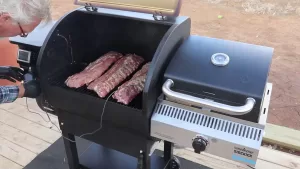
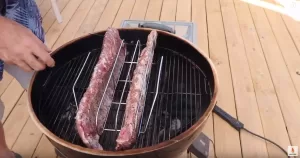
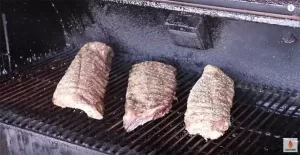
- Sear the ribs: Place the ribs on the hot griddle, meaty side down. Sear for 3-4 minutes per side, or until nicely browned.
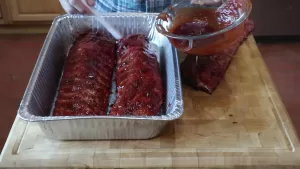
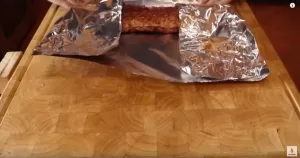
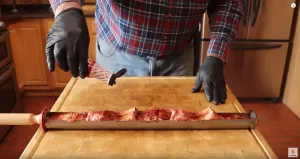
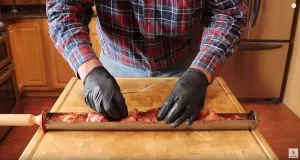
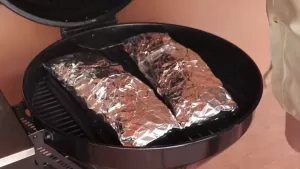
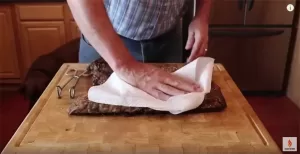
- Create the foil tent: Tear off a large sheet of aluminum foil and fold it in half to create a double layer. Pour about 1/4 cup of apple cider vinegar onto the center of the foil. Place the ribs meat-side up on the foil, then fold the sides up and around the ribs to create a sealed tent.
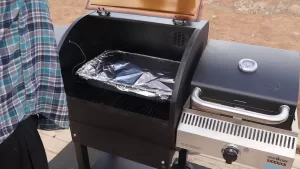
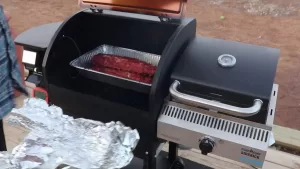
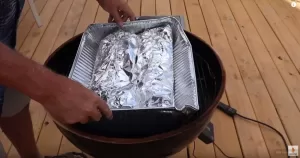
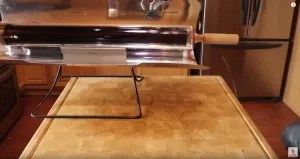
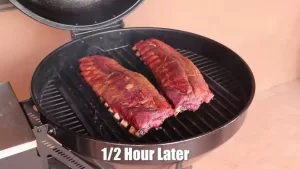
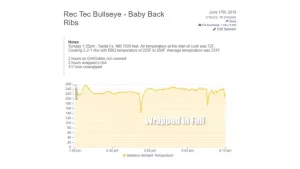
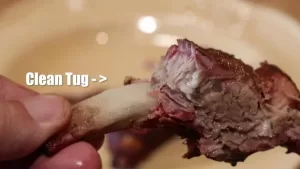
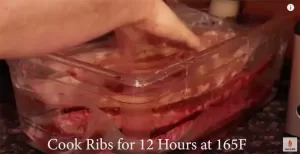
- Steam and sauce: Reduce the heat to medium-low and cover the griddle with a lid. Steam the ribs for 45-60 minutes, or until tender and falling off the bone. Check on them occasionally and add more vinegar if needed to keep the bottom moist.
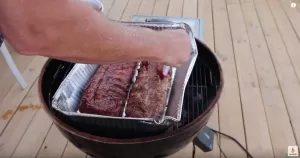
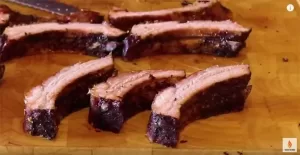
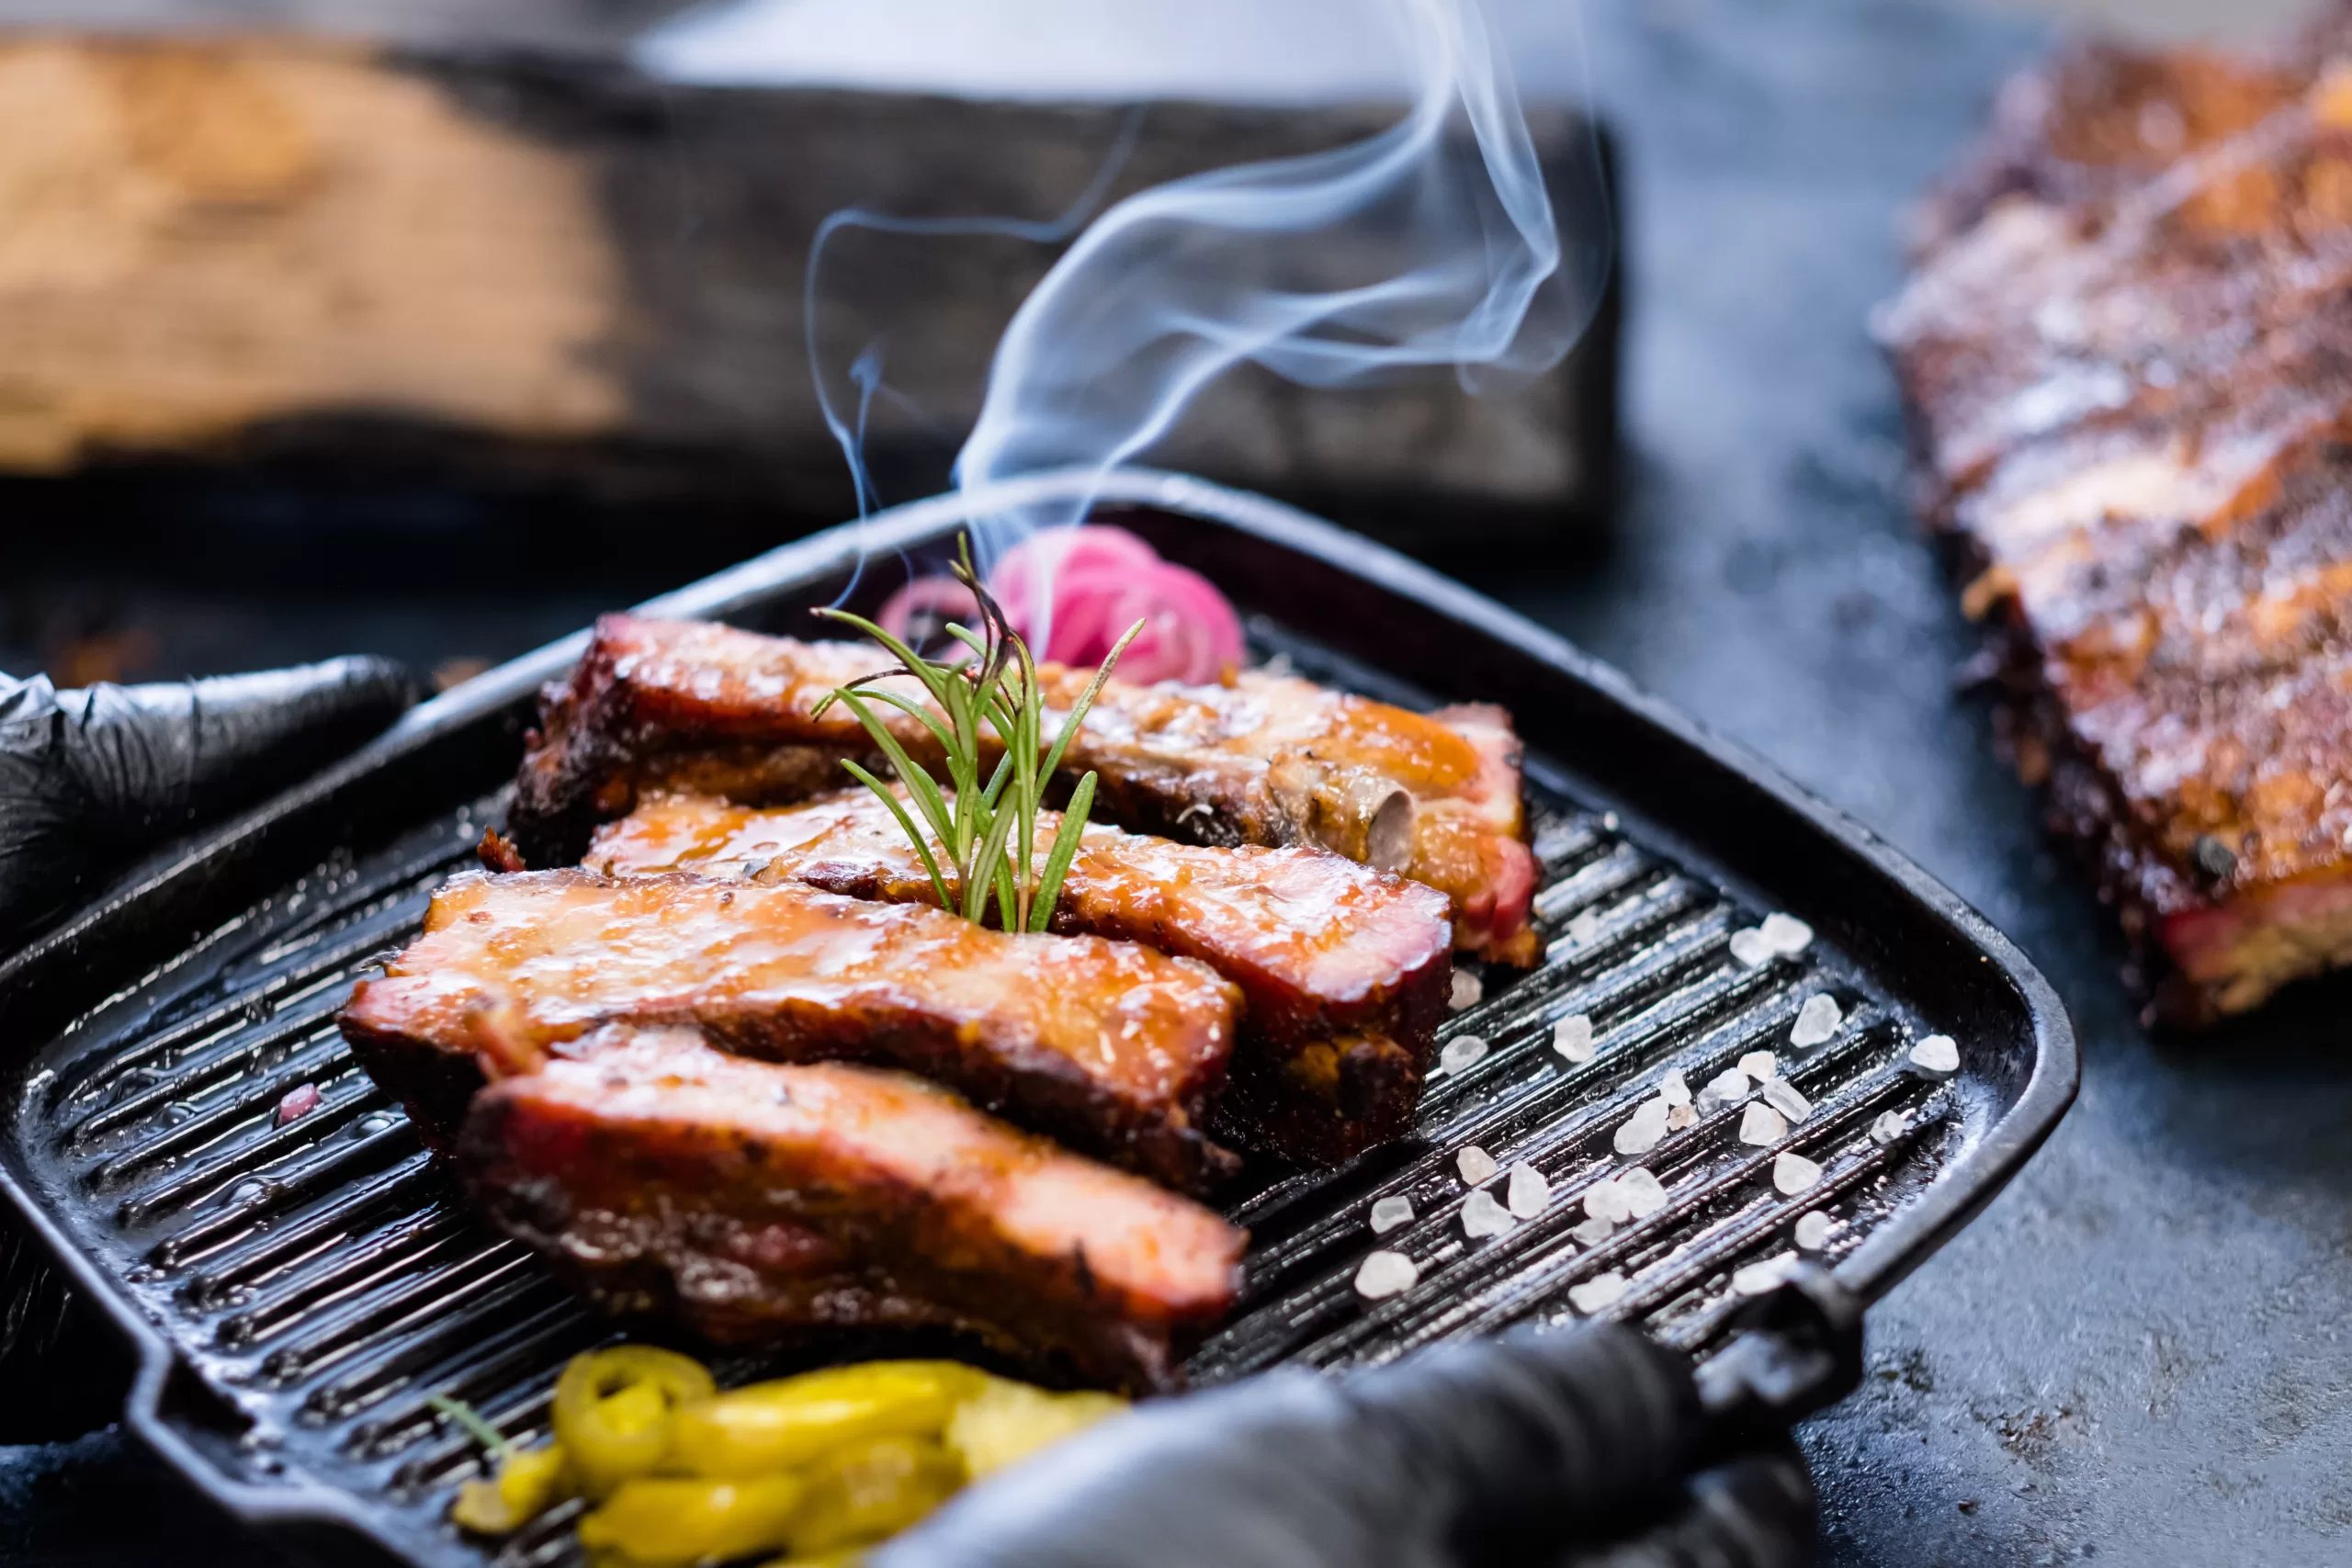
- Glaze it up: In a small bowl, whisk together honey and Dijon mustard. Carefully remove the foil and brush the ribs generously with the glaze. Increase the heat to medium-high and return the ribs to the griddle, open-faced. Cook for 2-3 minutes per side, caramelizing the glaze and creating a sticky, delicious coating.
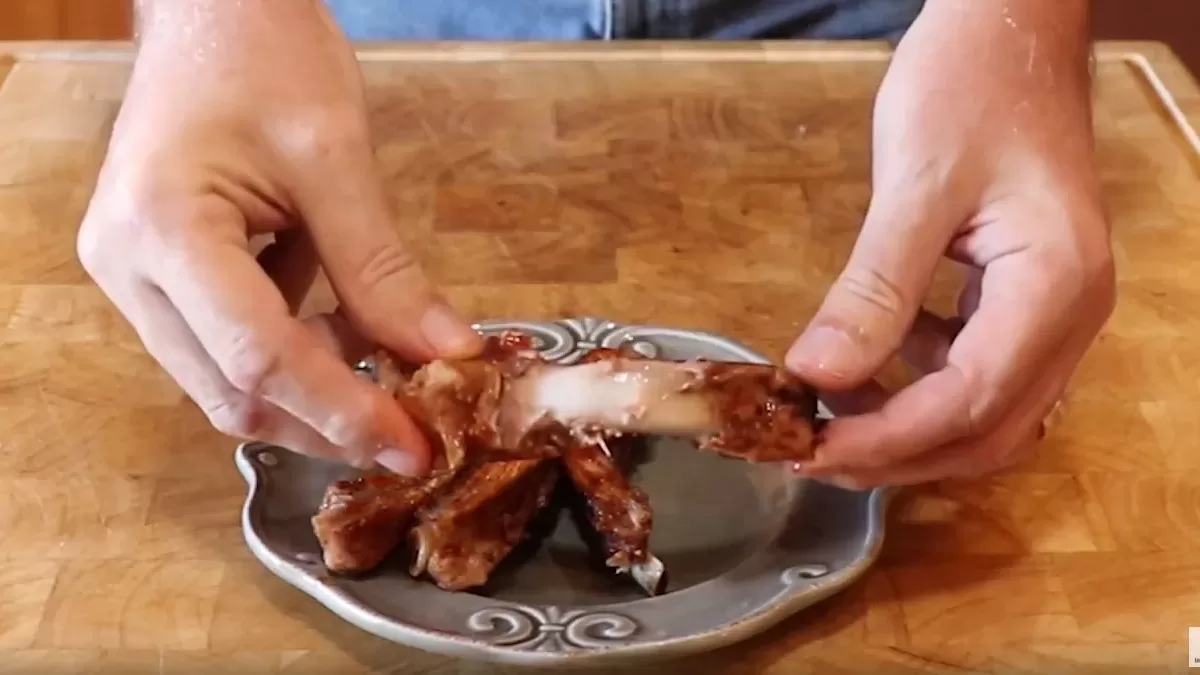
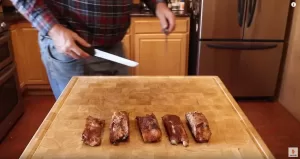
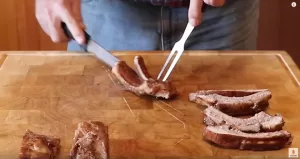
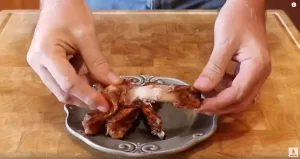
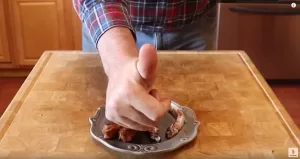
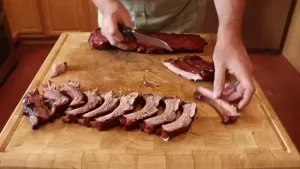
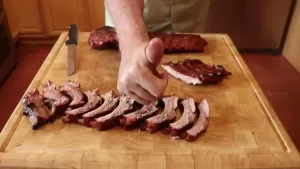
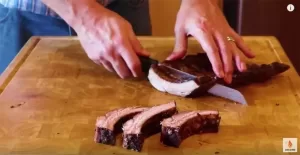
- Rest and serve: Transfer the ribs to a cutting board and let them rest for 5-10 minutes before slicing and serving. Enjoy with your favorite BBQ sauce, if desired.
Notes
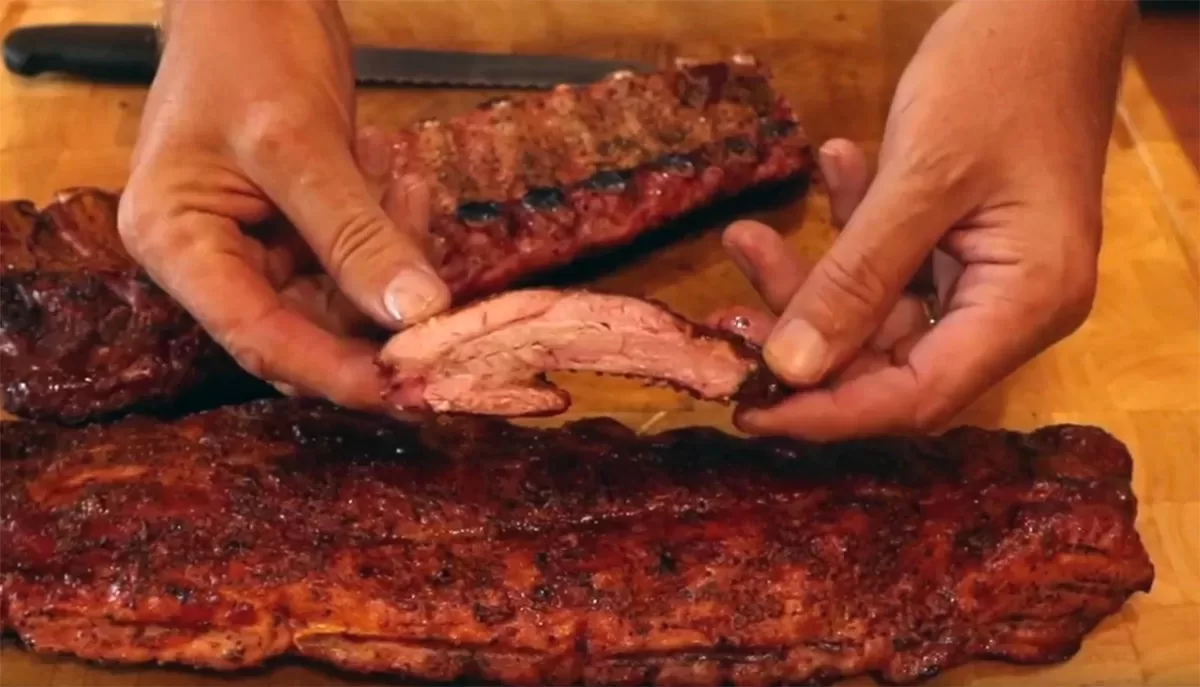
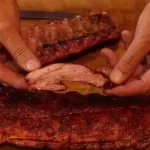
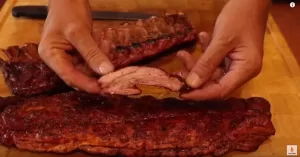
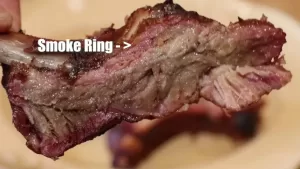
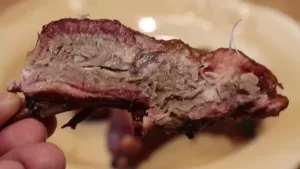
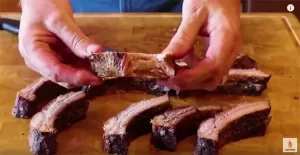
Choose tender ribs: Look for ribs with good marbling and bendable bones.
Season generously: Don’t skimp on the rub! It adds depth of flavor and enhances the natural sweetness of the ribs.
Control the heat: Medium-low heat is key for gentle steaming and preventing the ribs from drying out.
Glaze and go: The final caramelization adds a sticky, irresistible finish. Don’t overcook at this stage, just achieve a beautiful char.
Get creative: Experiment with different rubs and glazes to find your perfect flavor combination. You can also add vegetables like onions or peppers to the foil tent for a complete meal.
With these tips and this recipe, you’ll be grilling up restaurant-worthy ribs on your griddle in no time. So fire up the heat, gather your friends and family, and prepare for a taste of smoky-sweet, fall-off-the-bone bliss!
Nutrition
Calories: 500kcal