Fire Up the Fun: Your Guide to a Smokin’ Barbecue Season

cleaning grill

With warmer weather on the horizon, it’s time to dust off your grill and get ready for the quintessential summer pastime: barbecues! But before you fire up the flames, a little preparation can go a long way in ensuring a smooth, delicious, and stress-free season.

Grill Revival:

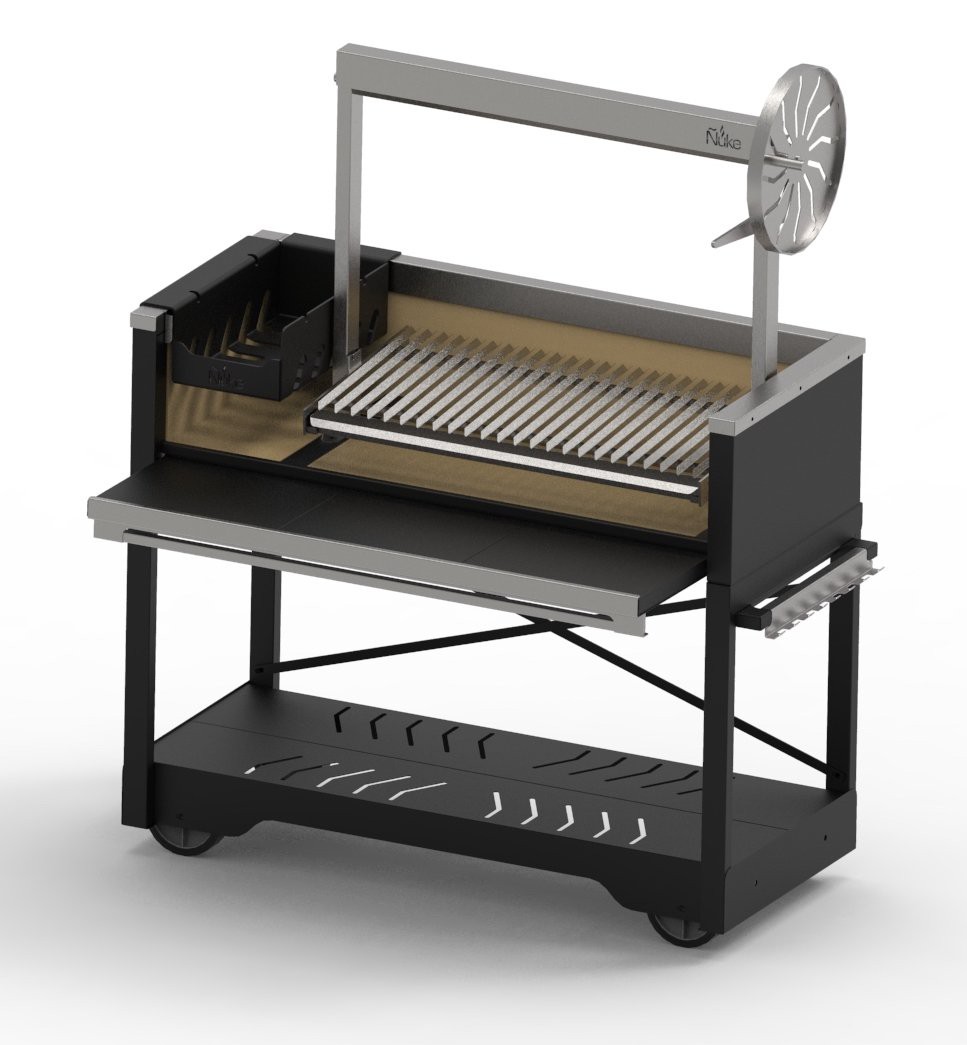
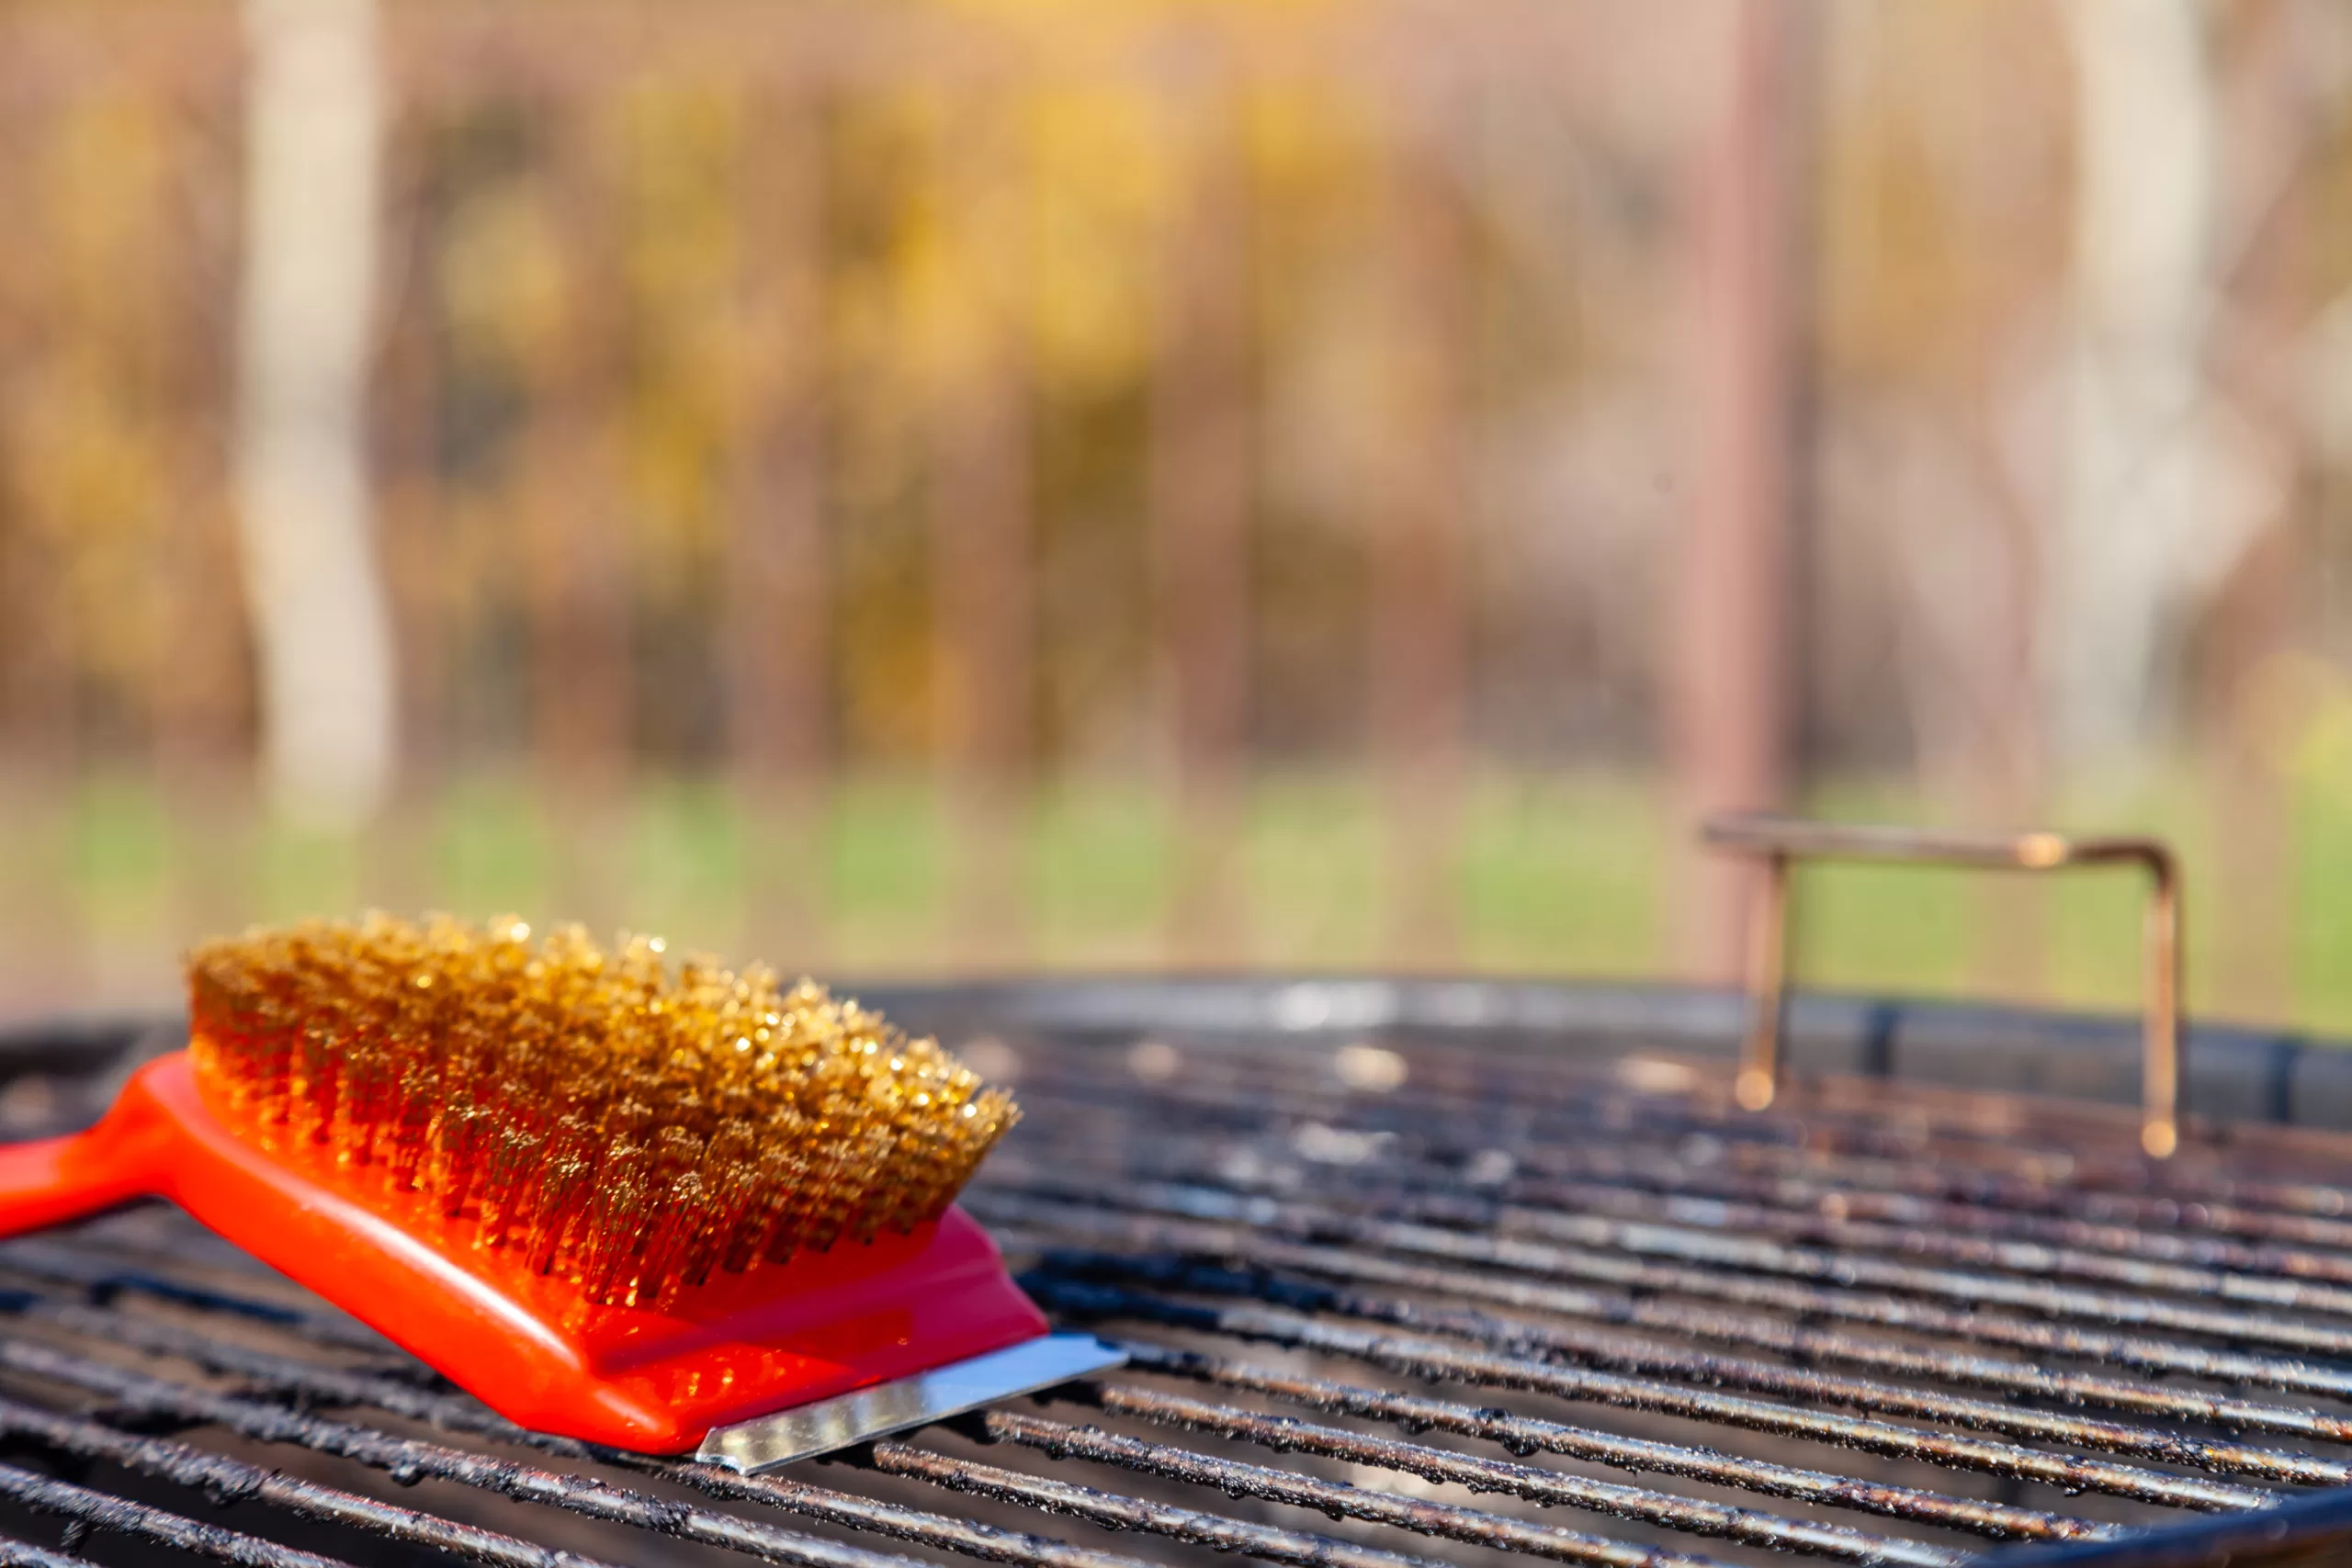
  1. Clean Up Crew: Give your grill some TLC. Deep clean the grates, burners, and exterior surfaces. For gas grills, check for leaks and replace old batteries. For charcoal grills, remove ash and inspect the firebox for damage.
  2. Tool Time: Ensure your grilling tools are in good shape. Sharpen knives, replace worn-out spatulas, and check for gas leaks in propane lighters.

Stocking Up:

  1. Fuel for the Flame: Make sure you have enough propane, pellets, or charcoal in stock, depending on your grill type. Consider buying extra in advance, especially if you anticipate hosting large gatherings.
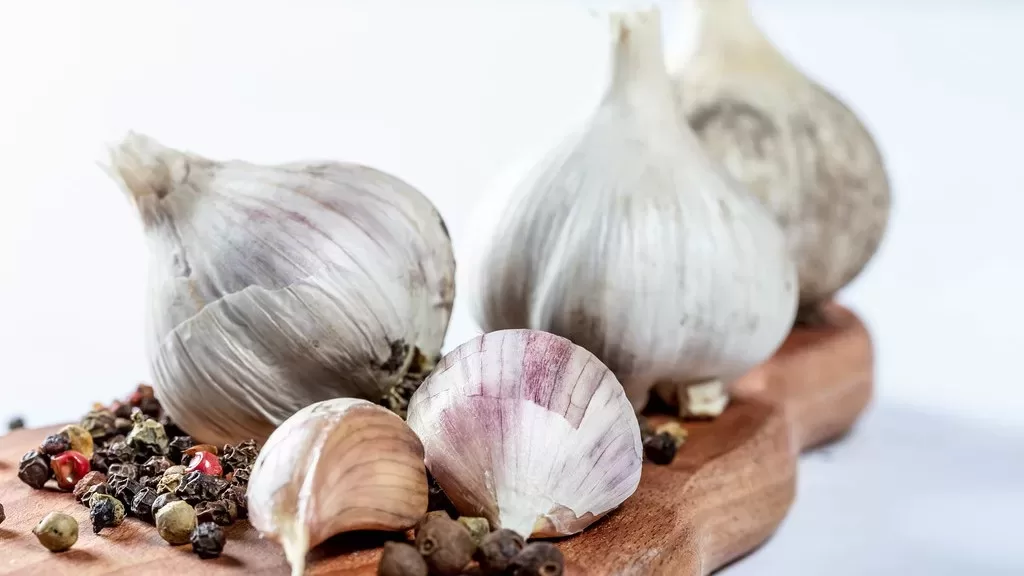
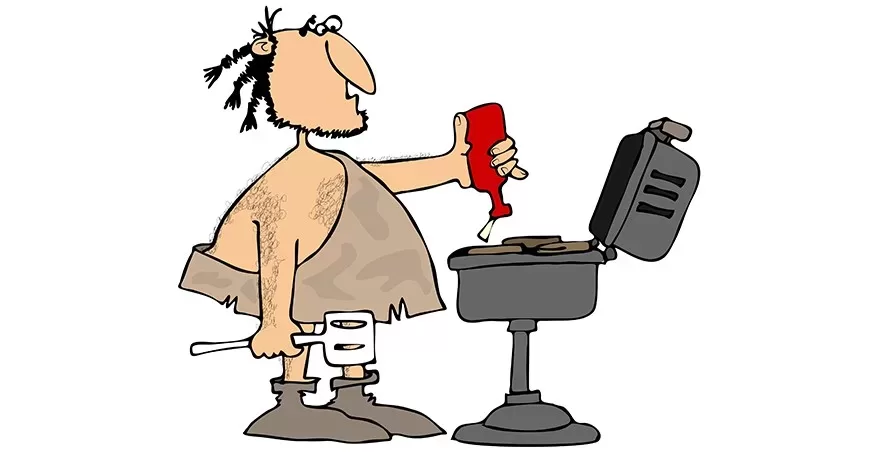
  2. Flavor Arsenal: Stock up on your favorite grilling essentials: marinades, rubs, sauces, spices, and grilling oils. Don’t forget condiments like ketchup, mustard, and BBQ sauce.
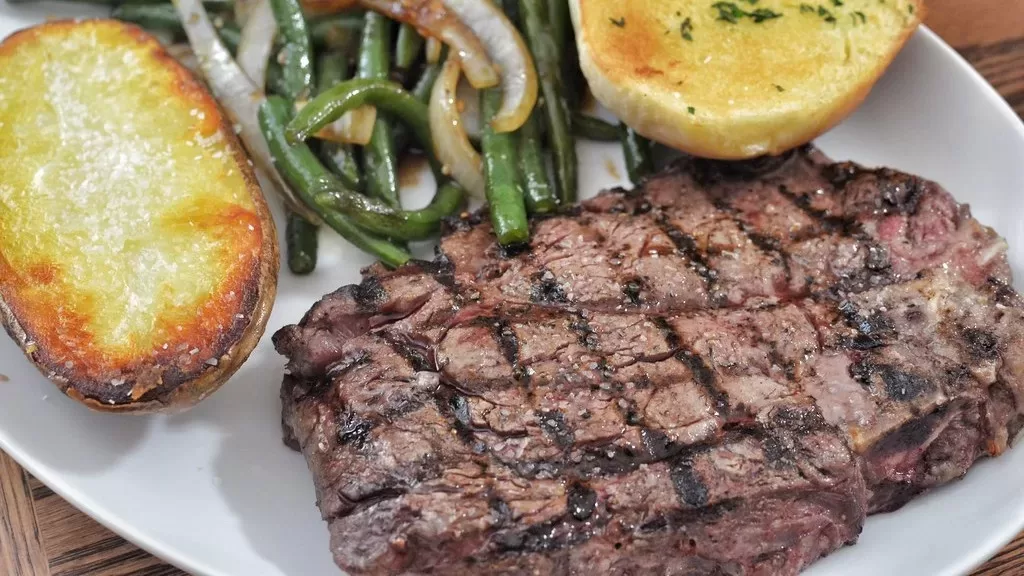
  3. Sidekicks and Snacks: Plan your side dishes and snacks. Consider light salads, potato salads, dips, and veggie platters to complement your grilled creations.

Masterclass in Marinades:

  1. Flavor Fusion: Experiment with different marinades and rubs for meats, vegetables, tofu, or tempeh. Marinate for at least 30 minutes for maximum flavor penetration.
  2. Safety First: Always marinate in the refrigerator, not at room temperature, to prevent bacterial growth.

Grill Like a Pro:

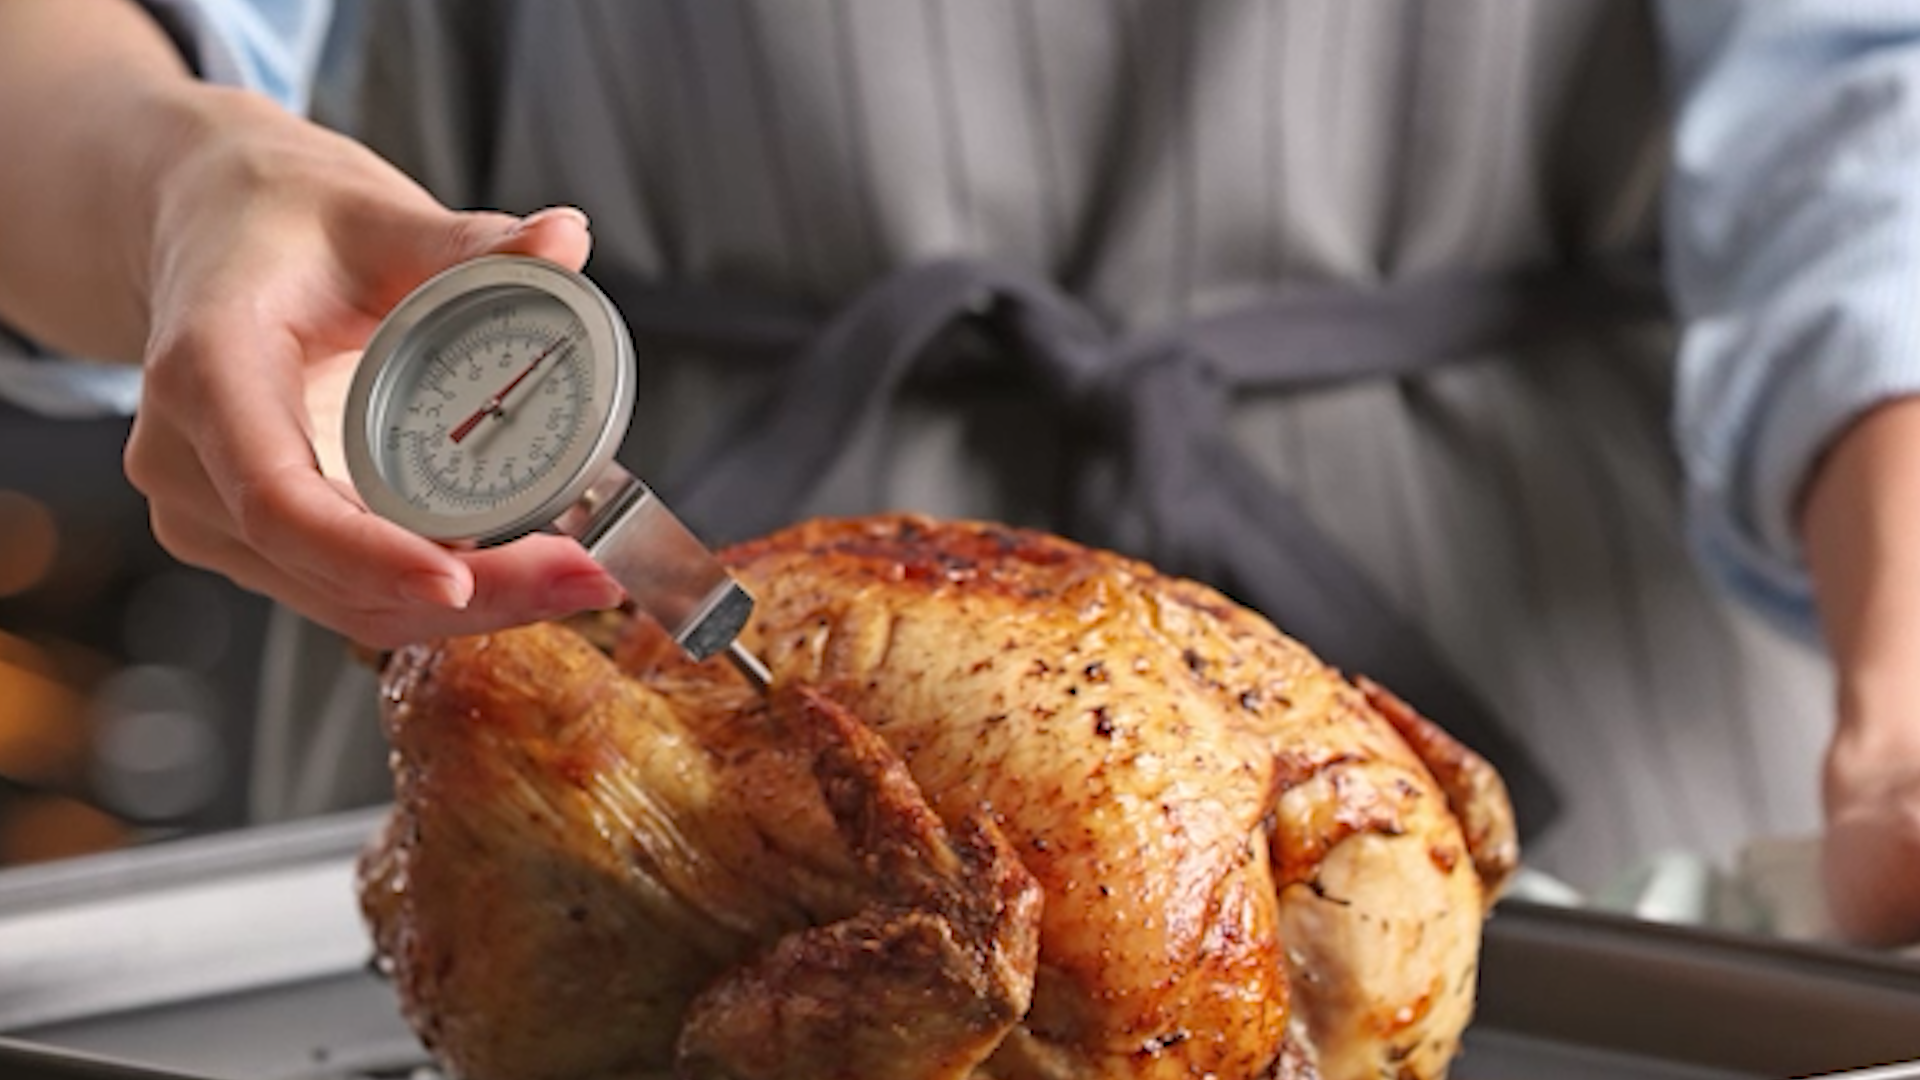
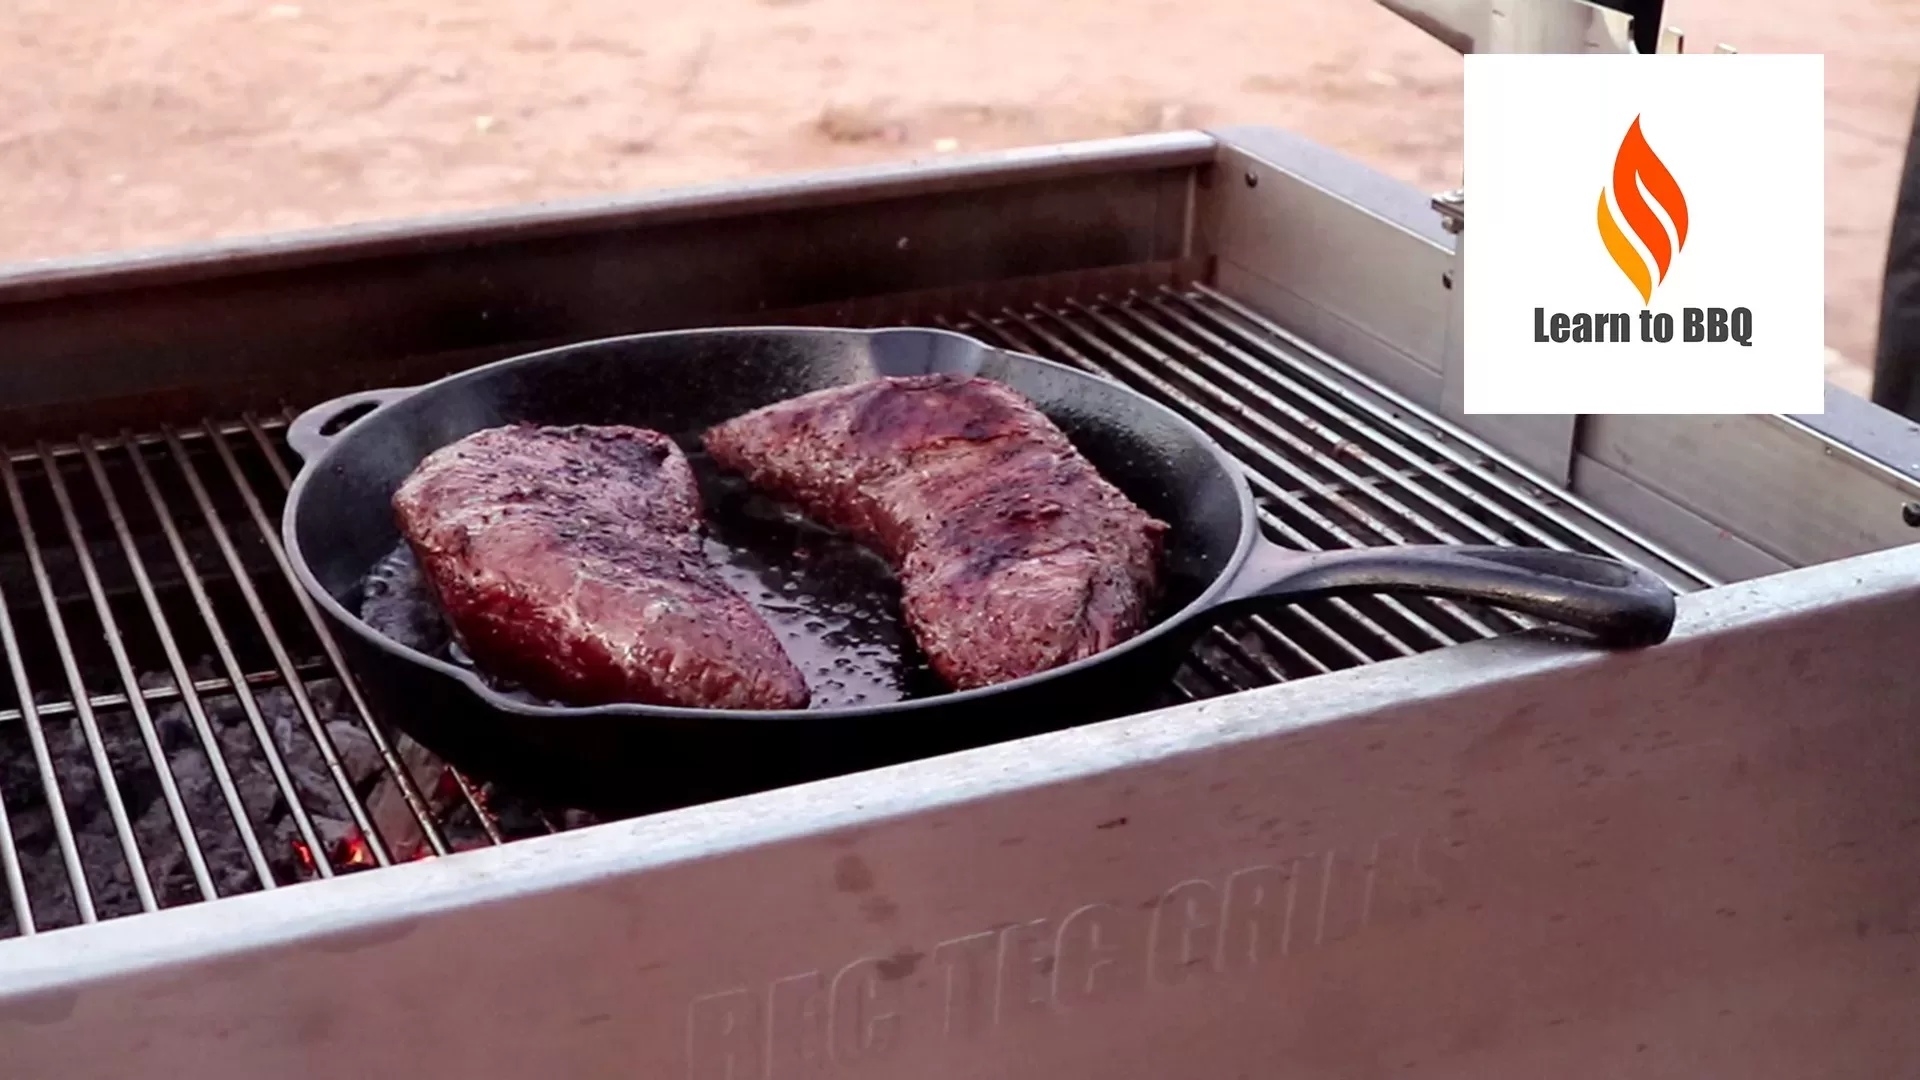
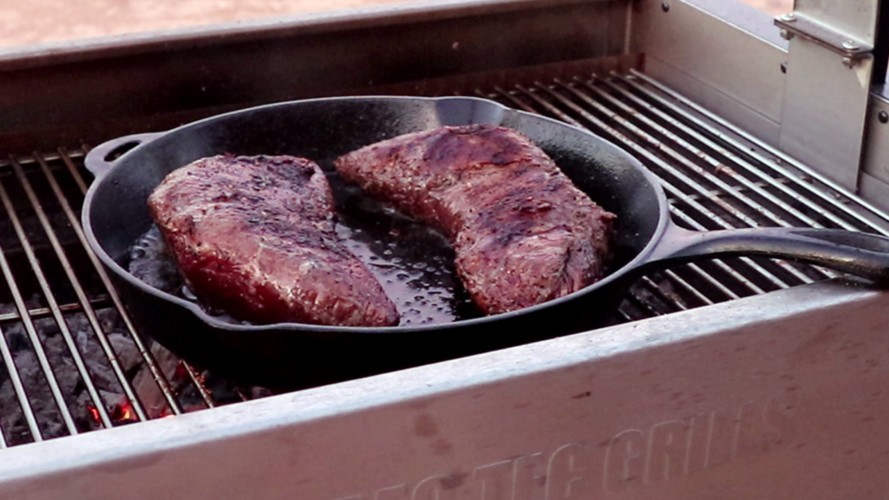
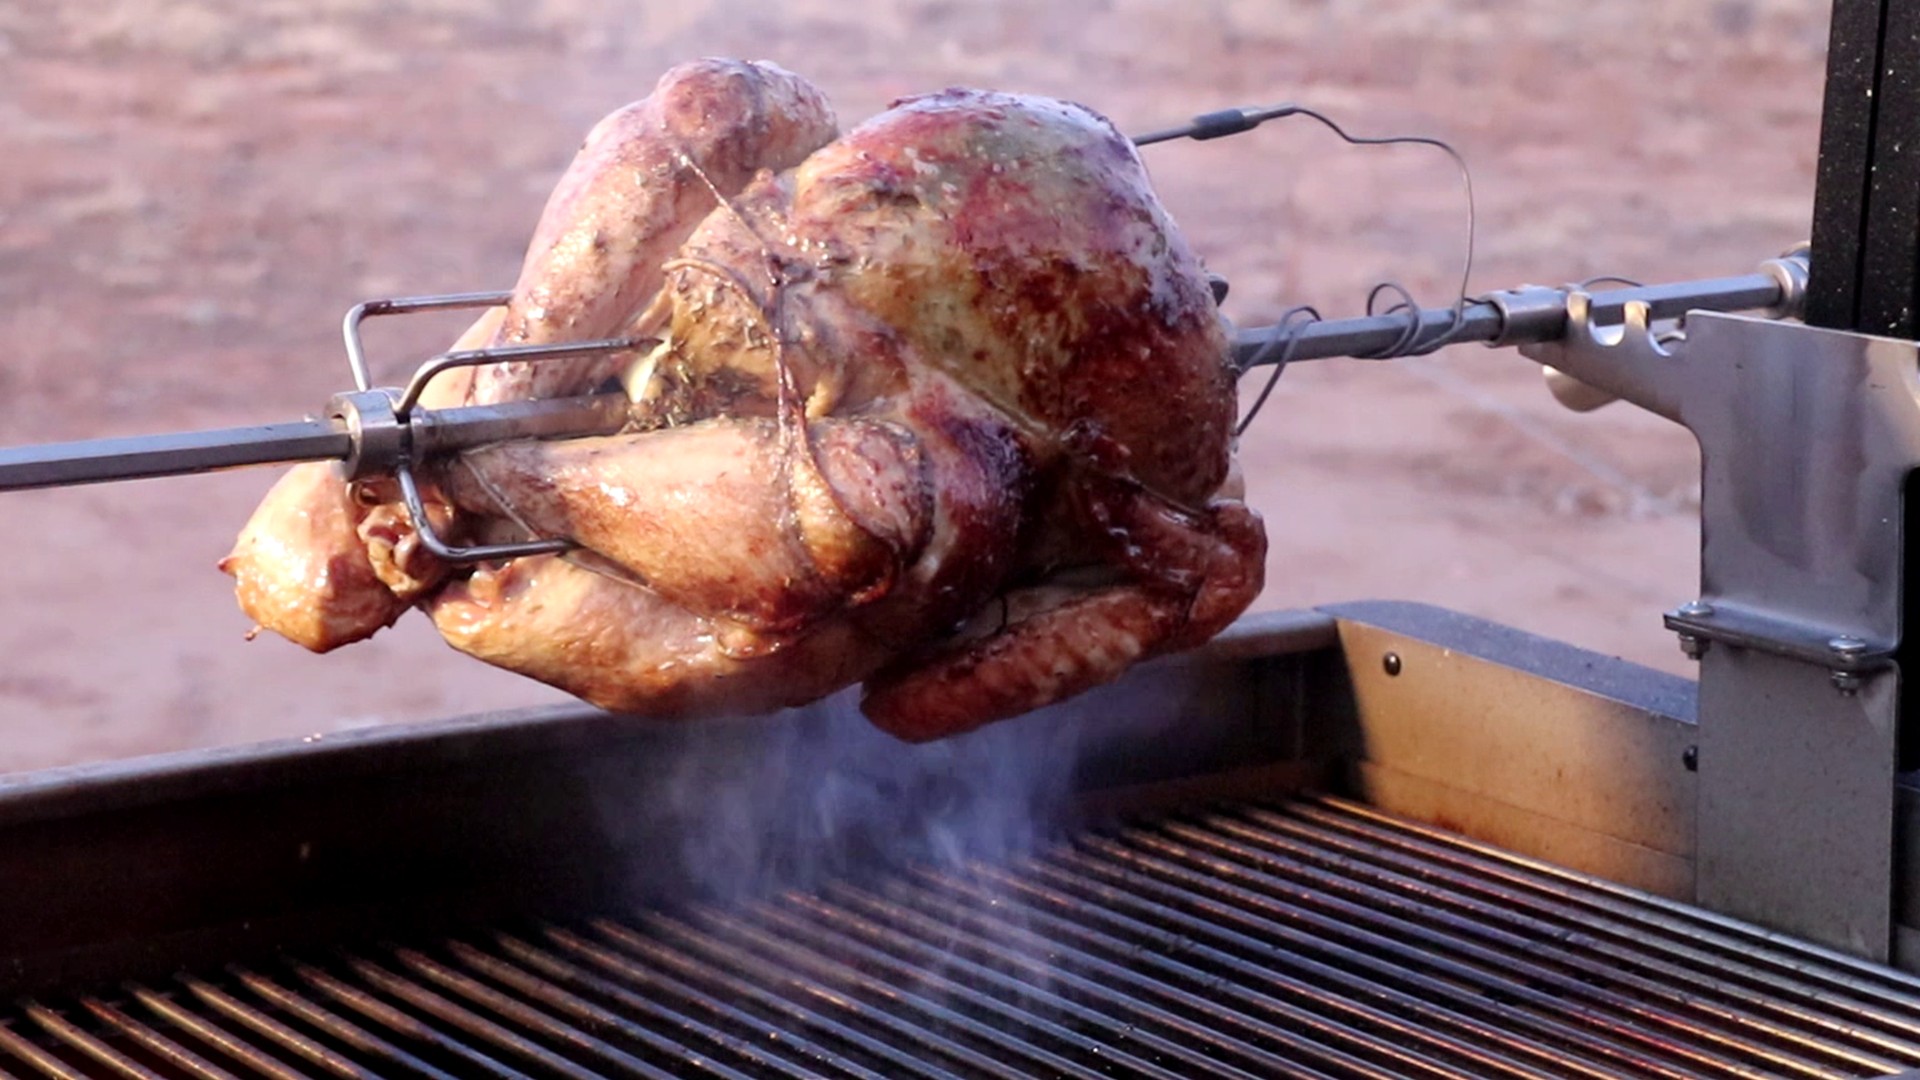
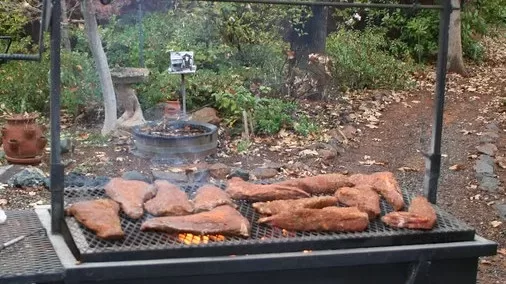
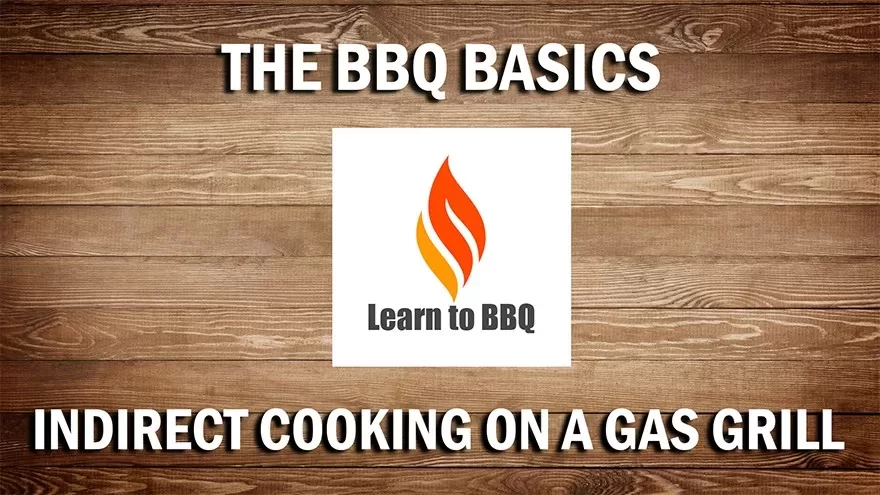
  1. Master the Heat: Learn about different grilling techniques like direct and indirect heat, searing, and smoking. This will help you achieve the perfect cook for different foods.
  2. Practice Makes Perfect: Don’t wait for the big barbecue to experiment. Grill some burgers or veggies beforehand to get comfortable with your grill and techniques.

Bonus Round:

  1. Outdoor Oasis: Spruce up your outdoor space. Clean furniture, add colorful pillows, and create a welcoming atmosphere for your guests.
  2. Entertainment Corner: Plan some fun activities for your guests. Set up lawn games, have music playing, or even prepare a DIY s’mores station.
  3. Safety First: Remember grill safety! Keep a fire extinguisher nearby, supervise children and pets, and never leave a hot grill unattended.

With these tips in tow, you’re well on your way to a fantastic barbecue season filled with delicious food, laughter, and good company. So fire up the grill, grab your tongs, and get ready to sizzle!

To stock up on supplies checkout our Amazon Store.

How To Cook And Stay Safe With Your Barbecue Temperatures

temperature

Temperatures and how they can significantly affect your barbecue more than any rub, sauce, or barbecue gizmo you can buy or even make.

Temperature is a fundamental aspect of our world, influencing everything from the taste of food to the safety of our meals. In this video, we’ll explore the Maillard reaction caramelization, food safety temperatures, and the impact of elevation on boiling points.

When heated, the Maillard reaction is a chemical reaction between amino acids and reducing sugars. The Maillard reaction typically occurs between 284F degrees and 330F degrees. This reaction is responsible for the browning and flavor development of many foods, such as seared steaks, roasted vegetables, and baked goods. The Maillard reaction produces hundreds of flavor compounds, contributing to cooked foods’ complex and enticing Aromas and flavors.

Caramelization typically occurs between 320F degrees° and 356F degrees. Caramelization is another essential chemical reaction that occurs when sugars are heated. In this case, the sugars break down into smaller molecules, such as caramel and other flavor compounds. Caramelization is responsible for the rich golden brown color and sweet flavor of caramelized onions, candy, and creme brulee.

In addition to affecting taste, temperature also plays a crucial role in food safety. Bacteria proliferate between 40F and 140F, A Range known as the danger zone. To prevent foodborne illnesses, it’s essential to keep hot foods hot above 140F and foods cold below 40F.

here are some safe minimum internal cooking temperatures for common foods

  • For beef, pork, lamb, and veal, the minimum temperature is 145F
  • For ground beef, ground pork, ground lamb, and ground veal, the minimum temperature is 160F
  • For chicken and turkey, the minimum temperature is 165F
  • And for seafood, the minimum temperature is 145F

Also, when cooking a large piece of meat like a brisket, the elevation where you are cooking can significantly affect your cook. The same brisket on the same smoker can give you different results.

Here is a chart showing the impact of elevation on Boiling Points.

As you may know, the boiling point of water decreases as elevation increases. This is because the atmospheric pressure decreases with altitude at sea level. The boiling point of water is 212F.

However, at an elevation of 5,000 ft, the boiling point of water is only 203F.

Why is this important? When cooking food and the water in the food starts to boil, it will cause significant evaporation that evaporation will cool the food, causing it to stall and take longer to cook.

Also, if it stays in the stall too long, it can dry out the food and make it tough. One technique when the food goes into a stall is to foil it and keep the moisture from evaporating.

Also, you might lower the cooking temperature below the boiling temperature, stopping the evaporation and eliminating the stall.

It is hard to believe and seems counterproductive, but lowering the cooking temperature can speed up the cooking temperature is a critical factor in both the taste and safety of food by understanding the Maillard reaction caramelization food safety temperatures and the impact of elevation on boiling points you can cook delicious and safe meals.

Till next time.

What is Santa Maria Style Barbecue

santa maria style barbecue

So we start with the question? What is Santa Maria Style Barbecue?

Well, I will tell you what it is not Argentinian Barbecue or Asado.

The physical grills are similar but the barbecue that comes off those grills is very different.

Let’s start with where is Santa Maria valley.

It is positioned in a valley by the pacific coastline. 150 miles northwest of downtown Los Angeles and about 65 miles northwest of Santa Barbara.

map of santa maria

The city is notable for its wine industry and Santa Maria-style barbecue.
Sunset magazine called Santa Maria “The West’s Best BBQ Town

wests best bbq town

So what is so special about santa maria?

First the weather is perfect for year round growing of grass. The average highs in July are 74 F and the lows 54 F. In January the average highs are 66 F and the lows 39 F. The last time they had snow was 1945.

santa maria weather

With ideal weather and location In the 1800s, the land was divided into large cattle ranches. The outlines of which still define roads and town boundaries today.

Santa Maria-style barbecue is thought to have evolved in the mid-1800s, in the valley of Santa Maria. Local ranchers would host Spanish-style feasts each spring for their vaqueros or cowboys, following big cattle roundups.

Spanish style feasts

They barbecued meat over pits filled with hot coals of local red oak.

In 1931, the Santa Maria Club started a “Stag Barbecue. This was held on the second Wednesday of every month, with up to 700 patrons attending each event.

Stag Barbecue

stag barbecue santa maria

Over the years, the legend of Santa Maria Style Barbecue grew, turning a local treasure into a major attraction.

In those early days, the favored cut was top-block sirloin. The meat was rolled in a mixture of salt, pepper, and garlic salt before being barbecued. Cooked over the red oak coals, which contribute a smoky, hearty flavor.

top block sirloin santa maria

In the 1950s, a local butcher named Bob Schutz perfected the tri-tip, a triangular bottom sirloin cut that quickly joined top-block sirloin as a staple of Santa Maria Style Barbecue.

Tri-Tip

tri tip santa maria

President Ronald Reagan was an avid fan of Santa Maria Style Barbecue. Local barbecue chef Bob Herdman and his “Los Compadres Barbecue Crew” staged several barbecues for President Reagan, including five feasts on the South Lawn of the White House.

So what is a Santa Maria Style BBQ grill?

It is a grill that had a large pit area that’s primary fuel is wood or lump charcoal with wood.

It also has a grate that can be raised or lower depending on how much heat you want to apply to the food.

The other way the pitmaster can control temperature is just by using a shovel or rack to move the coals around.

The grill I have also has a rotisserie accessory that is connected to the grate allowing you to move the food on the rotisserie up and down giving you great control over the cook.

As you can see Santa Maria Style BBQ is a simple but effective way to prepare barbecue. It has a 200-year history and if you are a BBQ enthusiast like me it is one of the more enjoyable ways to prepare a great meal while showing off your true barbecue skills.

One of the nicest Santa Maria Grills on the market is The Puma.

Garlic A Quick Guide

Garlic, there’s nothing like the smell of garlic. It’s great in soups and sauces, roasted with meats or on it’s own, and it’s wonderful mixed with butter and slathered on bread and then baked.

The scientific name for garlic is Allium Sativum. It is related to the lily and the onion. Although related to the onion, and having a flavor that very slightly resembles that of an onion, garlic does not bring tears to the eyes when chopped.

When buying fresh garlic, be sure that the head feels very firm when you squeeze it. Over time, garlic will soften and begin to sprout, which turns the garlic bitter. To store fresh garlic, keep it in a dark, cool place, such as the basement. Do not refrigerate or freeze the garlic, as it will begin to loose it’s taste.

To peel a clove of garlic, place it on a cutting board, and put the flat of the blade of the knife against it. Press down on the other side of the blade with the heel of your hand, flattening the garlic slightly. The skin will come right off.

The strong flavor and odor of garlic come from sulfur compounds within the cells. The more cells that are broken, the stronger the flavor of the garlic will be. For the mildest flavor, just use a whole or slightly crushed clove of garlic. For a bit stronger flavor, slice or chop the garlic, and for the strongest flavor, mash the garlic into a paste.

Cooking garlic tames the strong flavor, and changes it in different ways, depending on how it’s cooked. If using in a sauce, it can be sweated or sauteed. In sweating the garlic, it is first chopped finely, and then added to a cold pan with some oil, it is then gently heated, causing the oil to become infused with the garlic flavor. To sautee garlic, heat the oil in the pan first, and then add the chopped garlic, stirring frequently, and being careful not to let the garlic burn and become bitter.

Roasting the garlic softens the flavor, and makes it soft and perfect for mixing with cream cheese to spread onto toast, or just spread on the toast itself.

To roast the garlic, take a whole head of garlic, and remove the papery outer skin. Place the garlic on a piece of aluminum foil, and drizzle with some olive oil. Loosely wrap the garlic in the foil, and place it into a 350 degree oven for 1 hour. Remove the garlic and let it cool. When cool enough to handle, separate the cloves of garlic, and squeeze each one. The flesh should pop right out. The roasted garlic is great mixed with cheese or potatoes, or on it’s own.

Don’t be afraid to use garlic in your cooking. Garlic is flavorful, and healthful, and of course, it will keep those pesky vampires away.

Grilling Secrets For The Perfectly Grilled Steak

There is nothing quite like a good, juicy steak cooked on a grill. But, many people don’t know grilling secrets such as the best cuts to use, what size they should be, how long to cook the steaks, and marinades to use.

Choosing the correct cut of meat is very important when grilling. Some of the best steaks for grilling are the premium cuts such as:

Filet Mignon

The filet mignon is a stylish cut taken from the heart of the beef tenderloin that has outstanding taste as well as texture.

Top Sirloin

The top sirloin is a juicy cut taken from the center of the sirloin – the tenderest part – and a great cut for grilling.

T-Bone

The t-bone is a succulent cut that is a favorite of steak fans. It is both a strip sirloin (with the bone) and a tender filet mignon.

New York Strip (sometimes known as Kansas City Strip)

The New York strip is such an excellent cut for grilling, many grilling experts refer to it as the “ultimate” steak for cooking out.

Porterhouse

The Porterhouse is a very large steak that is actually a combination of two steaks: the New York strip on one side and a tender filet on the other.

Rib Eye

Another classic cut, the rib eye has marbling throughout the meat – making it one of the juiciest cuts as well as very tender.

Thickness

Thickness of the steak is very important. Each cut should be between 1 inch and 1 ½ inches thick. The strip steaks and top sirloin should be a little less expensive than the filet mignon, t-bone, porterhouse, and rib eye.

Marinate

Many people like to marinate their steaks before cooking. You can purchase marinades in the grocery store (A1 brand offers several different types) or make your own. If you are not opposed to using alcohol, beer makes an excellent marinade. You can combine 1 12-ounce can of beer, ½ cup of chili sauce, ¼ up of salad oil, 2 teaspoons of soy sauce, 2 cloves of crushed garlic, and 1 teaspoon of Dijon mustard. Let that simmer for 30 minutes over medium heat. Marinate your meat in the mixture overnight in the refrigerator to tenderize and allow the meat to absorb the flavor. You can also brush your meat with the marinade as you cook. Another great homemade marinade includes 1 ½ cup of steak sauce, 1 tablespoon of soy sauce, 1/3 cup of Italian salad dressing, 1/3 cup of honey, and ½ teaspoon of garlic powder.

Rubs

Many people prefer to use a rub on their steaks rather than marinate them. A rub is a combination of spice and herbs that is rubbed on the meat about an hour before grilling. It adds a great flavor to the meat, but is quicker than marinade as it does not require overnight soaking. An excellent recipe for a rub that will give your steaks a smoky flavor is 1 tablespoon of chili powder, onion powder, garlic powder, cumin, cracked black pepper, white pepper, and kosher salt plus 2 teaspoons of oregano, 1 teaspoon of coriander, and ½ teaspoon of cayenne pepper. If you use a rub, be sure to rub the mixture into the cut of meat, not just daub it across the top.

Other Options

There are other options for cooking steaks other than marinades and rubs. Many times, filet mignons are served wrapped in bacon (held on by a skewer). You can cut your steak and combine it on a skewer with vegetables like peppers, squash, and onion to make a shish kabob.

Coat your grill with non-stick kitchen spray before you begin to keep your steaks from sticking to the grill. Preheat your grill before placing your steaks on. Resist the temptation to put your steaks on before the grill is properly preheated. The proper temperature for grilling steaks should be around 550 degrees Fahrenheit. Trim any excess fat from the side of the cut to prevent flare-ups and curling when grilling.

You should only turn your steaks once on the grill to prevent drying them out. How long you will cook your steak depends on how well you want it cooked. You can use a digital thermometer to see how well done your steak is. If you want your steak rare, the temperature should be no more than 120 degrees when done. If you want medium, the temperature should be no more than 130 degrees when done. Finally, if you want well done, you should have a temperature of at least 140 degrees.

After grilling your steak, allow it to set for five minutes before serving to let the juices settle. Serve with a baked potato, salad or other side dish and enjoy!

Why does food taste better on a Santa Maria Style Grill?

Why does food taste better on a Santa Maria Grill vs other ways to cook? Well, there are two reasons. The Maillard Reaction and Caramelization.

The Maillard Reaction is is a chemical reaction between amino acids and reducing sugars that gives browned food its distinctive flavor. Seared steaks, pan-fried dumplings, cookies and other kinds of biscuits, breads, toasted marshmallows, and many other foods undergo this reaction. It is named after French chemist Louis-Camille Maillard, who first described it in 1912 while attempting to reproduce biological protein synthesis.

The reaction is a form of non-enzymatic browning which typically proceeds rapidly from around 140 to 165 °C (280 to 330 °F). Many recipes call for an oven temperature high enough to ensure that a Maillard reaction occurs At higher temperatures, caramelization (the browning of sugars, a distinct process) and subsequently pyrolysis (final breakdown leading to burning) become more pronounced.

With a Santa Maria Style Grill you can put your food in that sweet spot of 280F to 330F by controlling the distance from the flame and heat. Also, the flames give the food a burst of heat off and on meaning the Maillard Reaction and Caramelization are more intense meaning more of the food is affected and just taste better.

Signals Thermometer

https://en.wikipedia.org/wiki/Maillard_reaction

Eating BBQ Makes You Smart

eating BBQ makes you smart

Eating BBQ makes you smart. No, I did not say it makes you a smart ass but it may contribute to that condition. Just read on to understand my point.

Barbecue dates back to the original way we cooked food in the beginning. Dig a hole, put some wood in the hole and set it on fire. Let the fire burn till you have coals that generate a lot of Continue reading “Eating BBQ Makes You Smart”

Smoking, Sous Vide and Searing for the Ultimate Barbecue Experience

sous vide barbecue

When I was young I always had a craving for barbecue. Meat cooked outside on a grill or smoker always tasted better than anything cooked in an oven or on a cooktop. As I tried to understand what I realized is the following. The combination of smoke, low and slow cooking and the unique texture that an open flame has on the outside of the meat actually changes the flavor and texture of the meat. That is what we call the sear. If you look at the steps of how a pitmaster cooks ribs versus how someone in a kitchen does it here are the 

Continue reading “Smoking, Sous Vide and Searing for the Ultimate Barbecue Experience”

Know Your Meat Temperature and be Happy

meat temperature

Why do I need to know?

So you got that new grill and the wife wants you to cook a couple of whole chickens. As you put the chickens on the grill you find yourself asking when am I going to know when they’re done? Well, that’s why you need to know your Continue reading “Know Your Meat Temperature and be Happy”

Indirect Cooking on a Gas Grill

indirect cooking

So you have that new gas grill, and you want to cook ribs or a whole chicken. Well, before you turn on that grill, here is the golden rule of grilling.

If you are cooking something longer than 20 minutes, then you need to use indirect cooking.

So, what is indirect cooking? The best way to explain it is to understand direct cooking. Direct cooking is making a fire and then putting the food directly over the fire. A good example is cooking on top of your range. Turn on the burner and then put a

Continue reading “Indirect Cooking on a Gas Grill”