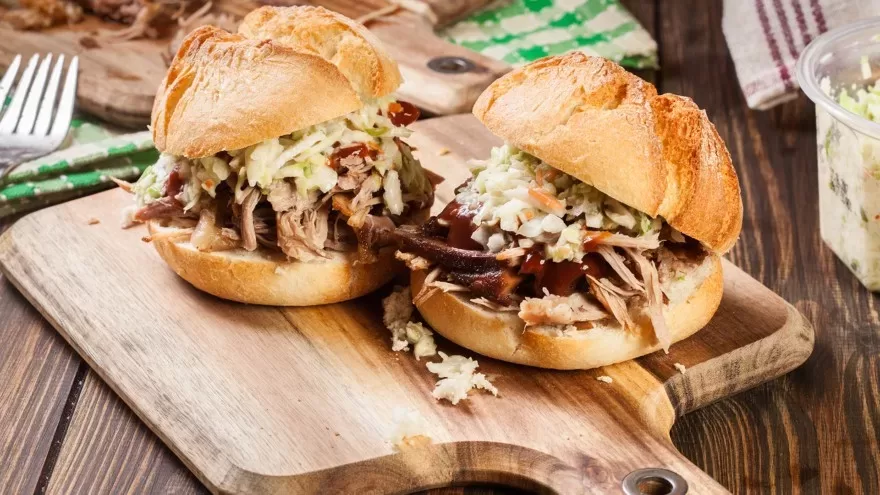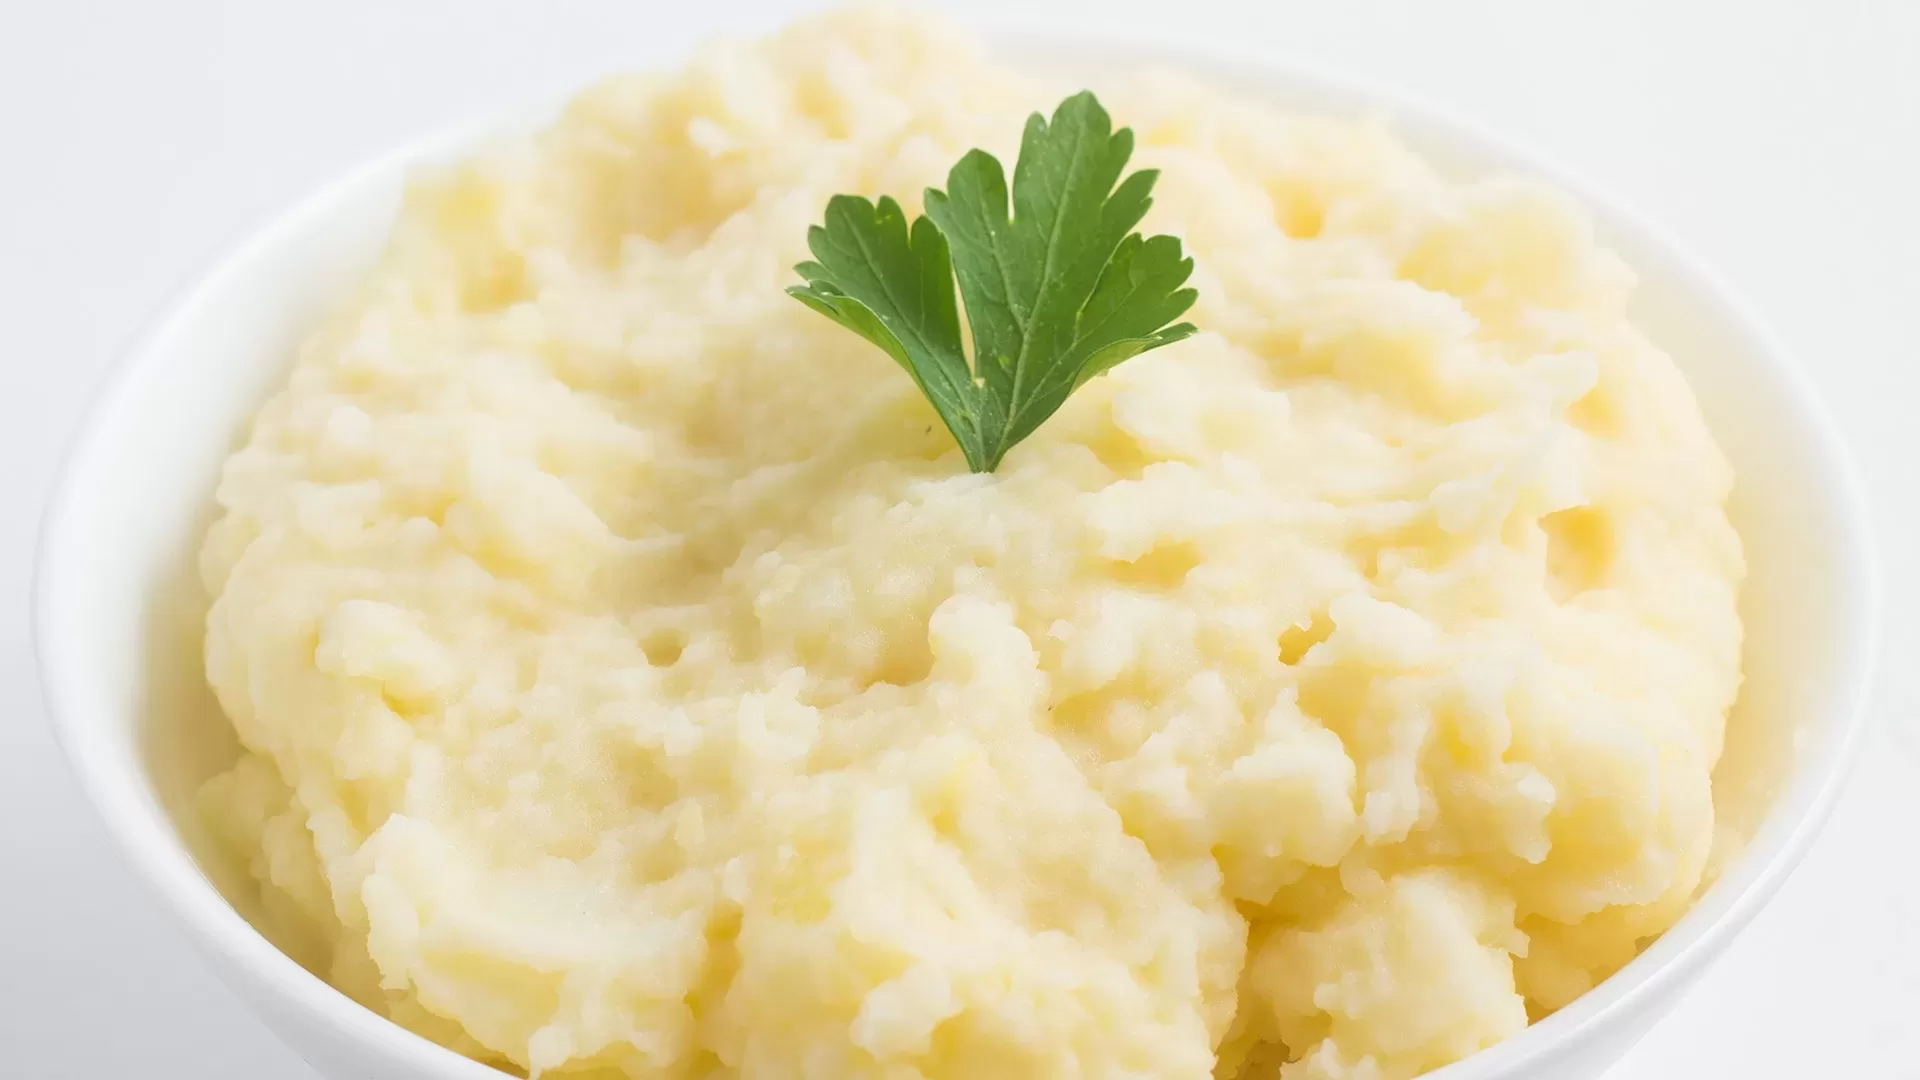
Sous Vide Mashed Potatoes – Barbecue Sides
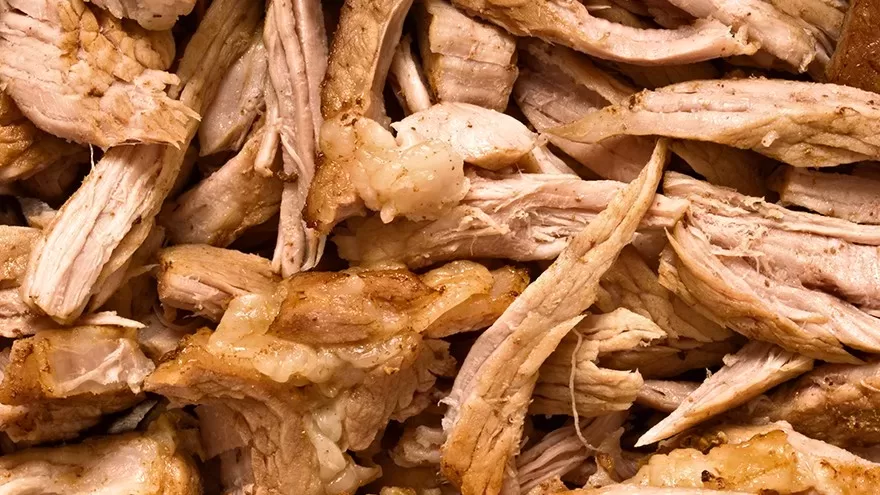
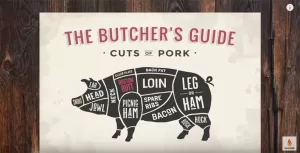
Mashed potatoes is one of the classic sides for brisket or pulled pork.
Print Recipe
Equipment
Ingredients
Cooking Ingredients
- 5 Yukon Gold Potatoes medium size
- 1 tbsp Sea Salt can also use Kosher Salt
- 1 stick Unsalted Butter
- 3 cloves Garlic
- 1 cup Heavy Cream This varies so add a little at a time
Instructions
- Select 5 medium size Yukon Gold potatoes.
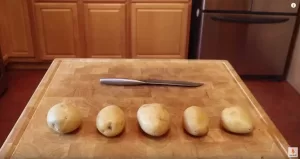
- Slice the potatoes thin and stack the potatoes like poker chips. Will explain later why this is important.

- Now take 3 garlic cloves and cut of the ends.
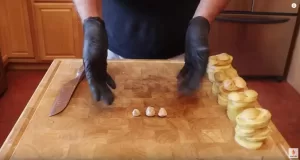
- Now smash the garlic cloves with the side of your knife. Take your time and please be careful. This will make it real easy to peel the outside of the clove.
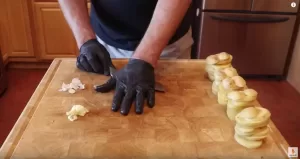
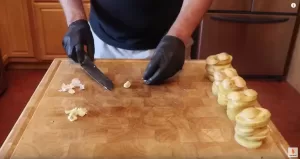
- Dice the garlic into very small pieces and put off to the side
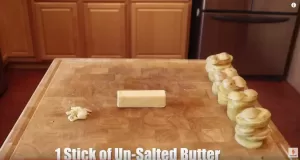
- Now get one stick of un-salted butter.
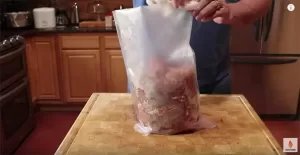
- Now lay the potatoes inside the sous vide cooking bag. By taking a stack at a time it makes it very easy to lay the potatoes flat in the bag.
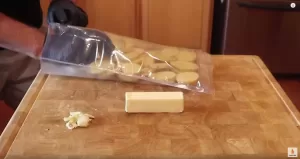
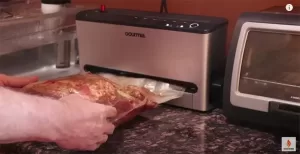
- Now put the garlic and the stick of butter on top of the potatoes in the middle of the bag. Add one tablespoon of kosher or sea salt into the bag then vacuum seal

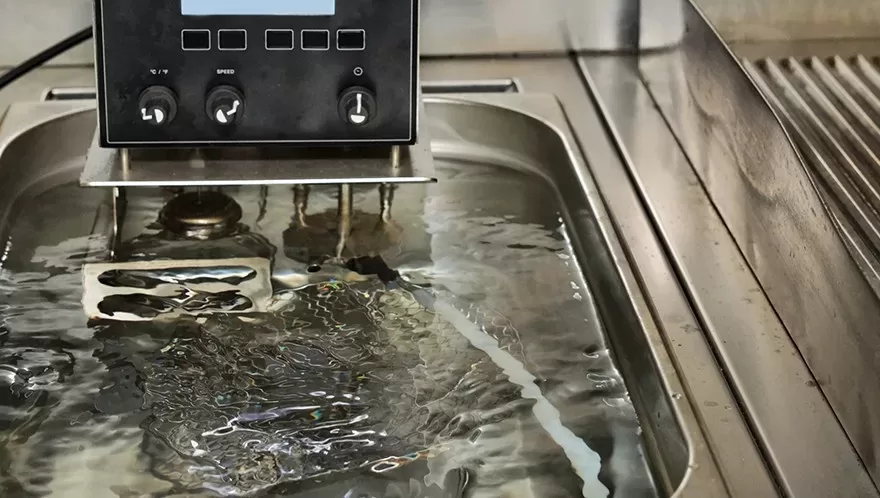
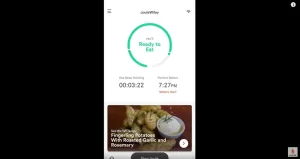
- Set the sous vide circulator cooker to 194F and let it come up to temperature.

- . Put bag into sous vide bath and cook for one hour.
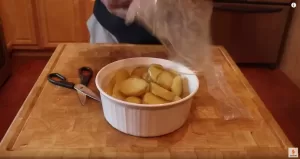
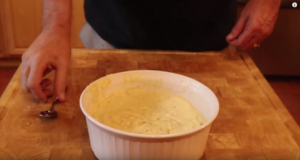
- Remove potatoes from bag and put into a round deep dish. Here I am using a 2.5 quart casserole dish.
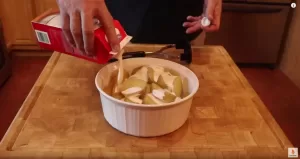
- Add a little heavy cream to the potatoes and start mashing the potatoes by hand. Keep adding cream until you get the consistency you want. Do not use an electric beater or the potatoes will become very sticky like glue. The potatoes are going to be extremely soft so this is not hard to do by hand.
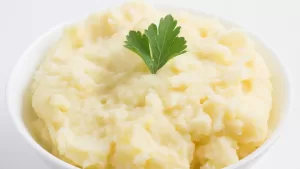
- Season potatoes to your liking and then serve.
- Bon appetit.
Video
Nutrition
Serving: 1cup | Calories: 214kcal | Carbohydrates: 35g | Protein: 4g | Fat: 7g | Saturated Fat: 1.4g | Polyunsaturated Fat: 3.2g | Monounsaturated Fat: 1.7g | Trans Fat: 0.3g | Sodium: 741mg | Potassium: 692mg | Fiber: 3.1g | Sugar: 1.2g | Vitamin A: 400IU | Calcium: 40mg | Iron: 0.7mg