Why does food taste better on a Santa Maria Grill vs other ways to cook? Well, there are two reasons. The Maillard Reaction and Caramelization.
The Maillard Reaction is is a chemical reaction between amino acids and reducing sugars that gives browned food its distinctive flavor. Seared steaks, pan-fried dumplings, cookies and other kinds of biscuits, breads, toasted marshmallows, and many other foods undergo this reaction. It is named after French chemist Louis-Camille Maillard, who first described it in 1912 while attempting to reproduce biological protein synthesis.
The reaction is a form of non-enzymatic browning which typically proceeds rapidly from around 140 to 165 °C (280 to 330 °F). Many recipes call for an oven temperature high enough to ensure that a Maillard reaction occurs At higher temperatures, caramelization (the browning of sugars, a distinct process) and subsequently pyrolysis (final breakdown leading to burning) become more pronounced.
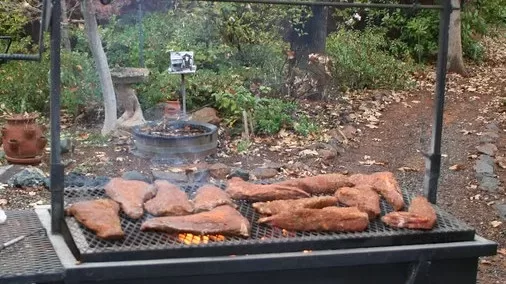
With a Santa Maria Style Grill you can put your food in that sweet spot of 280F to 330F by controlling the distance from the flame and heat. Also, the flames give the food a burst of heat off and on meaning the Maillard Reaction and Caramelization are more intense meaning more of the food is affected and just taste better.
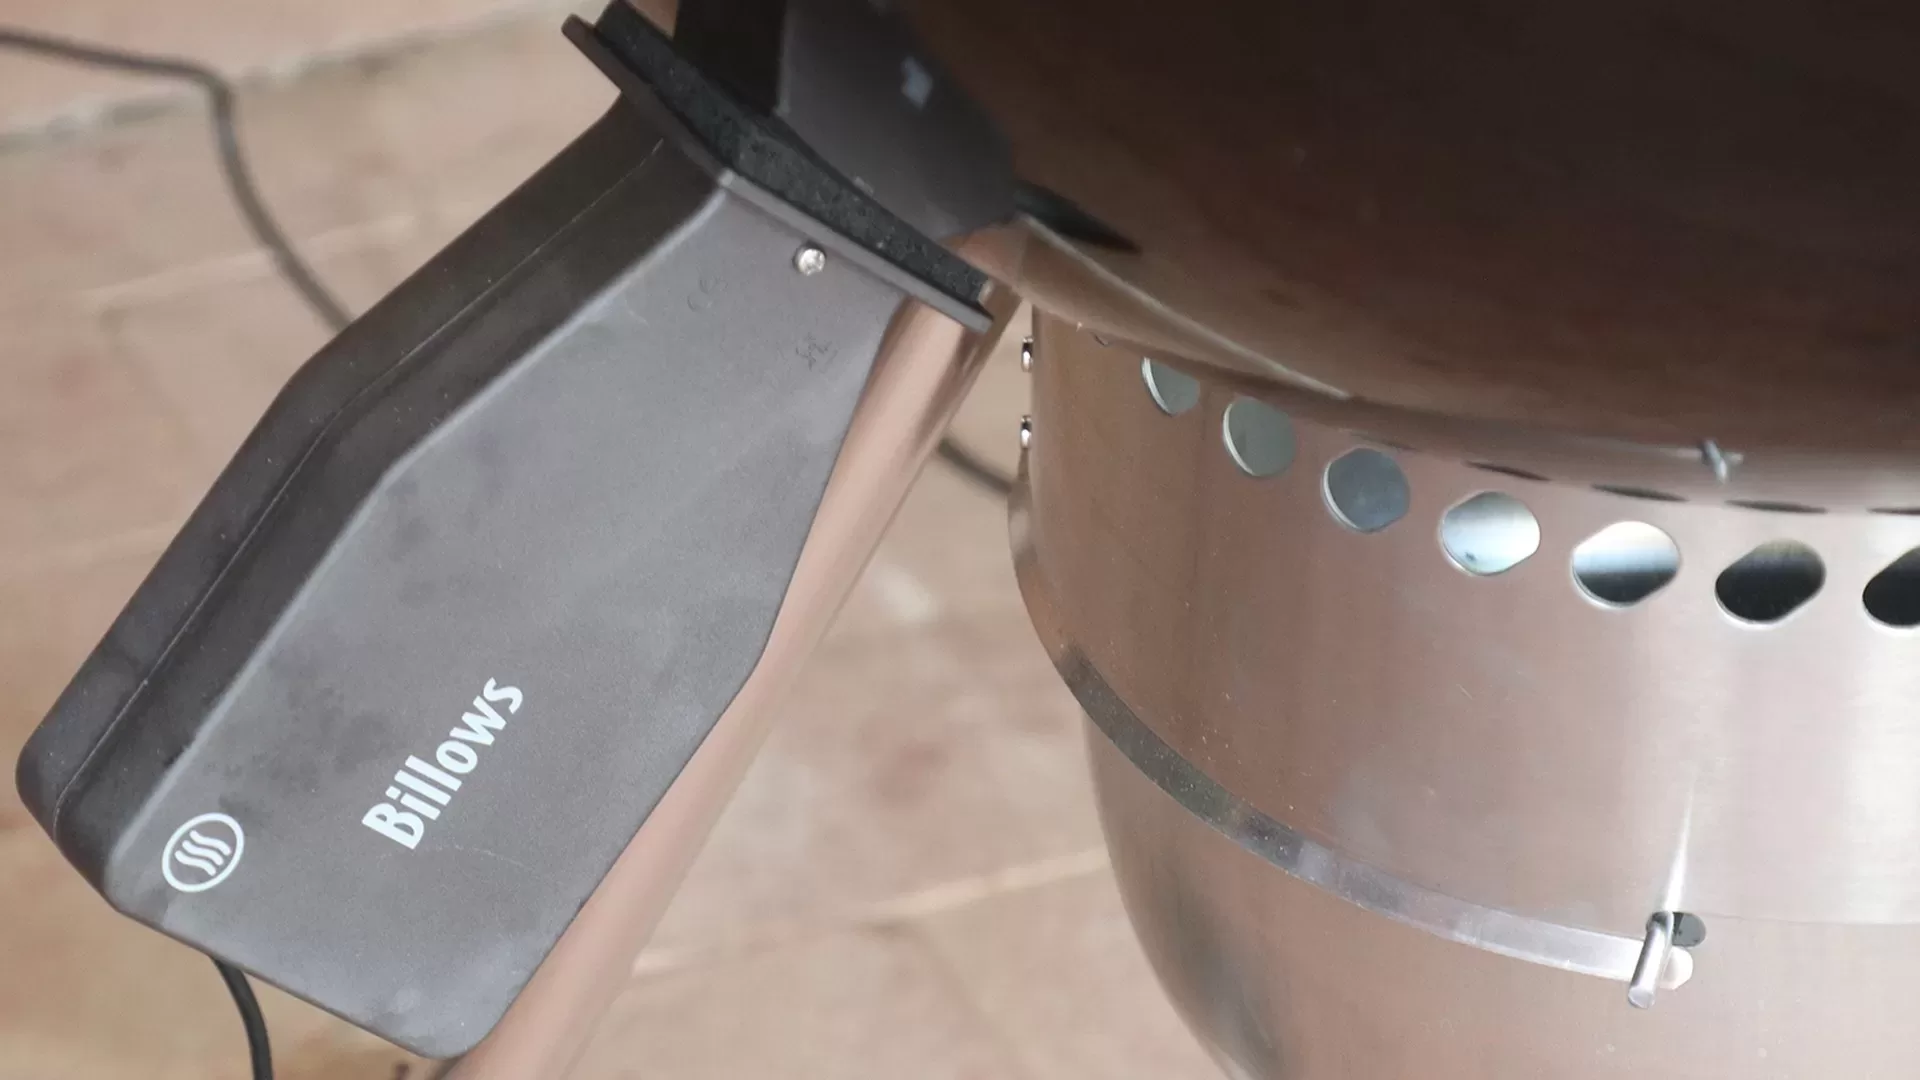
We are going to cover both installation and a full product review of the ThermoWorks Billows BBQ Temperature Control Fan. The Billows is an add-on product for the Signals BBQ thermometer. Here are all the things you will need to complete the installation.
The installation part is going to be installing the billows onto a Weber kettle premium 22 as you can see above a hole has to be drilled but before you panic, it’s a lot easier than you think.
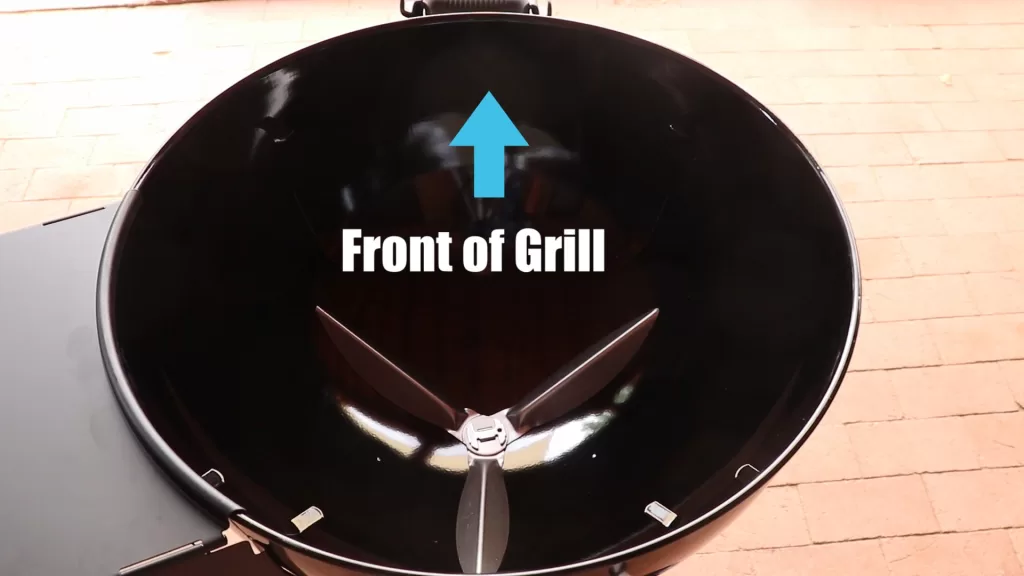
The first thing we need to do is find out where we need to drill the hole. Start by getting behind the grill so the front is facing away from you.
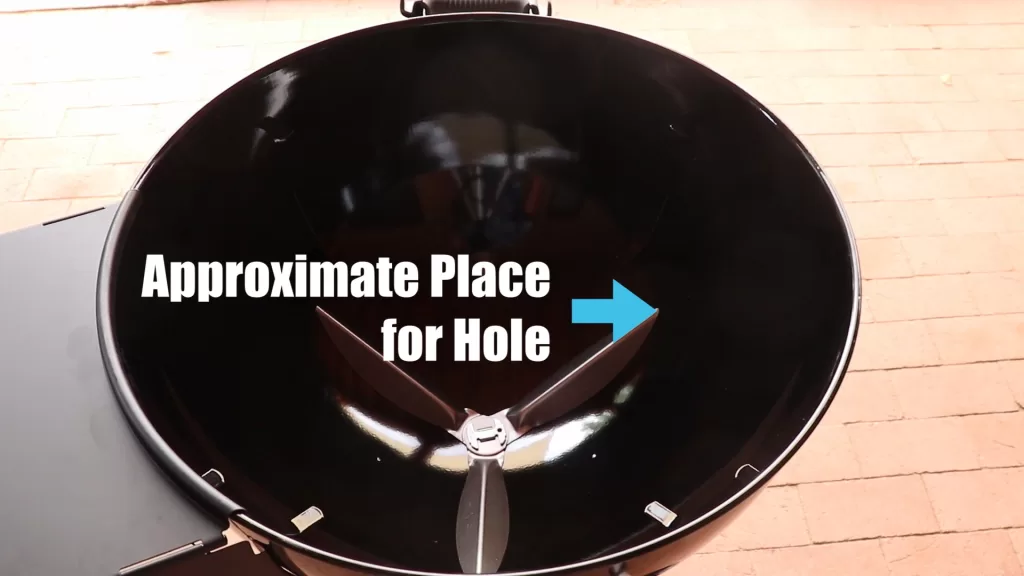
From this viewpoint you will be making the hole on the right side of the grill now there are a few steps we need to do so we can make sure the hole is in the correct place.
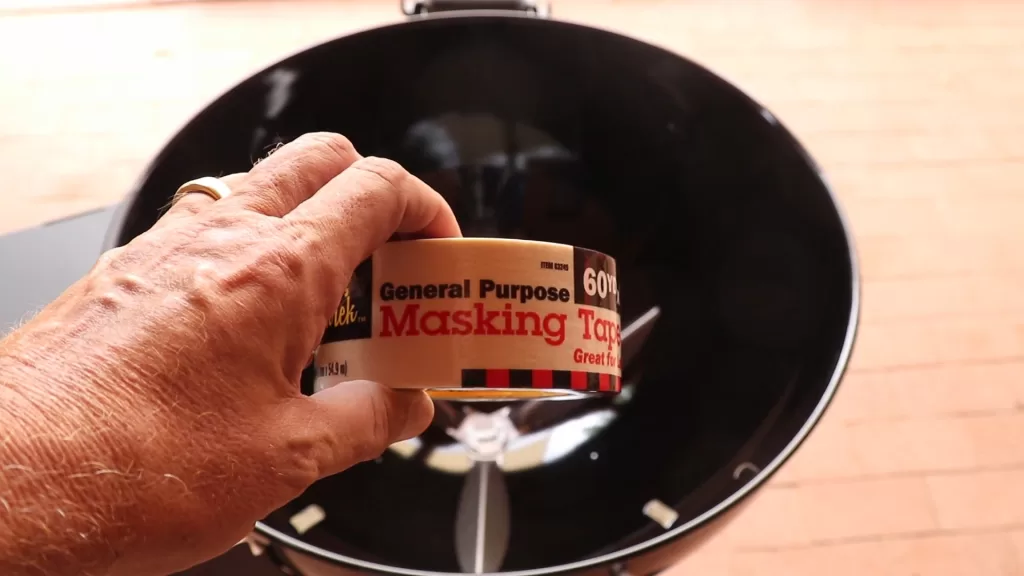
Also, you’re going to need a few tools and some materials. The first material is masking tape.
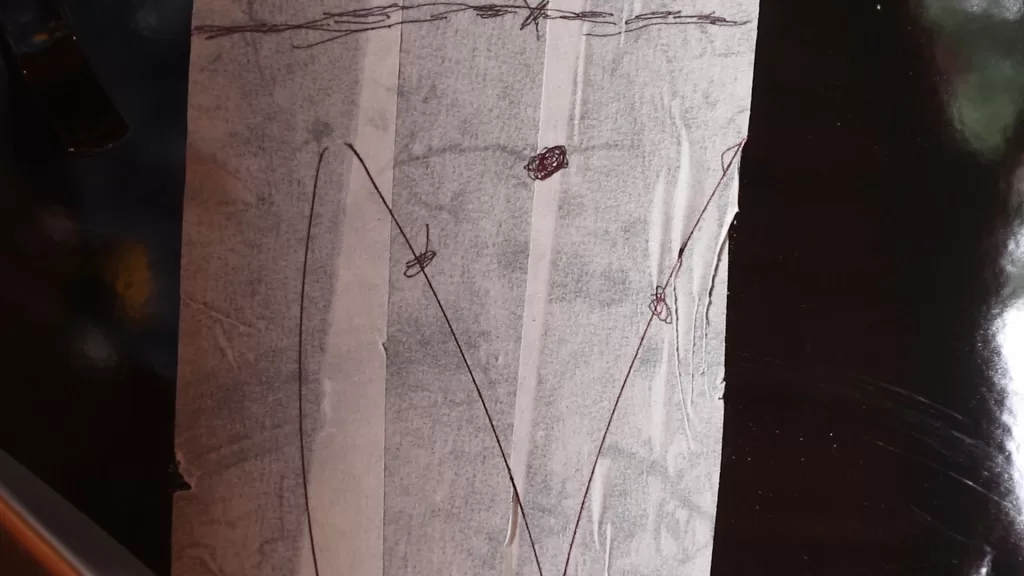
Don’t use the blue or green tape for it is not strong enough. Also, get the wide version. Now you need to start taping approximately where the hole should be put down long strips of tape and move the ash vents around so you can get underneath them.
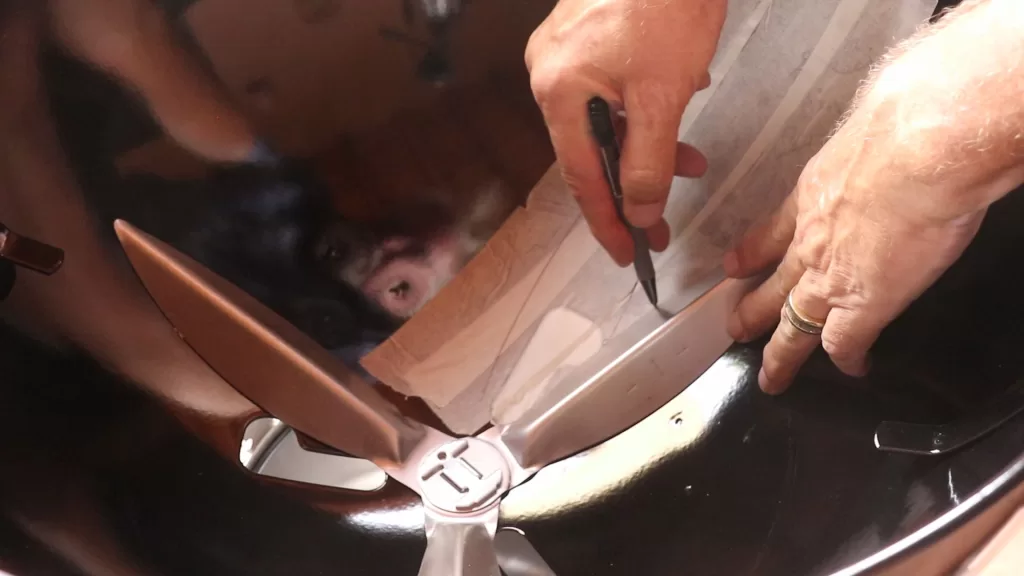
Now rotate the ash vent fully clockwise until they stop. Now trace around the vent using a dark pen or pencil making sure the lines are very visible on the tape.
Now rotate the ash vent counterclockwise until it stops now trace around the new vent over the tape.
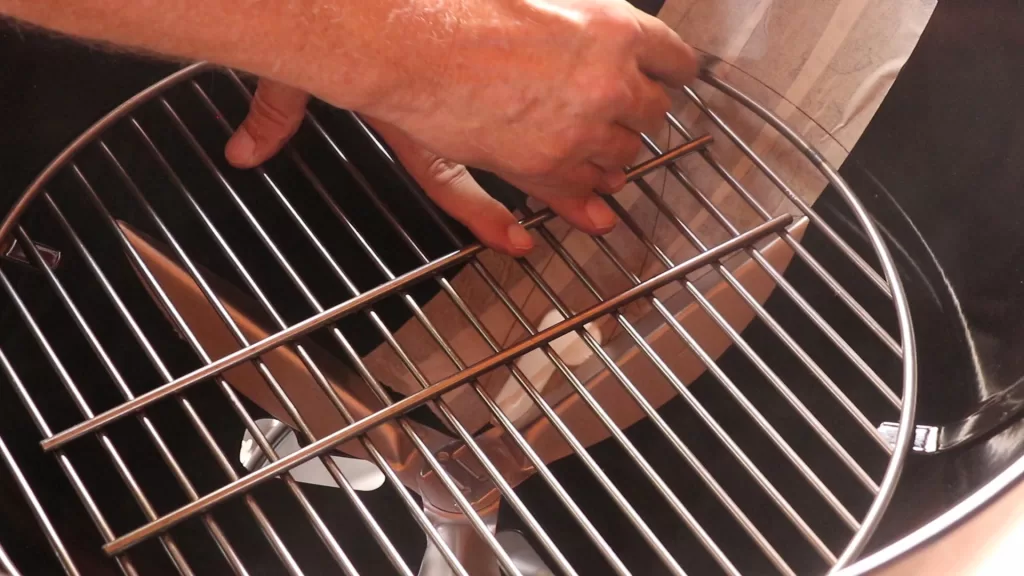
Now go get the charcoal grate and put it in place then trace where the tape is.
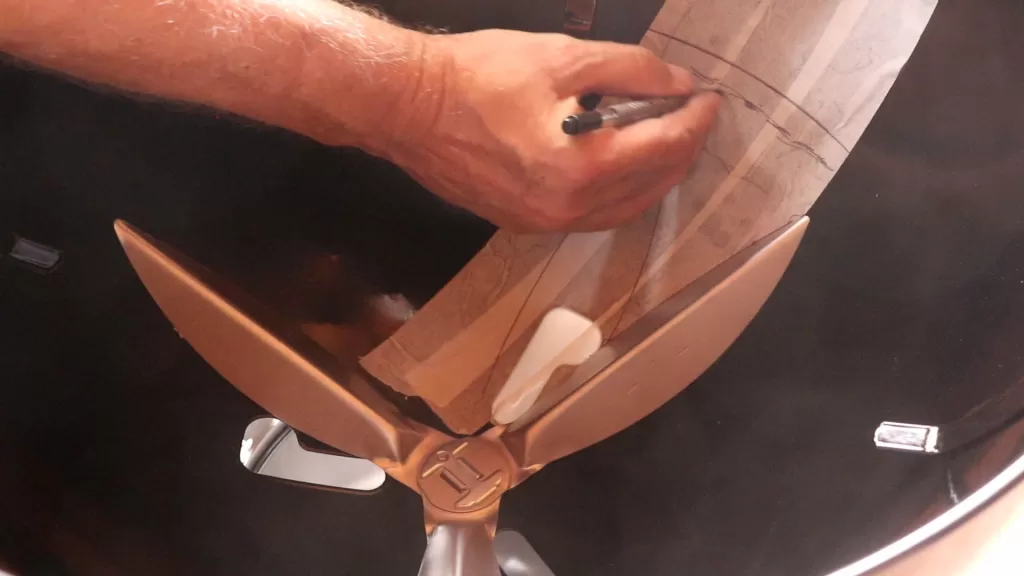
Now remove the grate draw a parallel line about a half-inch below your traced line.
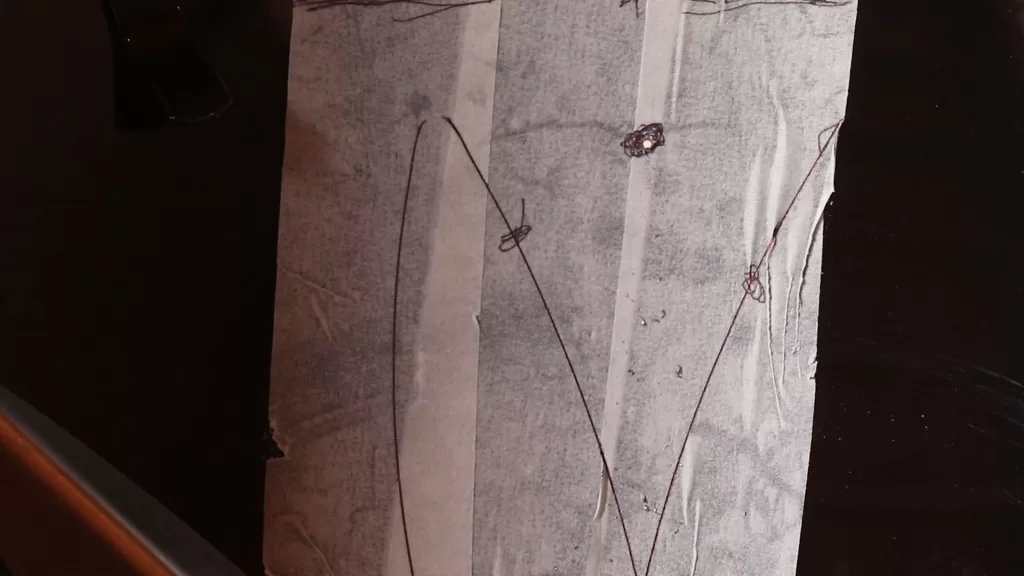
To find the spot to drill, you need to see these three points. Look at these three points and then find the middle of the triangle the spot that you have found is clear of the ash vents and also the charcoal grate.
Now, drill a pilot hole; the porcelain enamel on the bowl is really hard to drill, so use a new bit and take your time.
The Drill Bit below is a pretty mean-looking bit but it also gets the job done.
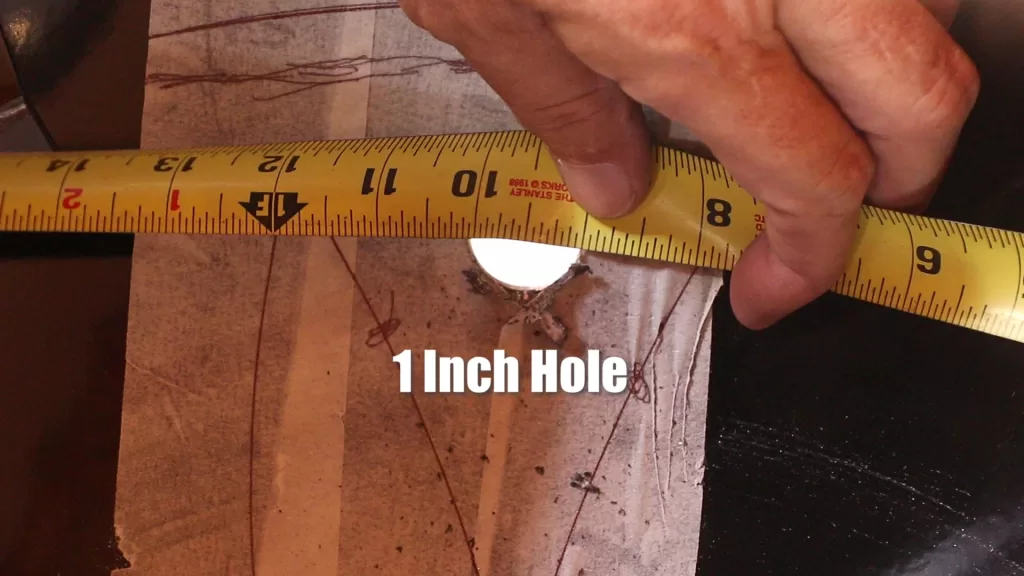
When using this bit you will fill that it pops as it makes the hole larger. In my case, when I felt seven pops, I knew I was done. Oh, I forgot to tell you it makes a sound similar to fingernails on a chalkboard, except it’s about ten times louder. Besides the noise, it does make a perfect hole for when it cuts it also deburrs the metal. Also, it is quite a workout for after a while, the drill motor feels like it weighs about 50 pounds. Then you are done and the hole is exactly one inch wide and perfectly round.
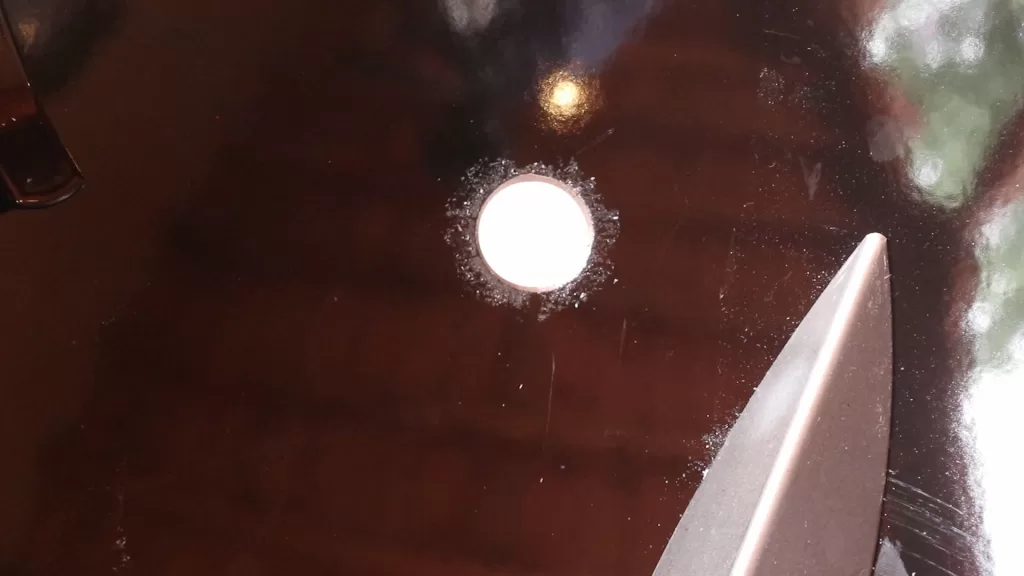
Next you peel off the tape and knock up all the metal debris the tape should come off real easy, but again take your time for a lot of the metal fragments will stick to the tape and not you. Knock off any metal fragments and I recommend you vacuum out the bottom of the bowl now put the charcoal grate back in and rotate the ash vents all the way to the left and then to the right just to make sure everything is clear.
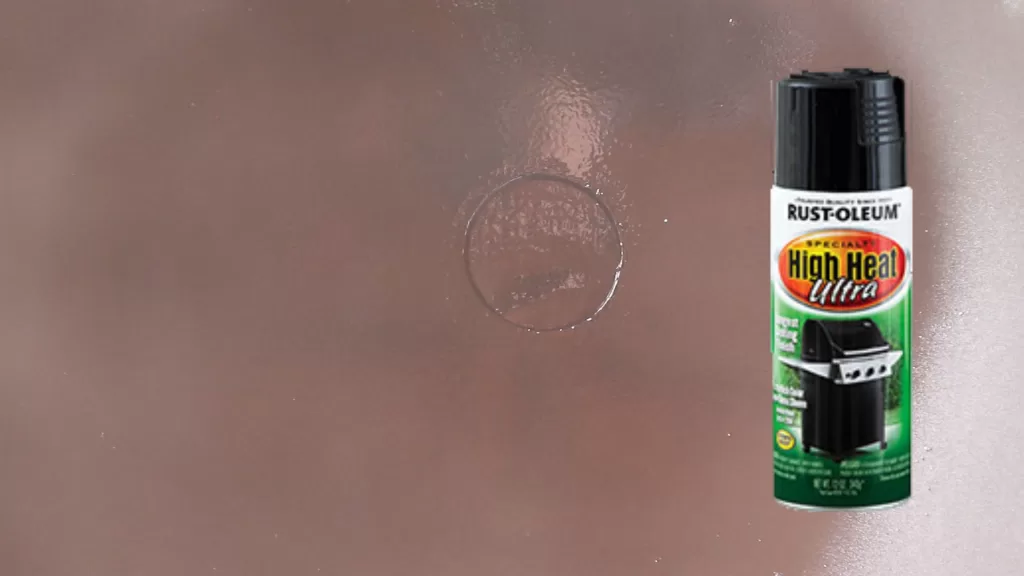
Just one more thing to do to finish this modification and that is the paint the inside of the hole. I did do one final pass with a hole bit just to make sure all the metal birds were gone so I went from the outside in. Wipe the area clean and then put a piece of masking tape over the hole from the outside. Now using a high-temperature paint like Rust-oleum will protect the metal from rusting.
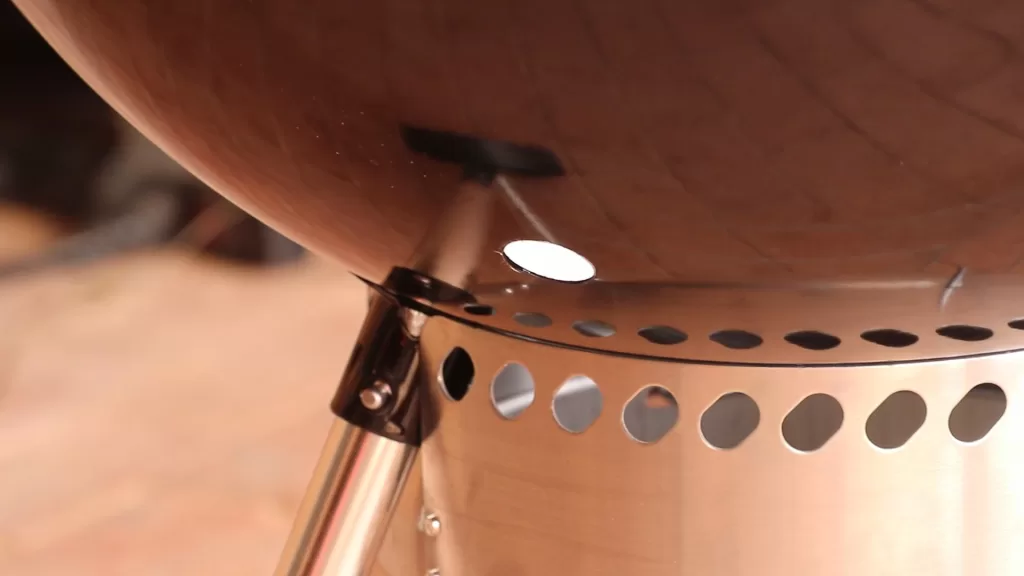
Let the paint completely dry this usually takes at least a few hours peel off the tape and the modification is now complete this is how it looks to the outside.
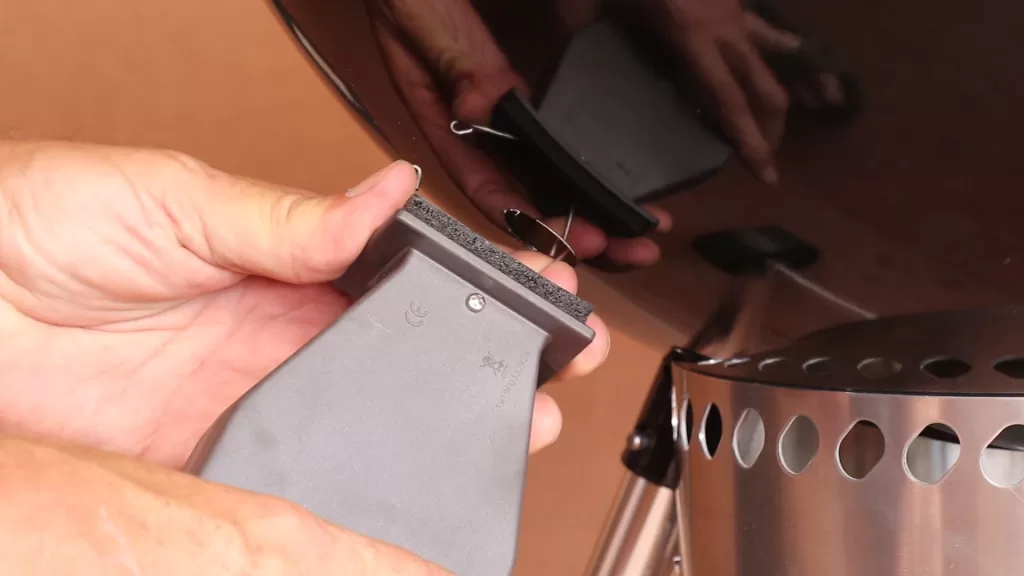
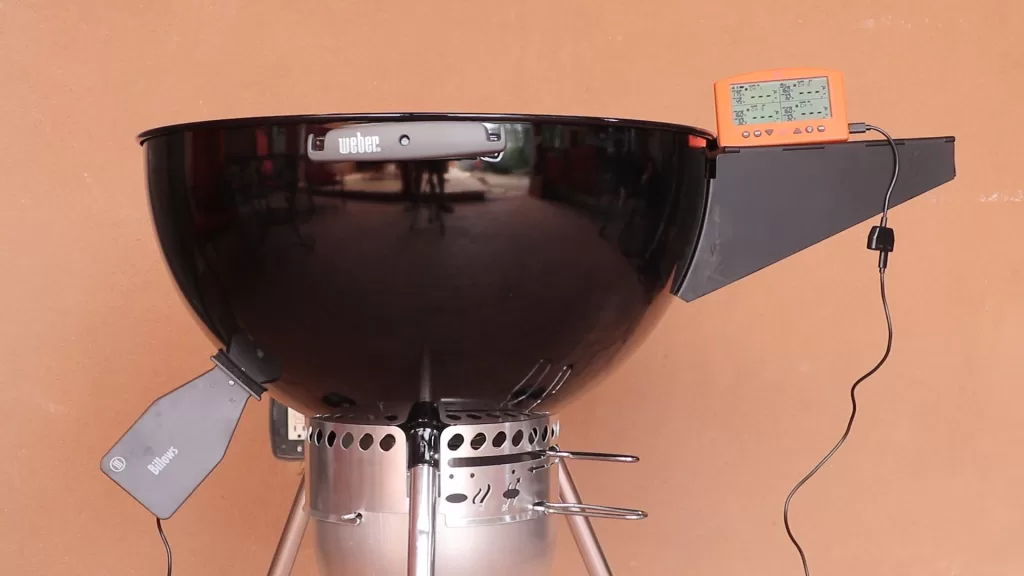
Looks pretty good to me now we can add the billows to the grill there are two springs you need to insert. It is best to secure one in the hole and then follow up by inserting the second spring in the hole. The billows will be held in place by the springs and a soft air silk gasket will keep the grill air tight.
Now we need to add the other parts. Here is the Signals BBQ thermometer. This is the controller for the bellows fan.
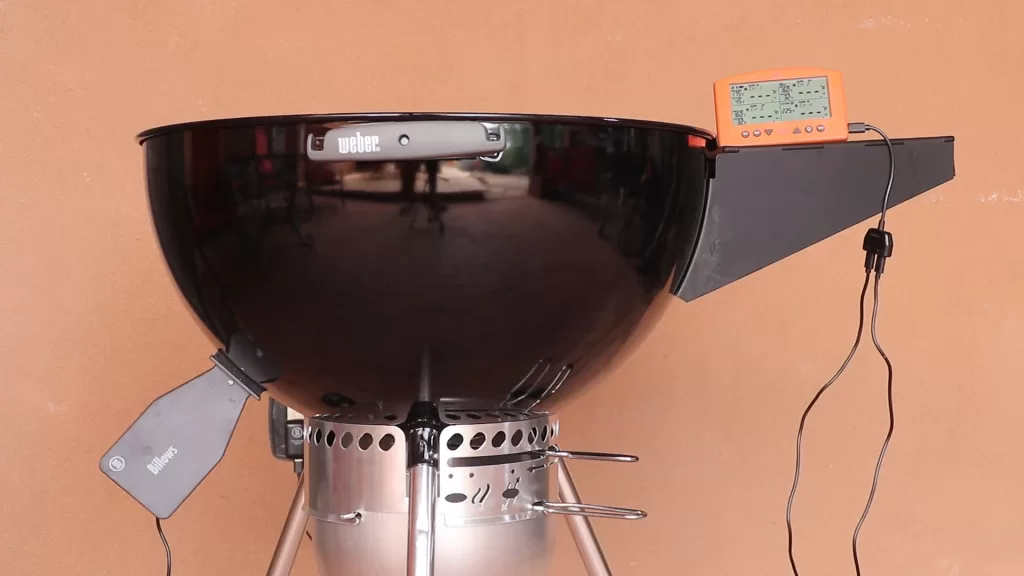
Next we need the splitter cable. This supplies power to the signals unit and also controls the Billows fan.
Now plug in the power line that plugs into an AC power outlet.
Now plug in the billows control cord.
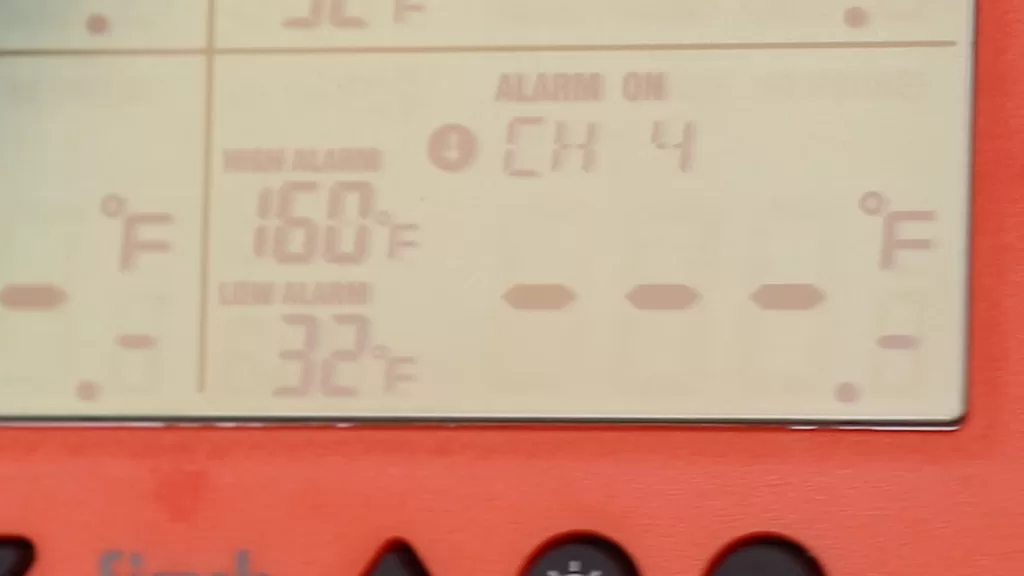
Here’s channel 4 on the Signals unit without the billows plugged in.
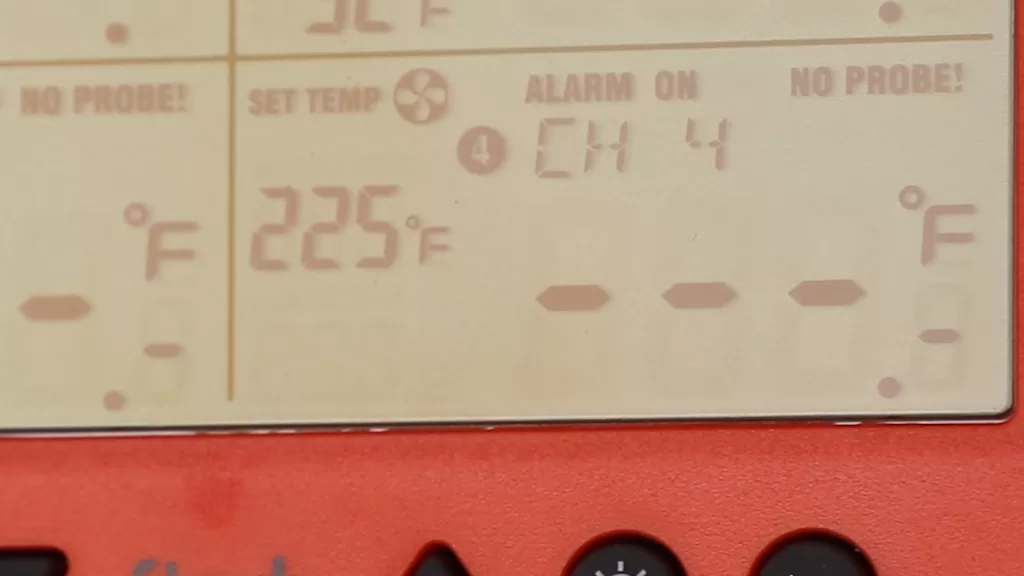
Here is what channel 4 looks like when the billows is plugged in.
Notice there’s now a fan icon and the default temperature is 225 degrees Fahrenheit.
Here are the performance tests that we’ll be running.
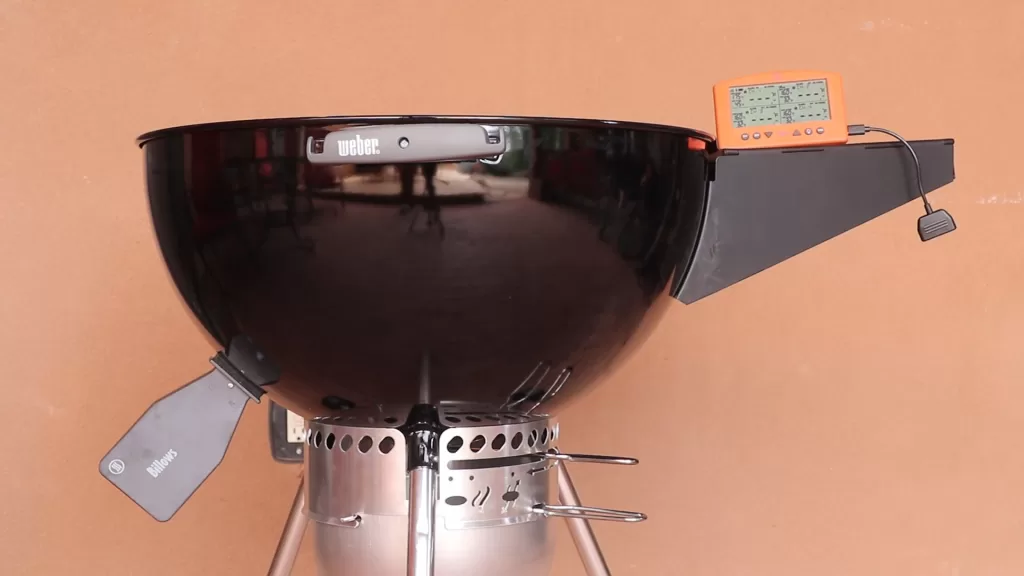
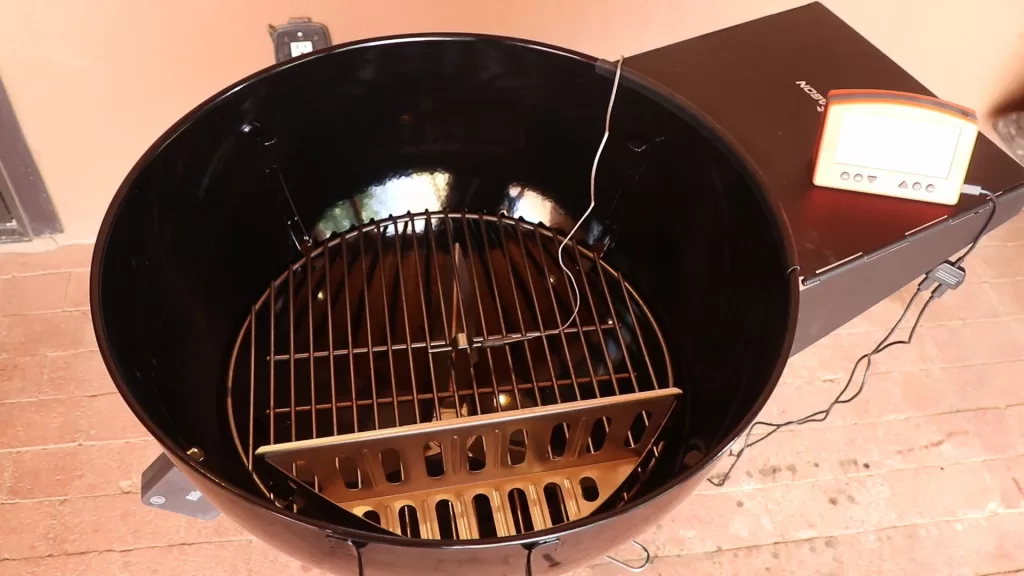
The testbed will be a weber kettle 22-inch setup for indirect cooking. The test is to see how quickly the billows can reach temperature and then maintain temperature. The temperatures that we are going to achieve are 225 degrees Fahrenheit 250 degrees Fahrenheit 300 degrees Fahrenheit and then 350 degrees Fahrenheit, Here’s the grill being set up for test first the air probe is attached to the charcoal grate in the middle of the grill.
A Weber charcoal basket is put on one side.
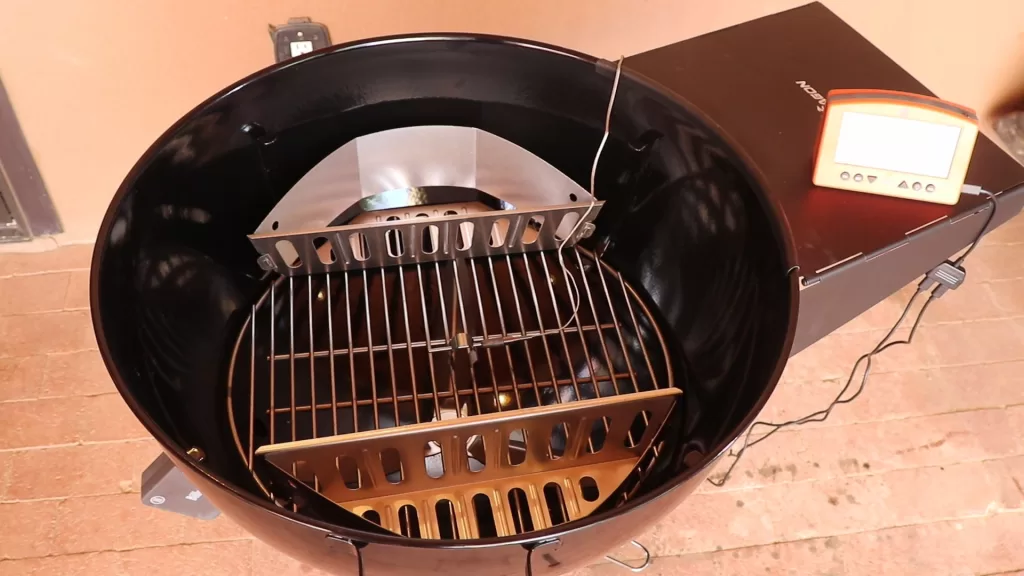
And another Weber basket is put on the other side.
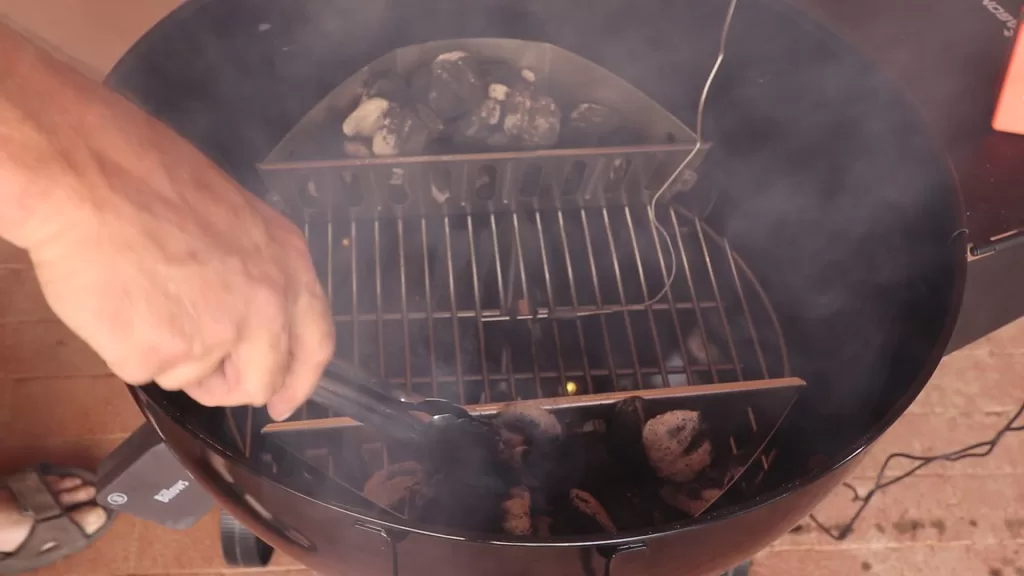
A full chimney of Kingsford original charcoal briquettes that had now burned for 15 minutes. The briquettes are then evenly distributed between the two charcoal baskets. Just the last look to make sure the baskets have equal amounts of coals.
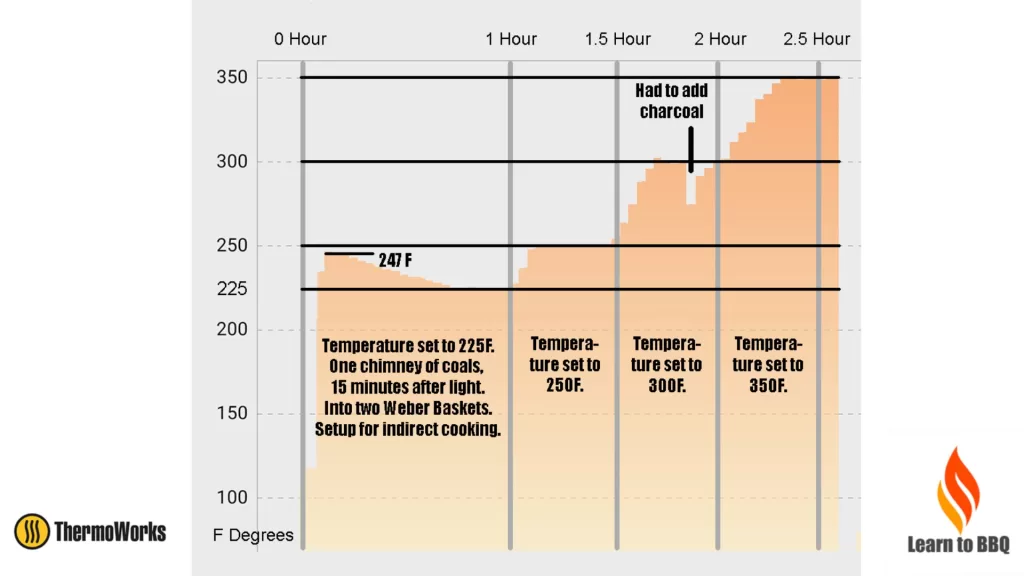
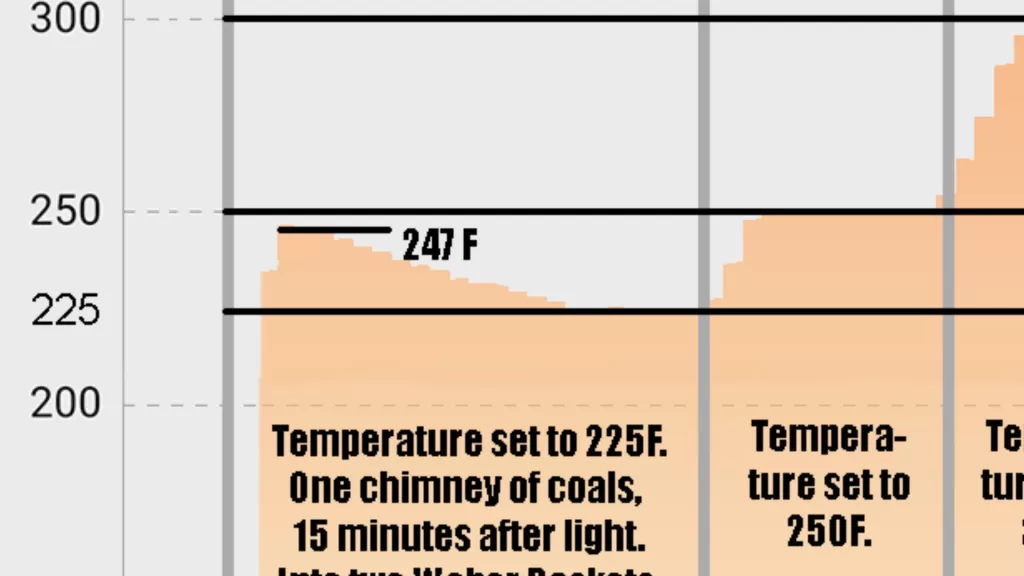
Now put on the cover. The plan is the cover stays on for the whole test unless there’s an issue. Here is the complete temperature chart for our tests.
On this first test of 225 degrees the grill overshot and did not stabilize till it hit 247 degrees.
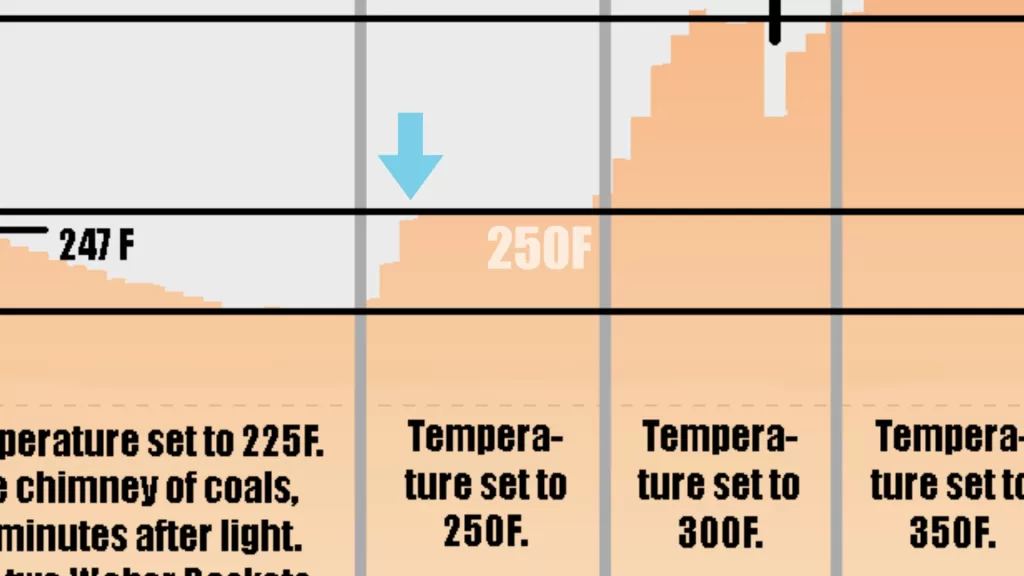
I believe the overshoot was caused by me for not letting the grill stabilize for 10 to 15 minutes before turning on the bellows. I then turned up the Signals thermometer to 250 degrees Fahrenheit. Within eight minutes the billows have brought the grill temperature up to 250 degrees Fahrenheit and there was no overshoot.
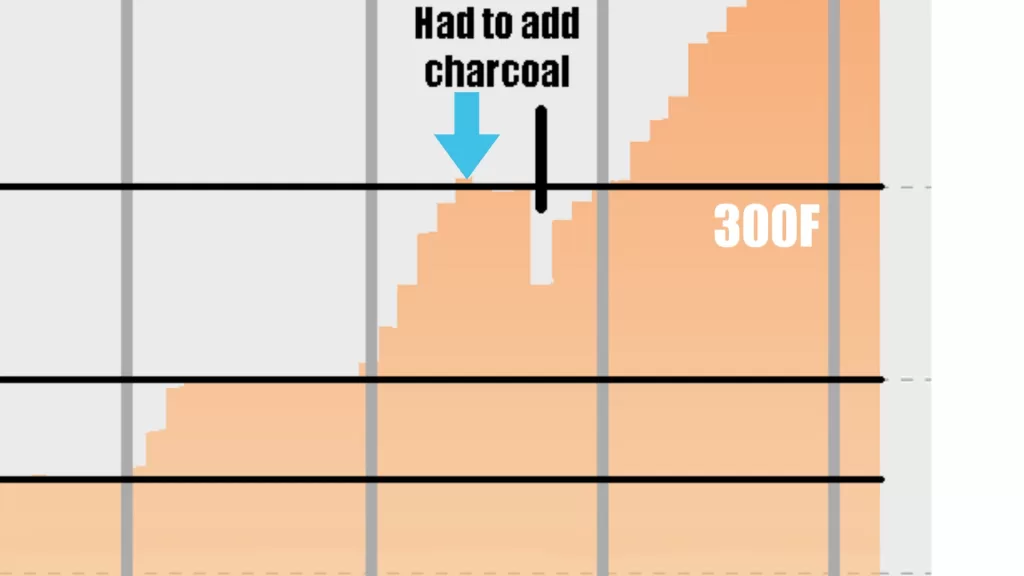
After thirty minutes I then set the signals to 300 degrees within 15 minutes billows had brought the grill temperature up to 300 degrees and there was no overshoot. It also had less than 2 degrees fluctuation. We then had another operator error and that we burned up all our charcoal. I then added a handful of briquettes to each basket and the grill fully recovered to 300 degrees within 10 minutes.
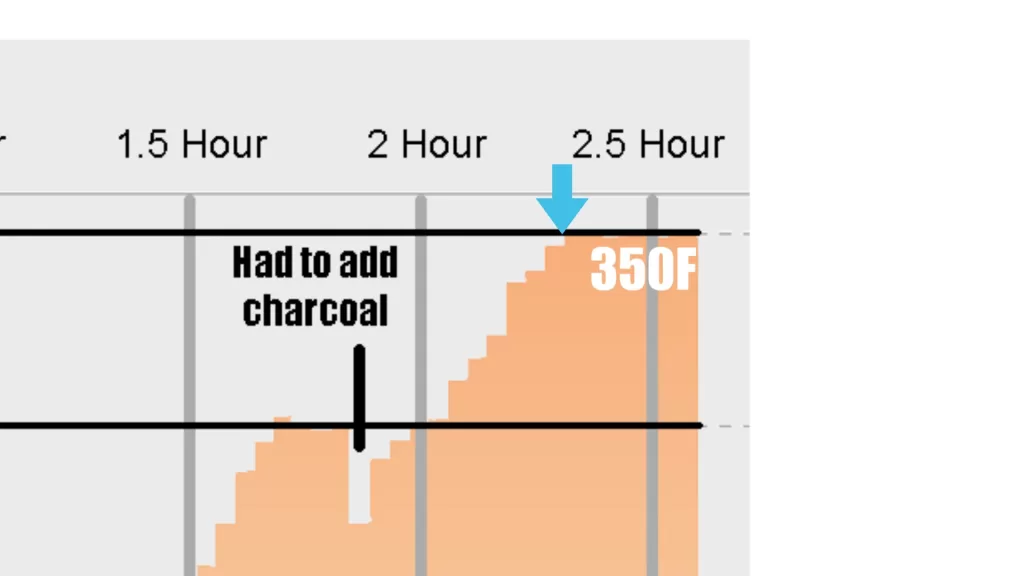
In the final 30 minutes of testing we cranked the signals up to 350 degrees and it took 15 minutes to reach temperature never overshot and at that point never less than three degrees fluctuation.
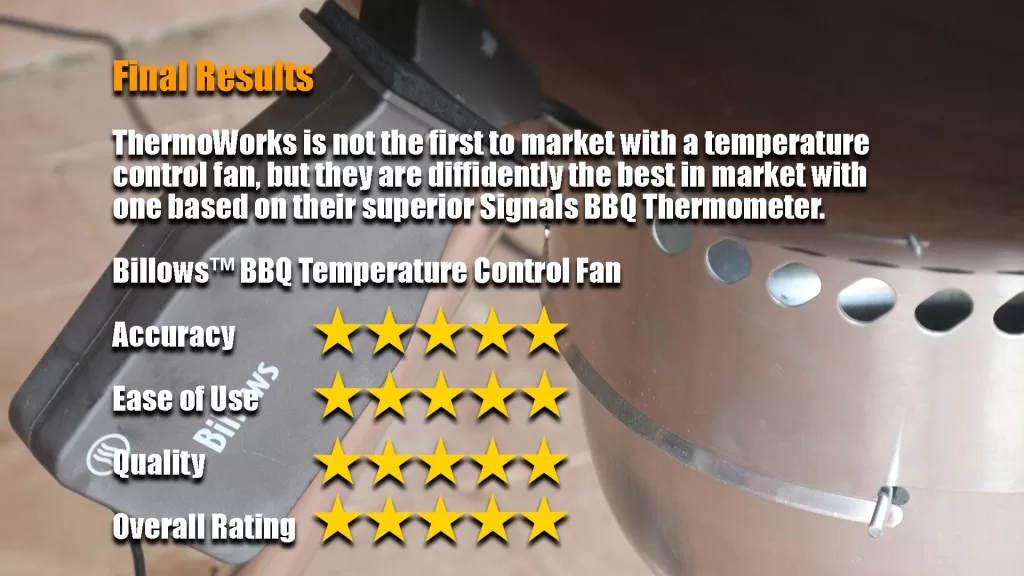
ThermoWorks is not the first to market with a temperature control fan but they are definitely the best in market with one based on the superior Signals BBQ thermometer. We give this product a top five star rating and have now added it to our own outdoor kitchen as a product we will use on all future reviews.
ThermoWorks Billows on a Weber Kettle 22 – Installation and Review Video
First my true love is barbecue but in the last 10 years barbecue has grown up. It use to be burgers on the Weber Kettle. Now it is ribeye steaks on a outside kitchen with a built in grill. As far as drinks it use to be beers and soda. Now it is kraft beers, flavored sparkling waters and wine. We also now do wine pairing
Now I am not a wine expert but through the magic of the internet you really do not have to be. In just a few minutes I found the outstanding article titled, Best wines for a barbecue on a website called Decanter. These are their recommendations or pairings when serving barbecue. I quote right from the article
“What are classic barbecue (BBQ) wine pairings? Here are some of the top matches for classic barbecue dishes. For ease of use, we’ve overlooked the uses of marinades and sauces.
Steak – Malbec, Syrah/Shiraz, Zinfandel
Burgers – Touriga Nacional, Syrah, Zinfandel, and Côtes du Rhone.
Pork Chops – Cider, Valpolicella, Barbera, New World Pinot Noir, dry rosé, Riesling
Salmon – Rosé Champagne or Cava, New World Pinot Noir, Gamay, dry rosé, New World Riesling, Pinot Gris
Halloumi – Sauvignon Blanc, Sémillon, Chenin Blanc, Chablis, Friulano, Verdejo, Assyrtiko, New World Riesling, dry rosé, Prosecco”
Another great resource is the Beringer Wine website. Here is some information about Beringer Wine.
Established in 1876 by brothers Frederick and Jacob Beringer, who believed that Napa could be a premier wine growing region like the Rhine Valley in Germany from which they hailed.
Beringer has built a legacy crafting renowned wines from a prized collection of Napa Valley, Knights Valley and Paso Robles vineyards, celebrating the uniqueness of each site and a remarkable winemaking tradition.
Beringer’s tradition of winemaking has earned it critical acclaim, including:
Only winery to have won ‘Wine of the Year’ for both red and white wines from Wine Spectator.
12-time Top 100 Winery of the Year by Wine and Spirits.
More Wine Spectator Top 100 list placements than any other winery in the world.
Beringer is not cheap wine (who wants to serve cheap wine) but they also have great deals. Right now you can get 20% off all their wines using the link and Coupon Code below.
The more you look into barbecue and wine you will find how both barbecue and wine are influenced by what region they come from. To understand the difference check out this article on The Four Styles of BBQ in the United States.
Relief Efforts in Response to Typhoon Yutu in the South Pacific
GoSun, the world’s leading solar cooking brand, will provide 1,500 of their GoSun Sport portable solar ovens to the American Red Cross to support relief efforts in the aftermath of Super-Typhoon “Yutu”. Yutu struck the U.S. Territories of the North Mariana Islands on Friday, October 26. The durable, portable eight-pound device cooks a wide variety of foods, anywhere under any conditions, fueled solely by
I Love Barbecue. At home, at a campground, at a picnic or anywhere you can enjoy the outdoors and have well-prepared BBQ food. The problem is the moment you leave your backyard so you can enjoy the great outdoors you have to start hauling grills, charcoal, gas cylinders or even a generator so you can cook anything.
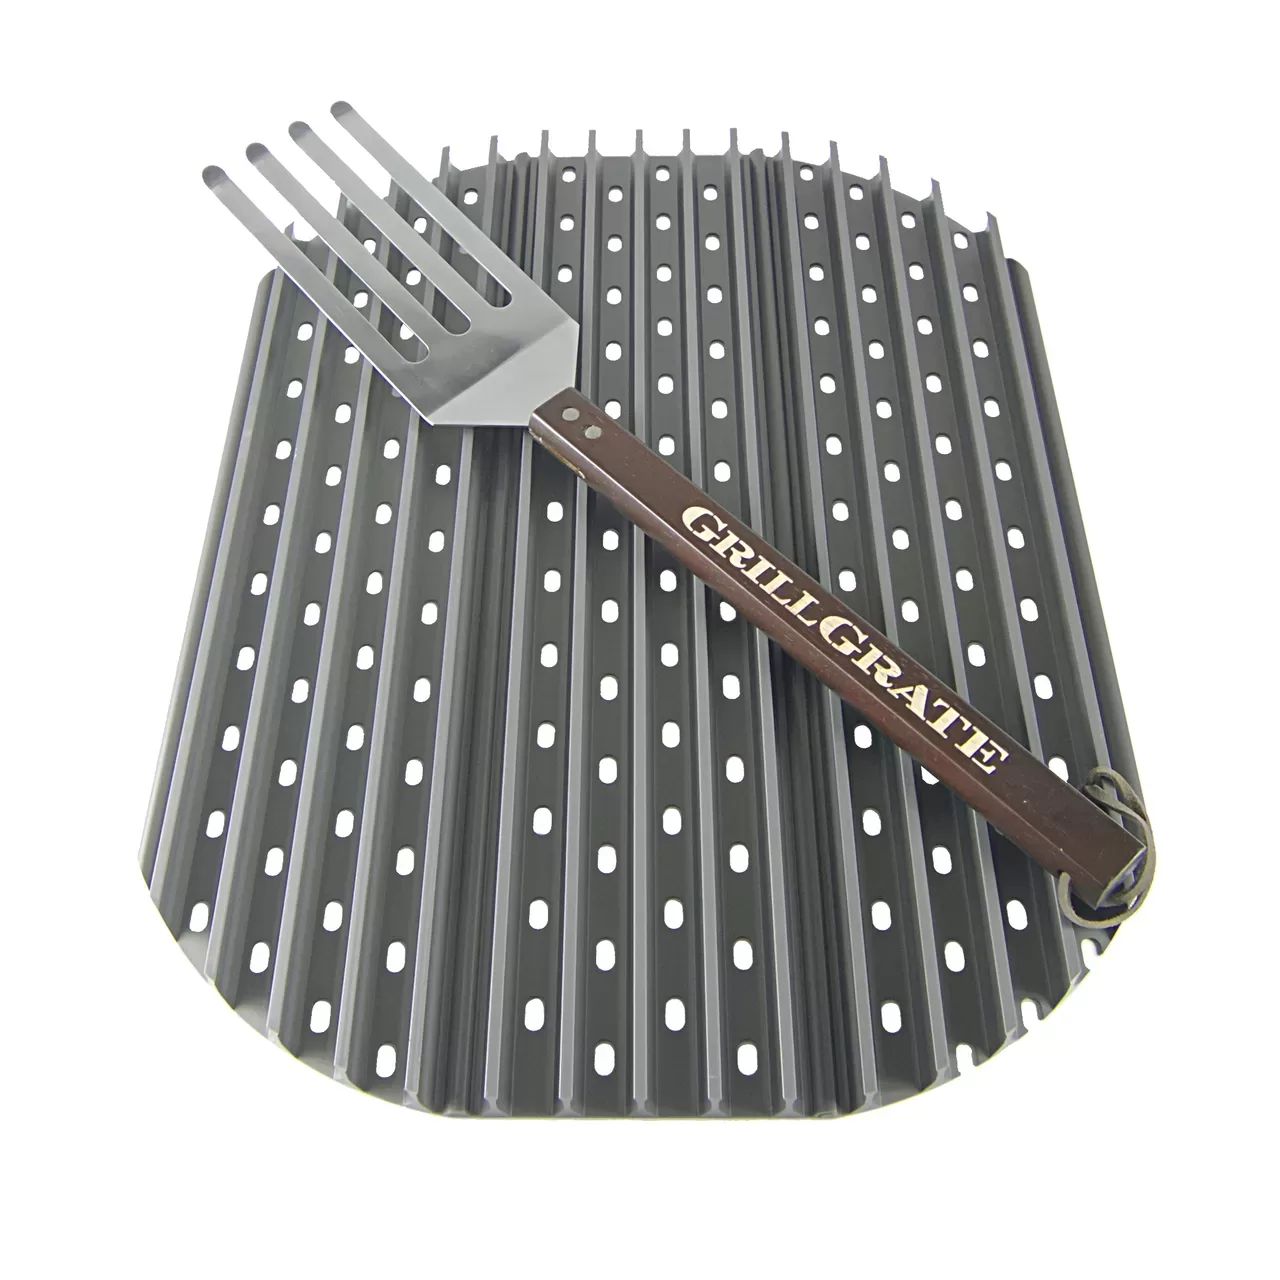
This is my review of the GrillGrate on Recteq Bullseye Grill. When I ordered my Recteq Bullseye Grill I got the full package that included pellets and a GrillGrate that fits the 22-inch ground grill. At first, I thought the GrillGrate was just some gimmick device that I would use a few time and then never use again. What I found was the Bullseye and the GrillGrate is the perfect marriage if you want to properly sear food. Continue reading “GrillGrate on the Recteq Bullseye Review”→
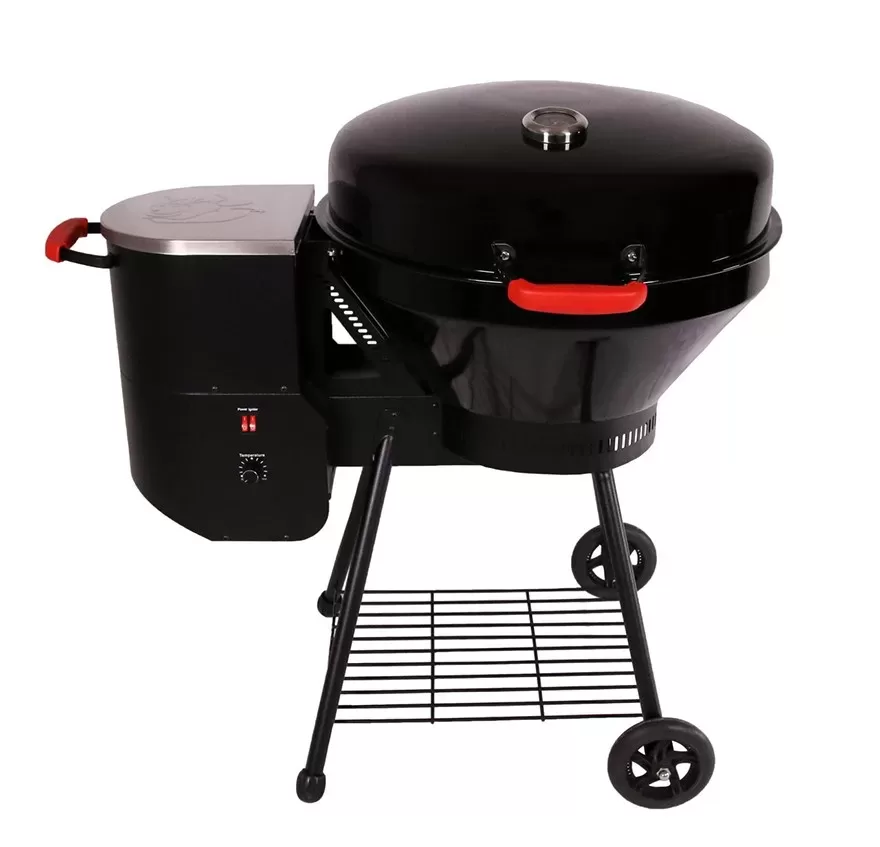
Got my Bullseye pellet grill yesterday and did assembly and seasoned it. I have had my Recteq RT 680 for four years and I love it doing all things low and slow. The area that it seemed to lack was getting hot enough to do a really good sear. It is one reason why I kept my big Weber gas grill. In trying to address the issue of high-temperature grilling RecTec designed and built the Bullseye pellet grill. Continue reading “Bullseye Pellet Grill from Recteq – First Look”→
Eating BBQ makes you smart. No, I did not say it makes you a smart ass but it may contribute to that condition. Just read on to understand my point.
Barbecue dates back to the original way we cooked food in the beginning. Dig a hole, put some wood in the hole and set it on fire. Let the fire burn till you have coals that generate a lot of Continue reading “Eating BBQ Makes You Smart”→
When I was young I always had a craving for barbecue. Meat cooked outside on a grill or smoker always tasted better than anything cooked in an oven or on a cooktop. As I tried to understand what I realized is the following. The combination of smoke, low and slow cooking and the unique texture that an open flame has on the outside of the meat actually changes the flavor and texture of the meat. That is what we call the sear. If you look at the steps of how a pitmaster cooks ribs versus how someone in a kitchen does it here are the
So you got that new grill and the wife wants you to cook a couple of whole chickens. As you put the chickens on the grill you find yourself asking when am I going to know when they’re done? Well, that’s why you need to know your Continue reading “Know Your Meat Temperature and be Happy”→