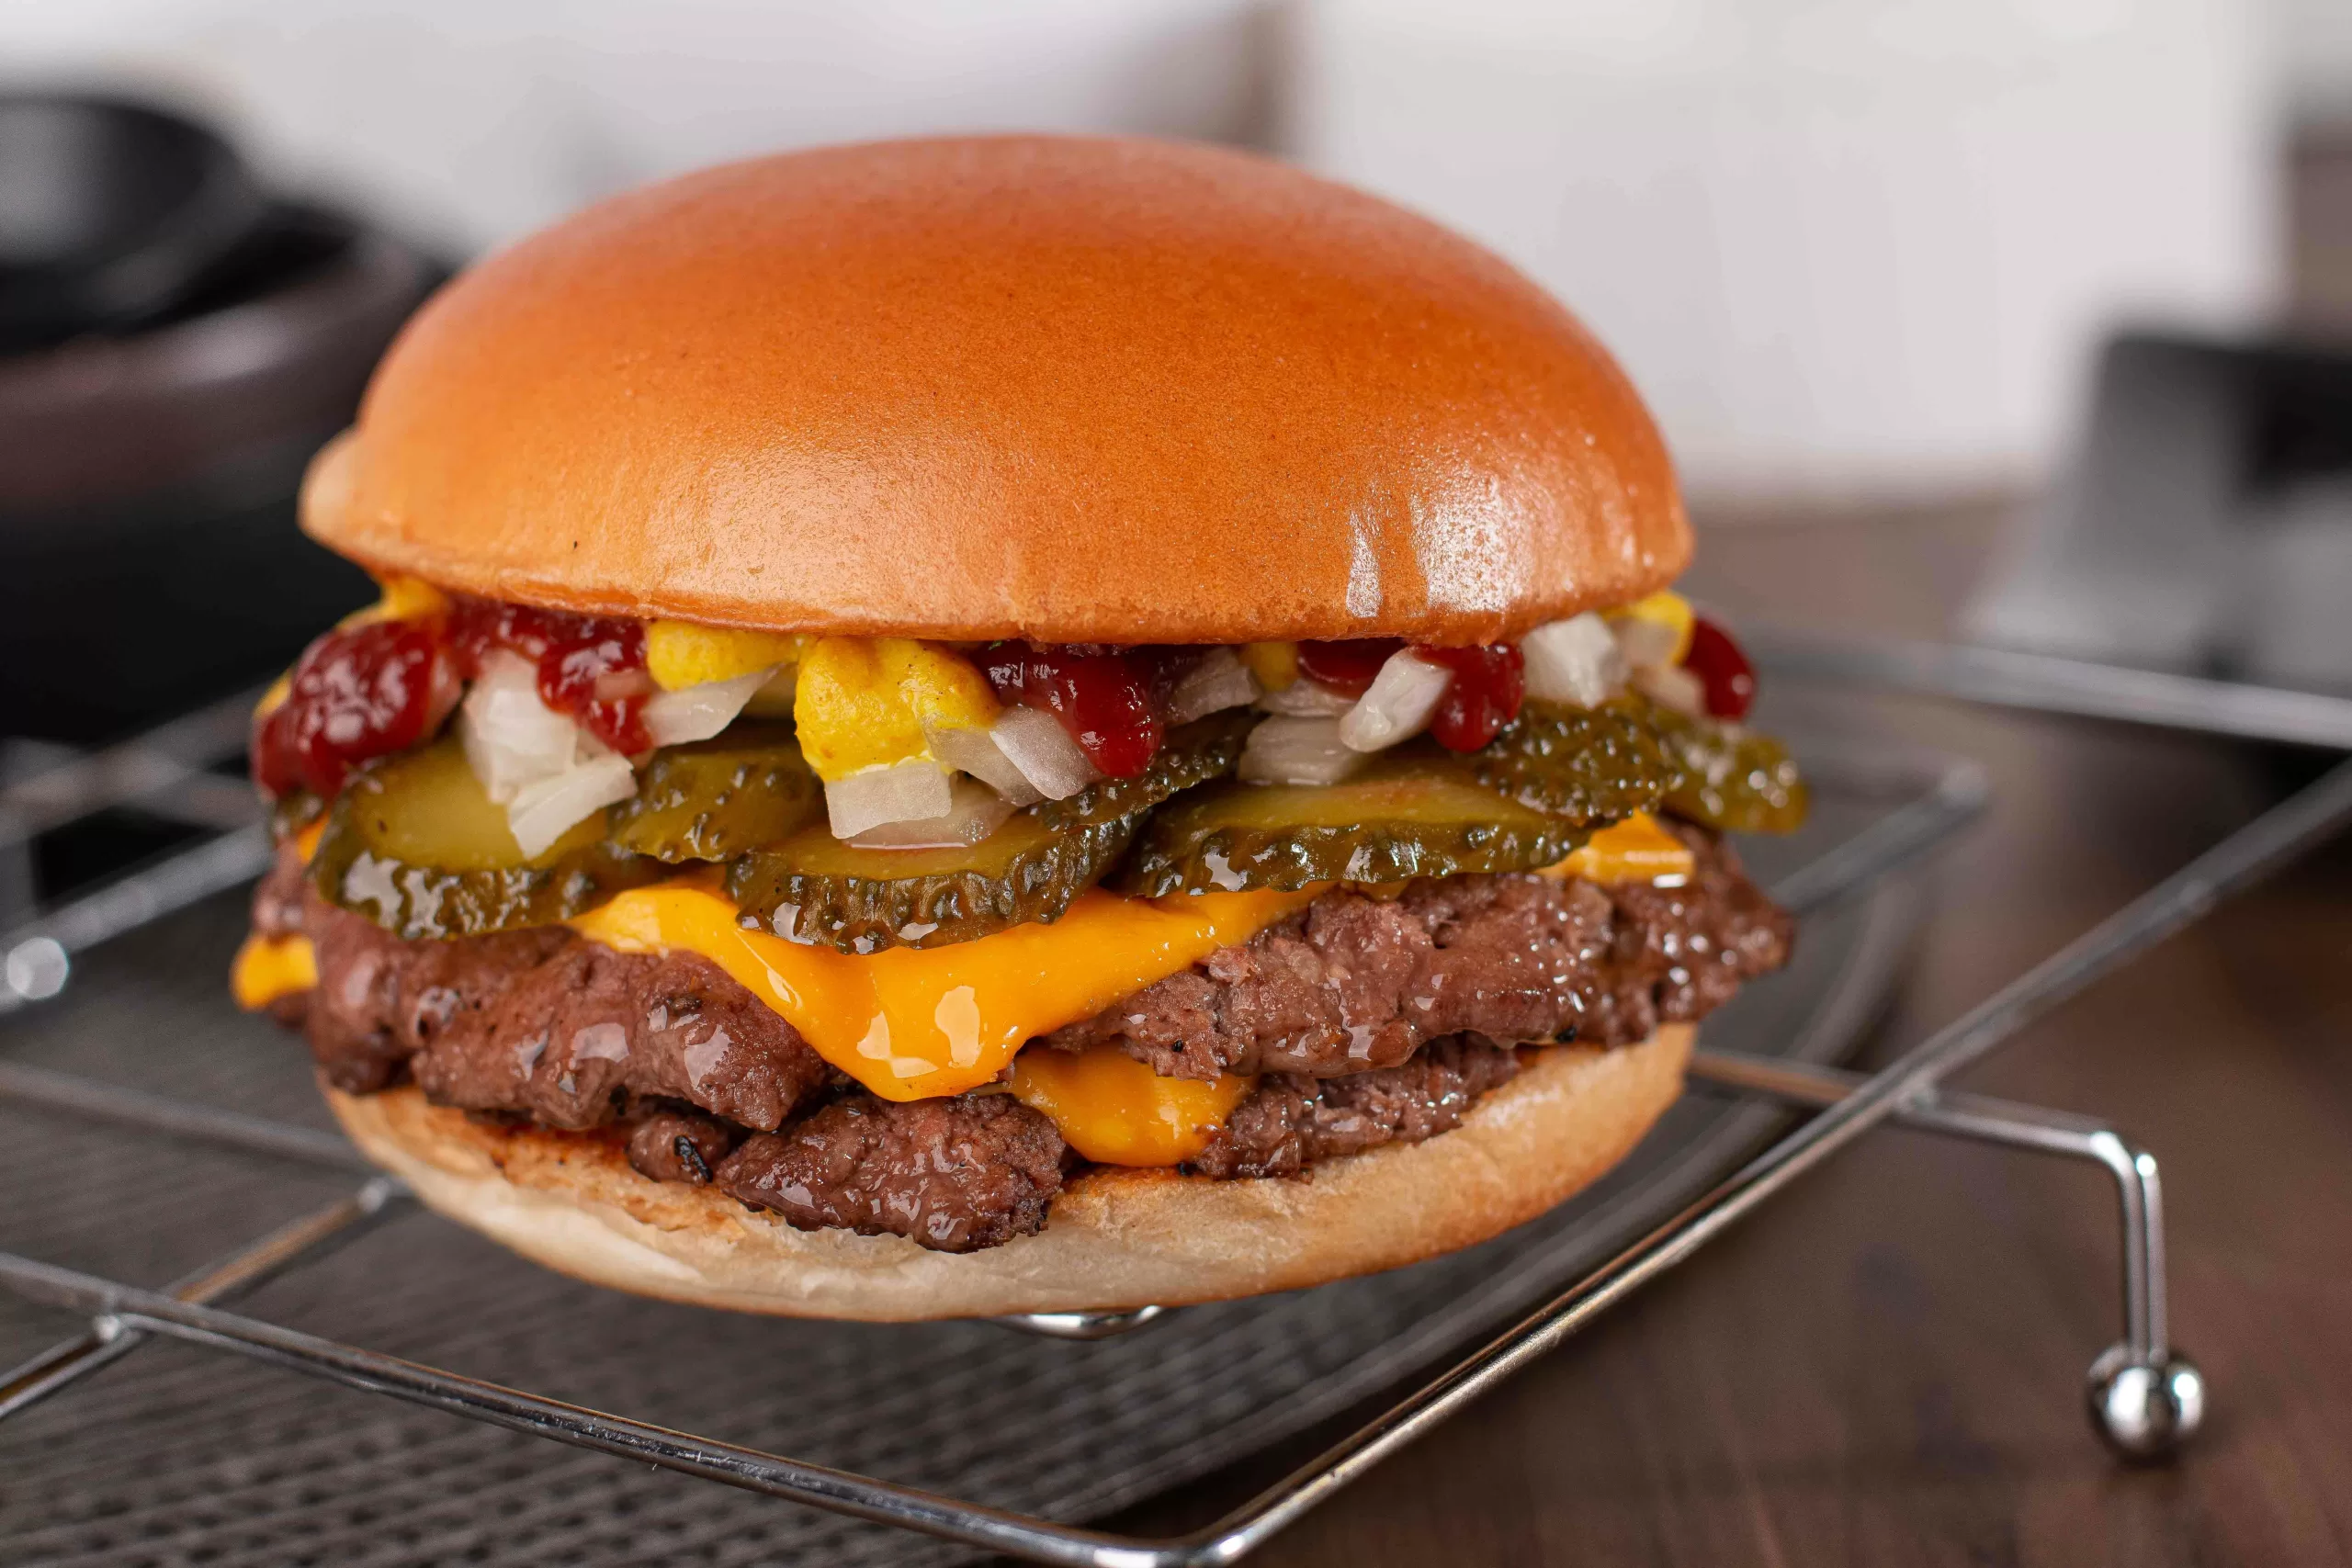

Blackstone E-Series 22 Smash Burgers: Sizzle Your Way to Flavor Nirvana
Forget juicy, these burgers are explosively flavor-packed, with thin patties smashed to crisp perfection on your Blackstone E-series 22 griddle. This recipe is all about maximizing surface area for caramelization and locking in that meaty goodness. Prepare for a symphony of sizzles and a symphony of taste buds singing.
Print Recipe
Equipment
Ingredients
- Ground beef 80/20 is ideal
- Hamburger buns sturdy
- Salt and pepper
- Optional Cheese (cheddar, American, Swiss, etc.)
- Optional Toppings: lettuce, tomato, onion, pickles, ketchup, mustard, mayo, etc.
Instructions
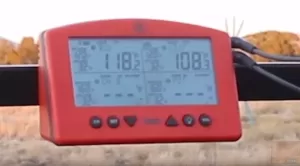
- Heat your griddle to medium-high (around 450°F).
- Form your patties: Divide ground beef into equal portions (3-4 oz each) and gently shape into loose balls. Don’t overwork it.
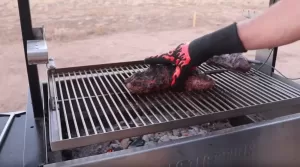
- Smash time!: Press firmly with spatula or burger press on griddle to thin patty (1/4-inch).
- Season generously with salt and pepper. (Add other spices if desired.)
- Cook 2-3 minutes per side for desired doneness. (Smash burgers cook fast!)
- Lightly toast buns on griddle while patty cooks.
- Build your masterpiece with patty and desired toppings.
- Bite in and savor the explosion of flavor!
Notes
For extra crispy edges, press down again near end of cooking.
Use a nonstick spatula for easier flipping.
Melt cheese on patty while cooking for extra flavor.
Experiment with different toppings and flavors!
Use a nonstick spatula for easier flipping.
Melt cheese on patty while cooking for extra flavor.
Experiment with different toppings and flavors!
Nutrition
Calories: 500kcal