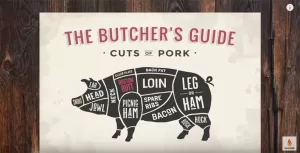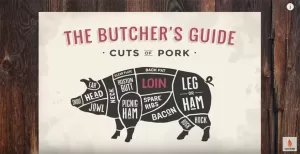
Spare Ribs 3-2-1 Method on the GMG Daniel Boone Grill
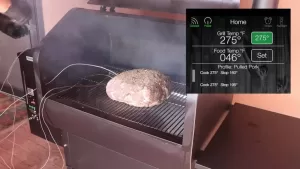
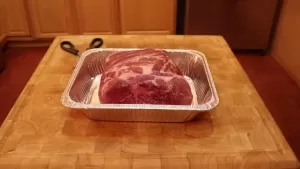
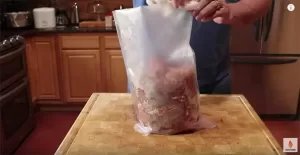
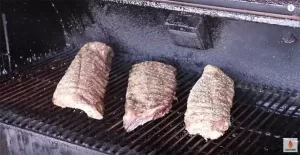
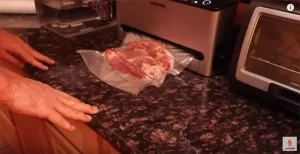
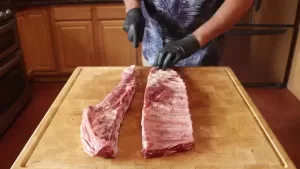
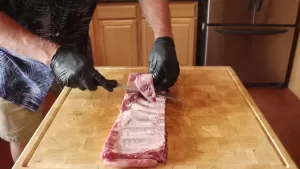
We will be doing this cook on the Daniel Boone Grill from Green Mountain Grills. We start with a large spare rib. There is actually two and I bought them at our local market for $13 a piece.
Print Recipe
Equipment
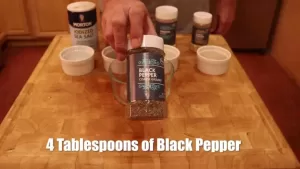
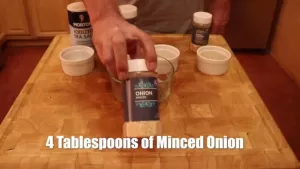
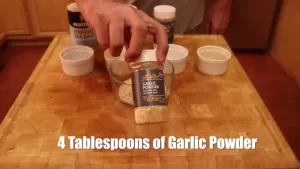
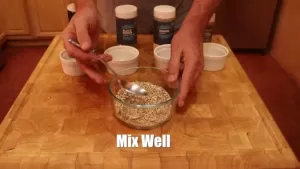
Ingredients
Ingredients
Instructions
- We will be doing this cook on the Daniel Boone Grill from Green Mountain Grills. We start with a large spare rib. There is actually two and I bought them at our local market for $13 a piece.
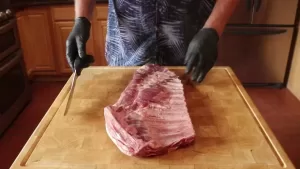
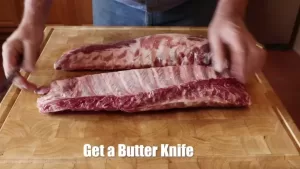
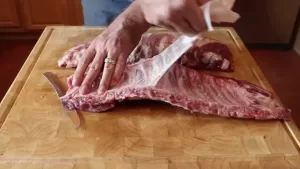
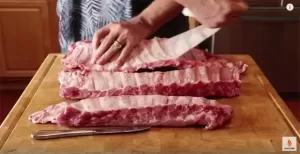
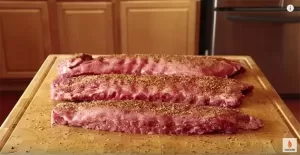
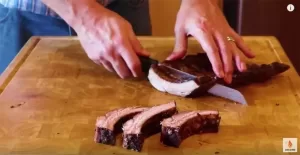
- First step is we need to square up the ribs by doing a St. Louis cut. First I find the end of the ribs and make a shallow cut. Using the knife you keep making deeper cuts till you cut all the way through. What you want is as close to a rectangle as possible with both sides parallel with each other. Now do not throw away and of the extra meat. That meat makes fantastic rib meat tacos or pork shepherd’s pie.
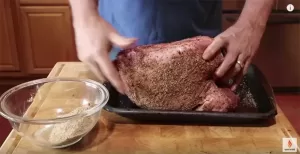
- Now with everything squared up you can now trim the flap meat that sits on top. These ribs had the membrane already removed but if the membrane is present it needs to be removed.
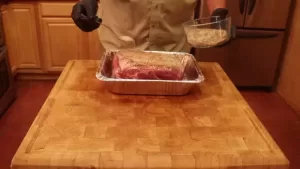
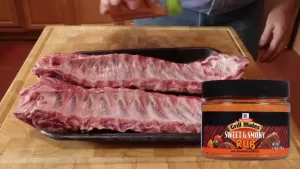
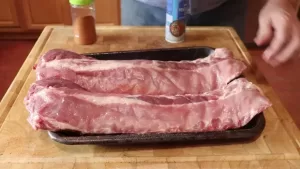
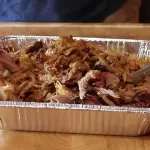
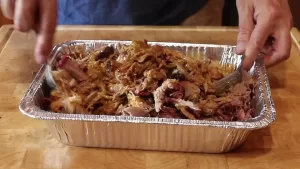
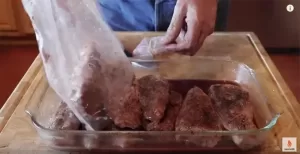
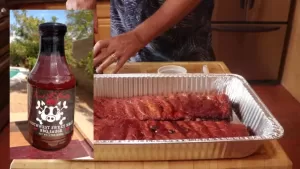
- Repeat the same procedure on the second rack of ribs and then put both racks into a full-size foil pan.

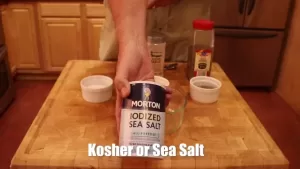
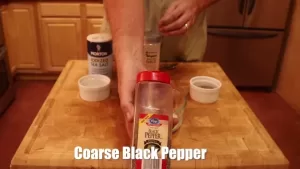
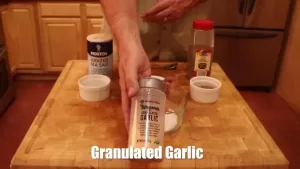
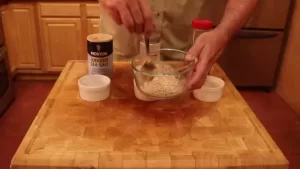
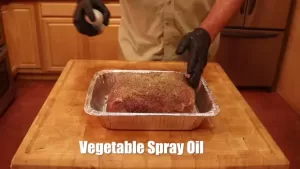
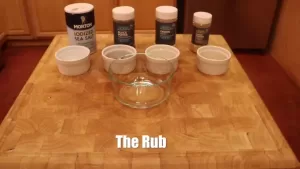
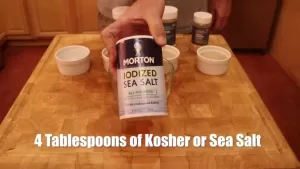
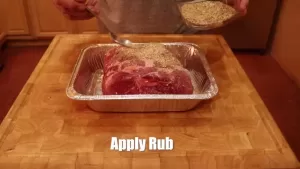
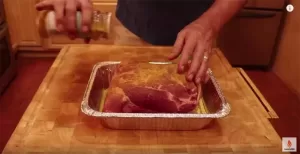
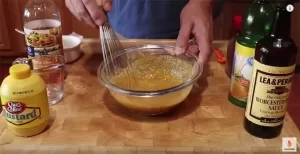
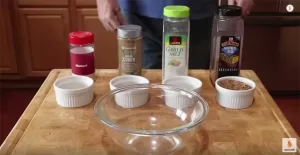
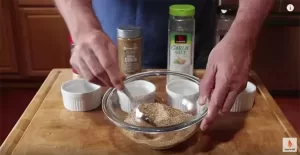
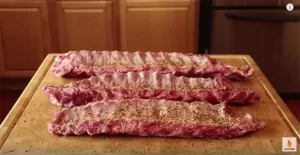
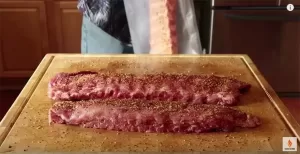
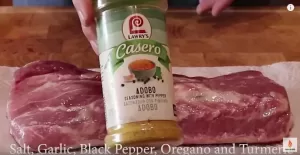
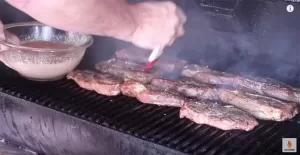
- Now it is time for the rub. On this cook, I am using the Everything Rub for Loot N Booty. It is a great pork rub but like they say it is good on everything, On these ribs, you need to use a lot of rub and you need to cover every inch. One reason why I use a foil pan is first I do not want to make a mess but second I do not waste any rub.
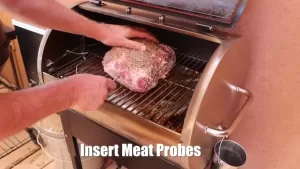
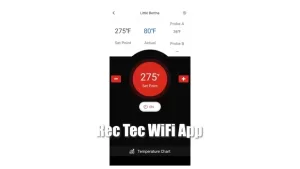
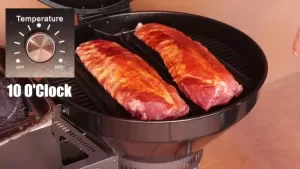
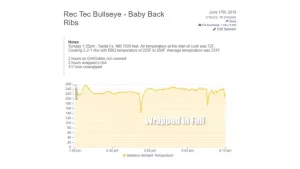
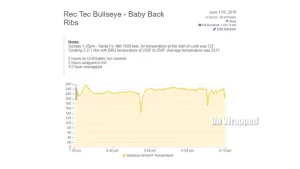
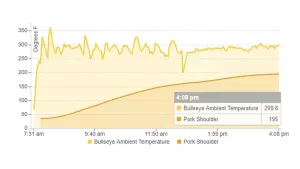
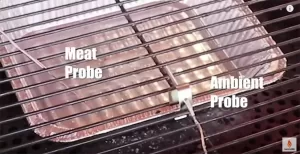
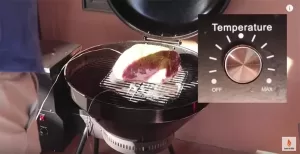
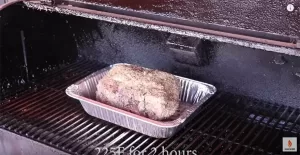
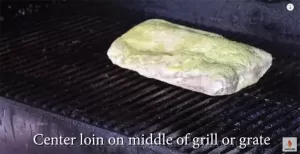
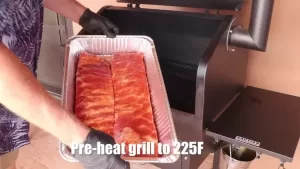
- In a preheated grill set at 225F put ribs directly on the grate.
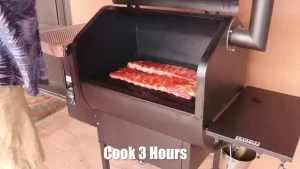
- Now cook for 3 hours.
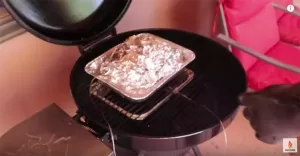
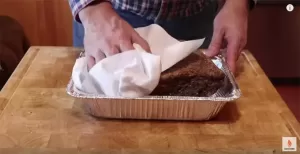
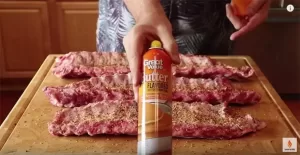
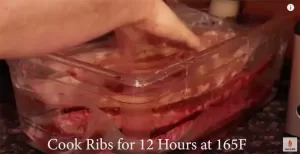
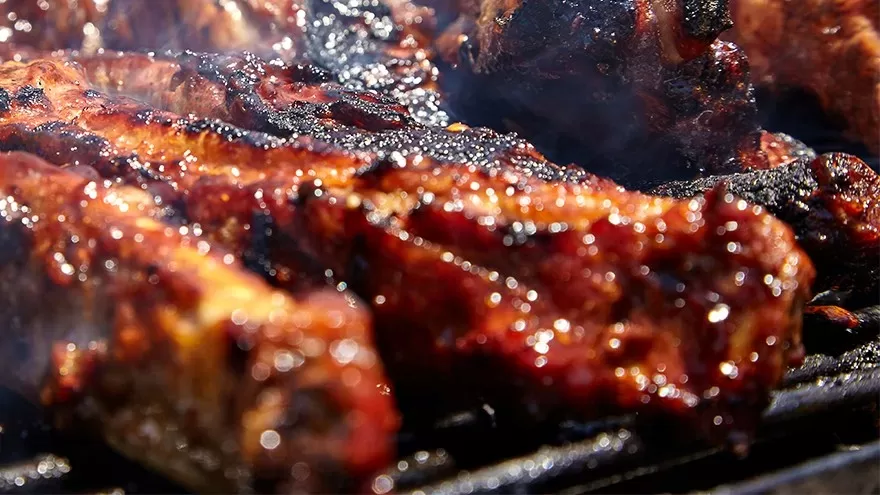
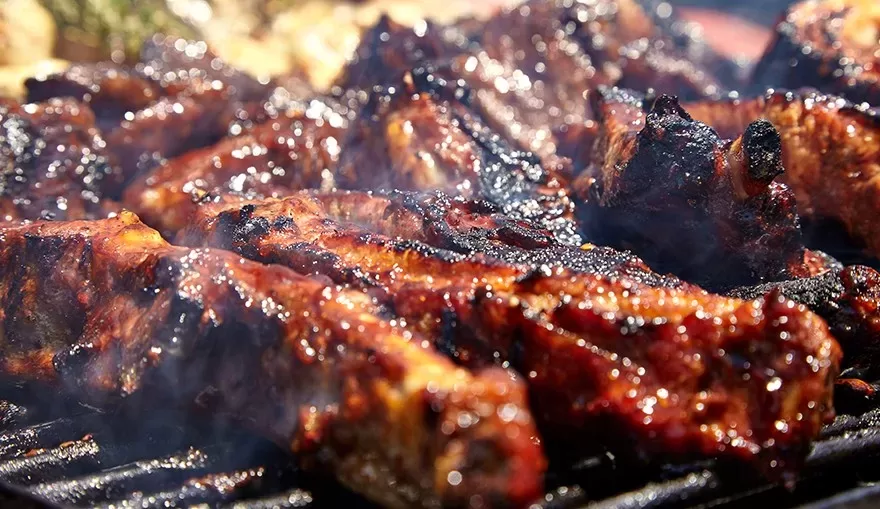
- Remove ribs and place in to the same full size foil pan from before. I use a foil pan so I can put the sauce on right away and do have to worry about foil wrap messing up my sauce. The glazing sauce we are using is Southwest Sweet Heat BBQ sauce. Apply sauce to the top side of the ribs. I usually put two coats but just on top. Leaving one side dry make is a lot easier to handle the ribs and with two coats you have plenty of sauce and glaze.
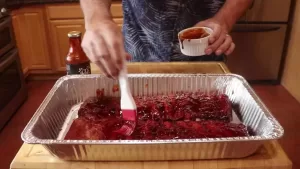
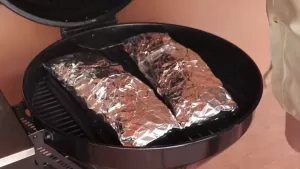
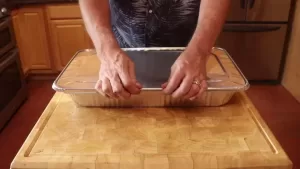
- Now this part is very important. You need to use a new lid. You then put the lid on and make sure that it Is completely sealed. The pan has to be airtight. By being airtight the ribs will not dry out and even more important the sauce will not burn.
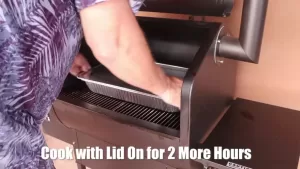
- Now it is back to the 225F grill to cook for 2 more hours.
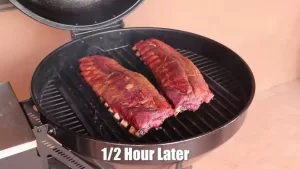
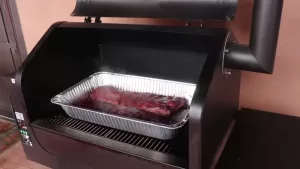
- Then remove lid and let ribs sit uncovered but still in pan for 1 more hour. Check at 30 minutes to make sure the sauce does not burn. After the final hour pull ribs for grill.
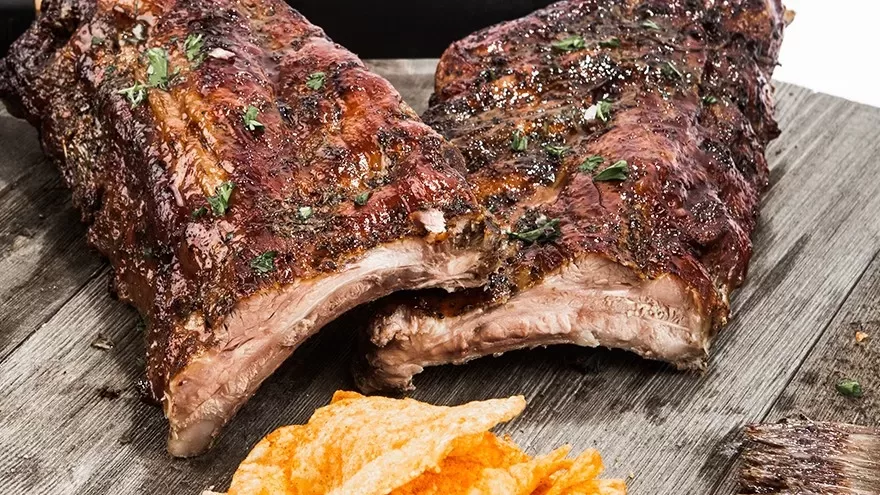
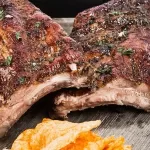
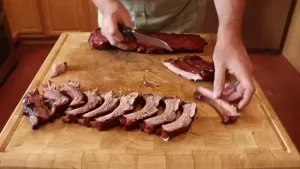
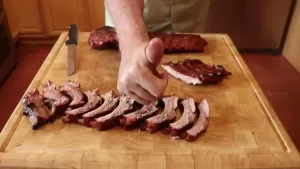
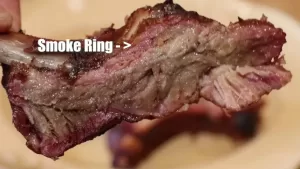
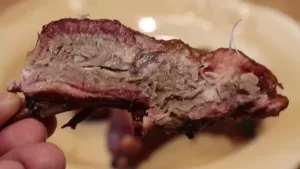
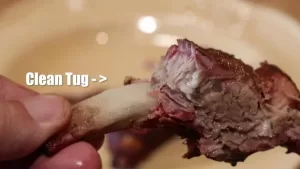
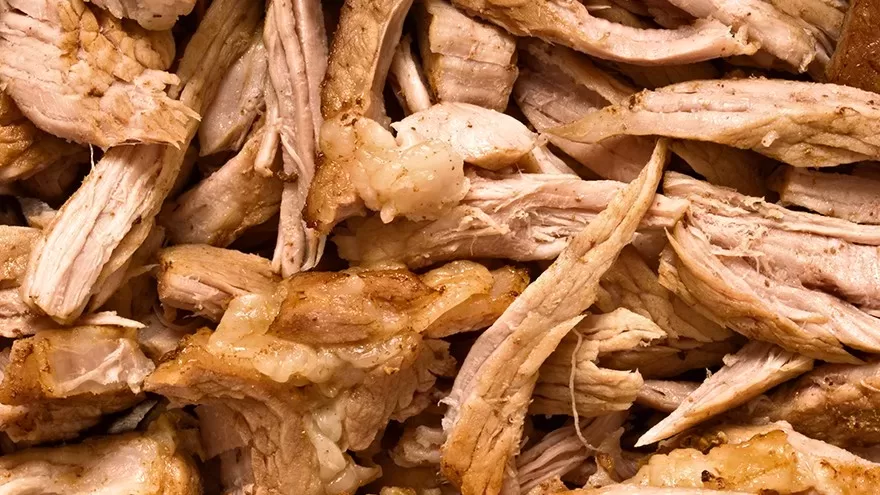
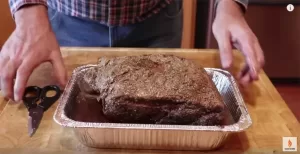
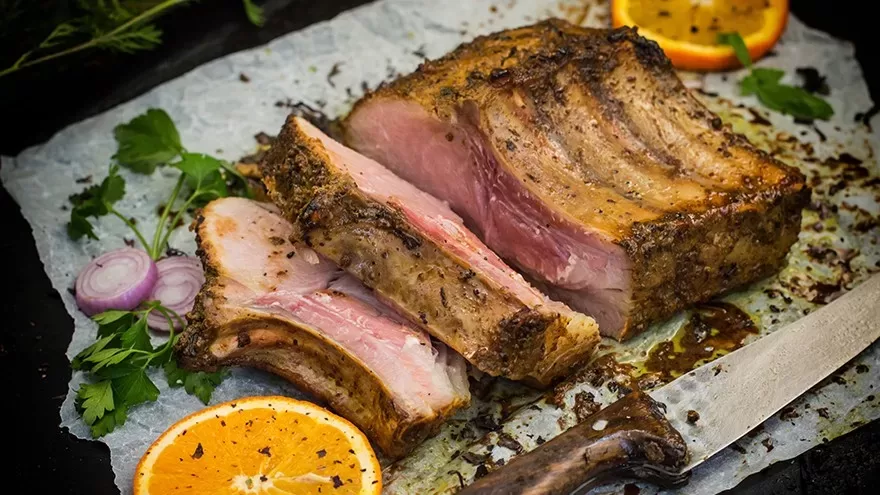
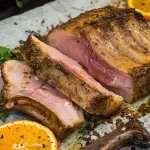
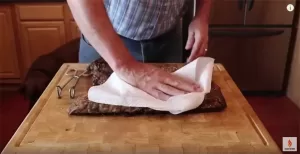
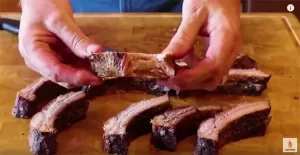
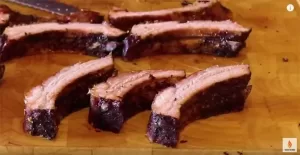
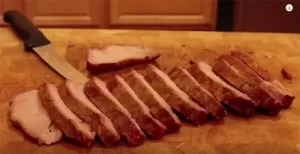
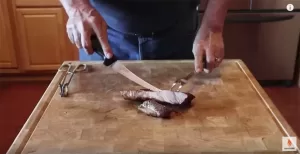
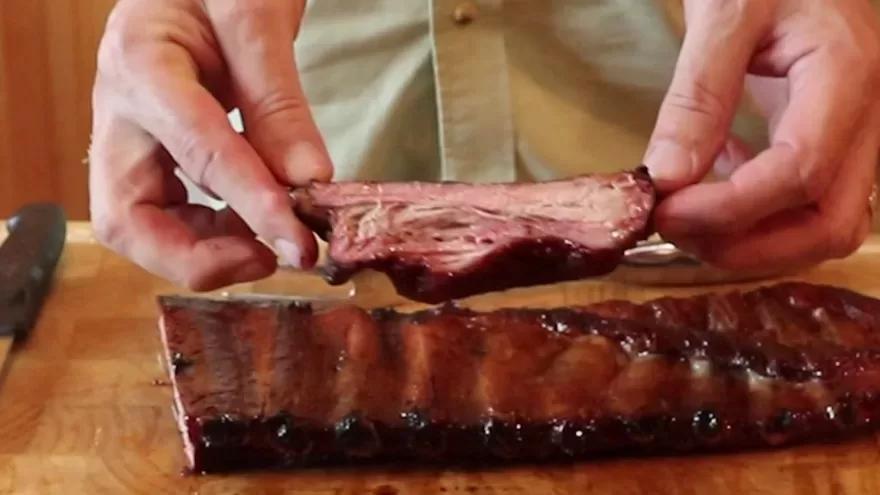
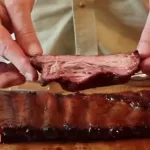
- So this is how they should look. You want that dark mahogany color and the glaze should firm and not runny. When you cut the ribs the meat should stay together and the cuts should look very clean. No mushy ribs. As you can see as I cut the ribs they cut real clean and have a great smoke ring. Also the glaze is staying on the ribs and not getting all over the cutting board.
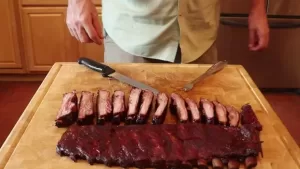
- As you can see the ribs are firm, have a clean cut and have a great smoke ring. Also the glaze is staying on the ribs and not getting all over the cutting board. This method will give you perfect ribs every time.

Video
Nutrition
Calories: 669kcal